Sunday, December 30, 2012

Cream Of Cauliflower Soup


I had a friend, Wendy Shelton, from back when we lived in Granite Bay, California.  She gave me a fabulous cookbook one year.  Jane Brody's Good Food Book.  It is my go-to book for soups and breads.  One of our favorites is the Cream Of Cauliflower Soup.  Actually, cream is a misnomer as you use low fat milk and blend the soup to make it look and taste creamy, while being low in fat.

Cream of Cauliflower Soup

1 large onion, chopped
1 Tablespoon butter
4 cups broth, chicken or vegetable
1 head of cauliflower, cut into flowerettes
1 carrot, diced.  I used a handful of mini carrots, because that's what I had
1 cup low fat milk
salt and pepper to taste
1/4 teaspoon nutmeg, plus a bit over each bowl to be pretty


Saute the onion in the butter in a large saucepan or Dutch oven.  It will take about 3 minutes until they are softened, but not browned.


Pull off the green leaves of the cauliflower.  Cut out the hard core and chop everything else up into small chunks.  Add the broth, cauliflower and carrots.  Bring to a boil.  Cover and reduce the heat to a simmer for about 15 minutes or until the vegetables are soft.


If you have a stick blender, the rest is easy. It is a bit more complicated if you don't.  If you don't have one, cool the soup a bit and move it into batches in a food processor or blender.  Puree with the milk until smooth.  Then reheat.


If you have a stick blender, use it to puree the soup right in the pan.  Take a bit of time to make sure there are no large bits escaping from you.  Lee likes a few chunks, but they surprise me and not in a good way. 


Season to taste.  I put the nutmeg now with the salt and pepper and then just a sprinkling more to add color to each bowl.

Cinnamon Rolls by Travis


I have not been keeping up with my blog very well.  The "kids" are visiting and I want to spend as much time with them as possible.  They are off to the movies, so I can catch up!  My hip is not fond of sitting at the movies.

If you do something once at our house, it becomes tradition.  Then you have to do it again for the rest of time.  One of those traditions is making cinnamon rolls for Christmas morning.  I usually buy the frozen bread loaves and thaw one in the fridge the day before.  I roll it out the night before and spread the butter, cinnamon and sugar in the middle.  Then I cut it into rounds, put them in a pan and cover them until the next morning when they finish rising and then I bake them.  Adult children do not get up at the crack of dawn for Christmas.  It makes for a less exciting yet and more relaxing morning.

I have cut way back on carbs, so I didn't want to buy a bunch of frozen bread logs.  I also wasn't sure the "kids" would want the cinnamon rolls.  But they did.  Travis is a very good cook.  He even helped pay his way through college by cooking for his housemates in the band house at UC Berkeley (Cal) when the chef was off.  He spent a few minutes on the computer looking for a recipe and made sure I had bought fresh yeast (I had). He jotted down the instructions, not near the printer, and then he set to work.

Cinnamon Rolls by Travis

4 egg yolks
1 egg
1/4 cup sugar
6 Tablespoons butter
6 ounces milk
4 cups flour
1 package yeast (2 1/2 teaspoons)
1 1/4 teaspoons salt


I have an aversion to throwing away egg whites, so I labeled a Ziploc bag and Travis dumped them in.  I put them into the freezer until such time as I make macaroons, where I only need the whites.  The search engine on this site rarely works, so if you want the recipe, Google coconut macaroons shenandoah and it should pop up.


I have a dough hook on my Kitchen Aid.  If you don't have a mixer with a dough hook, you will have to mix everything by hand and then knead the dough.  I would have proofed the yeast, but Travis says that a lot of the things we think we know about baking are wrong.  He is a Chemical  Engineer, a Mechanical Engineer and a good chef, so I just sat back and took pictures!


He didn't warm the milk.  I would have,  just to help dissolve the yeast.  He did melt the butter and then everything went into the mixer and he turned on the dough hook.  Soon the dough came together and he kept the hook turning until it had kneaded the dough for a few minutes. 


Place some flour on the counter and knead by hand a few times.  Cover the dough and let it rise for two hours.  Our house was cold and it took a long time to rise.  If yours is cold, put the dough in an unheated oven for the two hours.  Or turn the oven on to 150 and when it gets there, turn it off and put the dough in to rise.


Roll the dough out into a rectangle.  Spray a 9X13 baking dish with Pam.


Filling

1 cup brown sugar
1 Tablespoon brown sugar
pinch salt
2 Tablespoons softened butter


Now, I would have melted the butter, brushed it on and sprinkled the rest over the dough.  Travis just mixed it all together and spread it evenly over the rolled out dough.  His way made for a more even distribution of cinnamon and sugar.  Mine saves a dish.  No right or wrong way.  Make sure you don't spread the filling to the very edges or they won't stick.


Roll the dough up from the long side.  Pinch the end to the fat roll to secure the edges.  I like to cut the ends off to make them even.  The cut the rounds into 12 even pieces.  Place them cut side up in the pan, three in each row.  Cover with plastic wrap it you want to put it in the refrigerator for the morning.


If you did put it in the refrigerator, remember to take off the wrap while the dough is coming up to room temperature and while the oven is heating to about 150 degrees. Set the pan in the oven for 30 minutes so the dough can have a second rise.  Remove the pan from the oven and raise the temperature to 350.  When it is ready, return the pan to the oven for 25 to 30 minutes.  Check to make sure the tops aren't getting too brown. I was in charge of baking and making oatmeal (and stocking filling) so they got a little too brown.


Make some cream cheese frosting.  Spread on the mostly cooled rolls and eat while examining your stockings.

Cream Cheese Frosting

4 oz cream cheese (1/2 package)
3 Tablespoons milk
1 cup powdered sugar

Mix well and spread.  Or do what I did.  I had frosting left over from making the Red Velvet Crepe Cake and I used that.  Or cream cheese frosting from a can!


Thursday, December 27, 2012

Red Velvet Crepe Cake


Two of our kids came for Christmas.  I wanted to make a bunch of special meals.  I have been thinking about a crepe cake for sometime.  While searching out recipes I came across a red velvet crepe cake.  Red velvet cakes are BIG here in Virginia, so I decided that would be a good dessert.  Plus, red, hello, Christmas!

First I want to say that the texture takes getting used to.  It is not the light fluffy texture of a moist cake.  Even after a day of soaking up frosting the texture was rather dense and although it tasted fine, just remember this cake has a bunch of "crusts" even if they aren't crunchy.  While I wouldn't make this cake for a taste test, when you cut into it the dramatic red layers with the white frosting makes a colorful and festive dessert for a holiday meal.

I used the Taste Of Home recipe for a starting point.  The recipe made two crepe cakes.  There were only going to be four of us and I didn't want to eat this cake for the whole holiday, meal after meal!  So I played with it for a little bit and it came out pretty good.  This only makes one cake and it made some extra crepes.  This allowed me to taste the cake while making more crepes...a rather long process.  It also allowed me to mess up a few crepes and still have plenty to make the cake!  I am a fairly competent crepe maker and still botched 3 or 4 pieces, so give yourself the freedom to experiment and find the right amount of time to cook them so they will flip and also so they are not burnt on the bottom.

Red Velvet Crepe Cake

1 package red velvet cake mix
2 cups milk
3 eggs
2 egg yolks
3 Tablespoons melted butter
2 teaspoons vanilla extract


Frosting

If you are tired of cooking at this point, you can use store bought cream cheese frosting.  Remember this is all about the drama and less about the food!  And you will be tired by now.  If you are ready to soldier on...

1 8 oz package cream cheese, softened
1/2 cup butter, softened
1/4 teaspoon salt
4 cups powdered sugar.  Their full recipe called for 12, yes, 12 cups sugar!  Mine was plenty and plenty sweet.
3 teaspoons vanilla extract

First get out the cream cheese and the butter if you are making your own frosting.  It can come to room temperature while you are making crepes.  Melt the 3 Tablespoons of butter and let cool slightly.


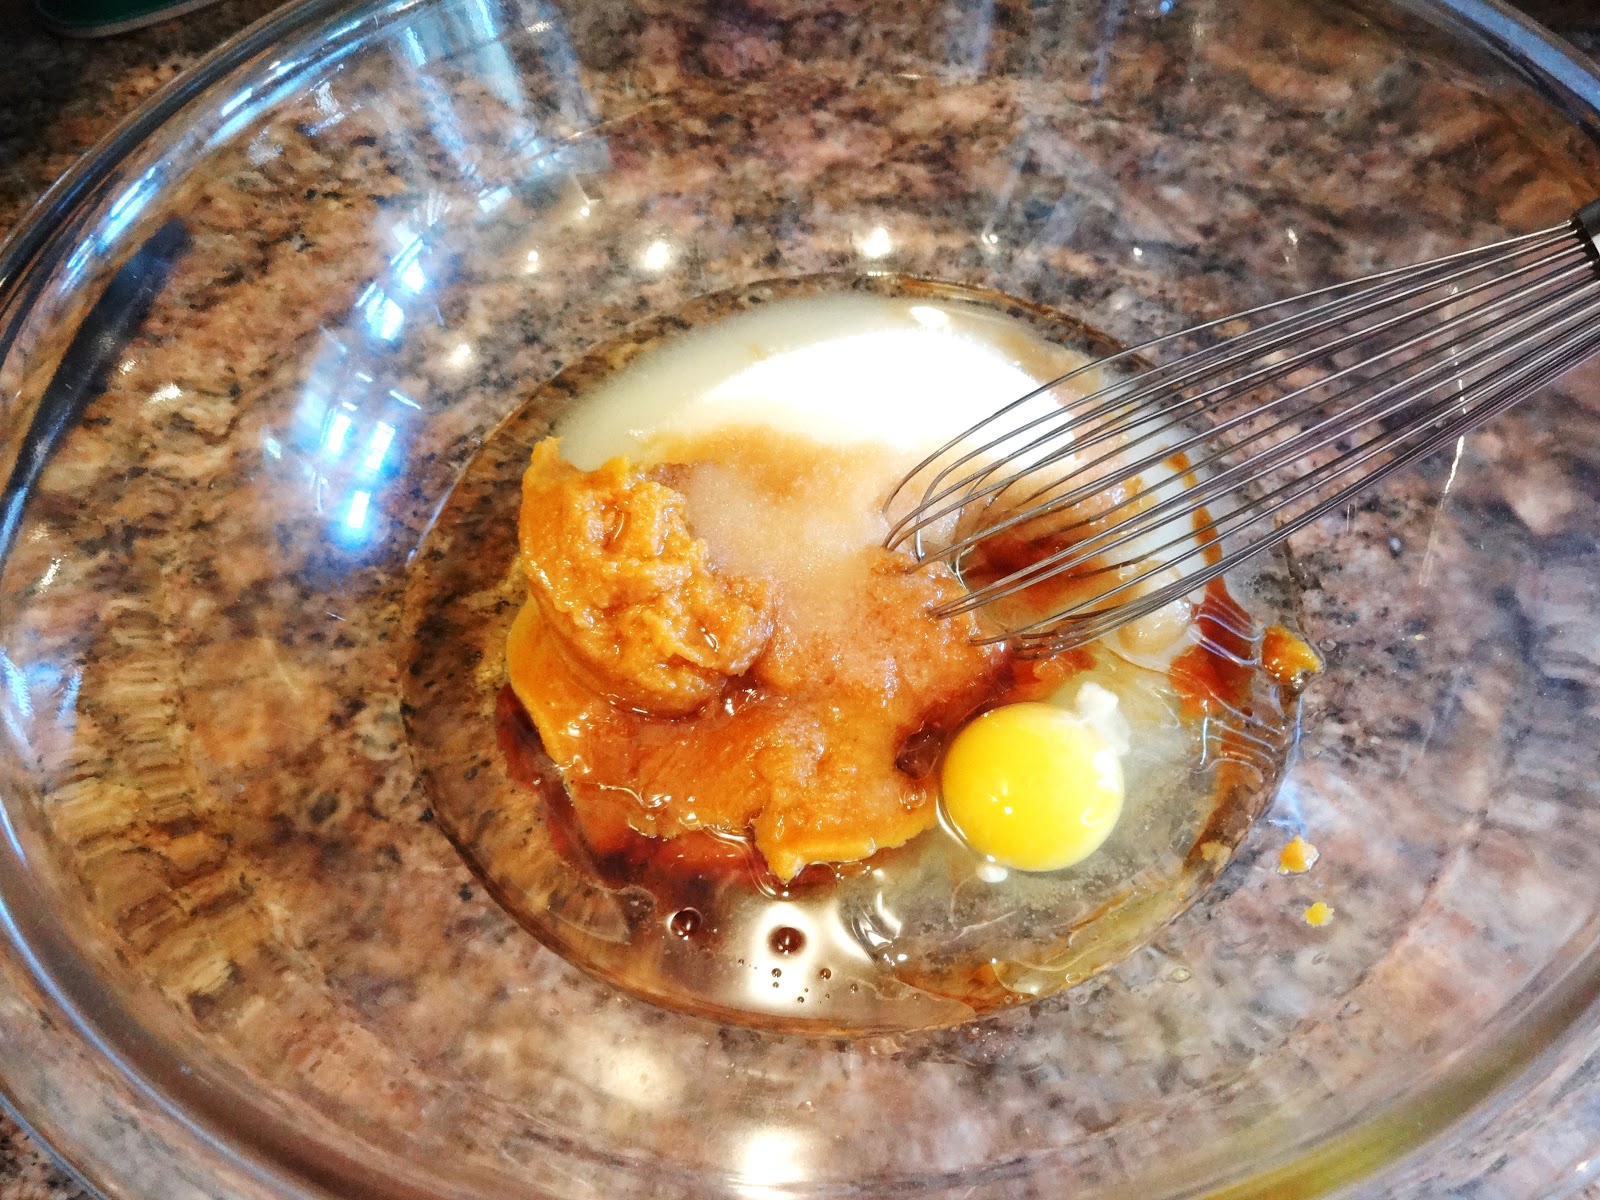
I didn't use my mixer because I wanted to make the frosting in it and I didn't want to wash it in between uses.  Silly, right?  Put the cake mix into a large bowl and add the eggs, egg yolks and vanilla.


Mix thoroughly and then add the melted, but not hot,  butter.  Stir (or mix in your mixer) for about 2 minutes.  You don't want any lumps.


I have a crepe pan, but you can use small fry pan.  I use a dribble of vegetable oil to keep the crepes from sticking.  Pour a bit in a small bowl and dip a spoon into it between each crepes.  Dribble it into the pan and swirl it all around.  Just a dribble.

You may need to experiment on the amount to use for each crepe.  I used a scant 1/3 cup.  The 1/4 cup I tried was too thin and the full 1/3 too thick.  You can mess up the first 3 or 4 and still have enough.

Pour the crepe batter into the center of the pan and then swirl it to cover the whole pan evenly.


Cook until the top looks dry, about 2 minutes  Like when you cook pancakes,  it will have bubbles that form and burst.  Gently loosen the sides of the crepe.  Slide a narrow icing spatula, if you have one, or a regular spautla,  under the crepe to the middle of the pan.  Lift, and then gently lay the uncooked side down and flip the other side over.  Cook for about 15 to 20 seconds more.


Line up a bunch of cooling racks and set the finished crepe on the rack.  I was able to overlap them a wee bit and have room on my racks for all of them.  If you will be assembling later, you can stack the cooled crepes with wax paper in between the layers.  I just let them cool and then assembled them, saving a step.  They cooled while I made the frosting.  If you are using store bought, go sit down and have a cup of tea.  That crepe making was a pain and you deserve it.


I used my Kitchen Aid mixer for the frosting.  Place the softened cream cheese and the butter in the mixer and mix until fluffy.  Add the salt and the sugar and mix some more.  Add the vanilla and mix until smooth. Now you are ready to assemble.  Don't loose heart.  You are almost done.


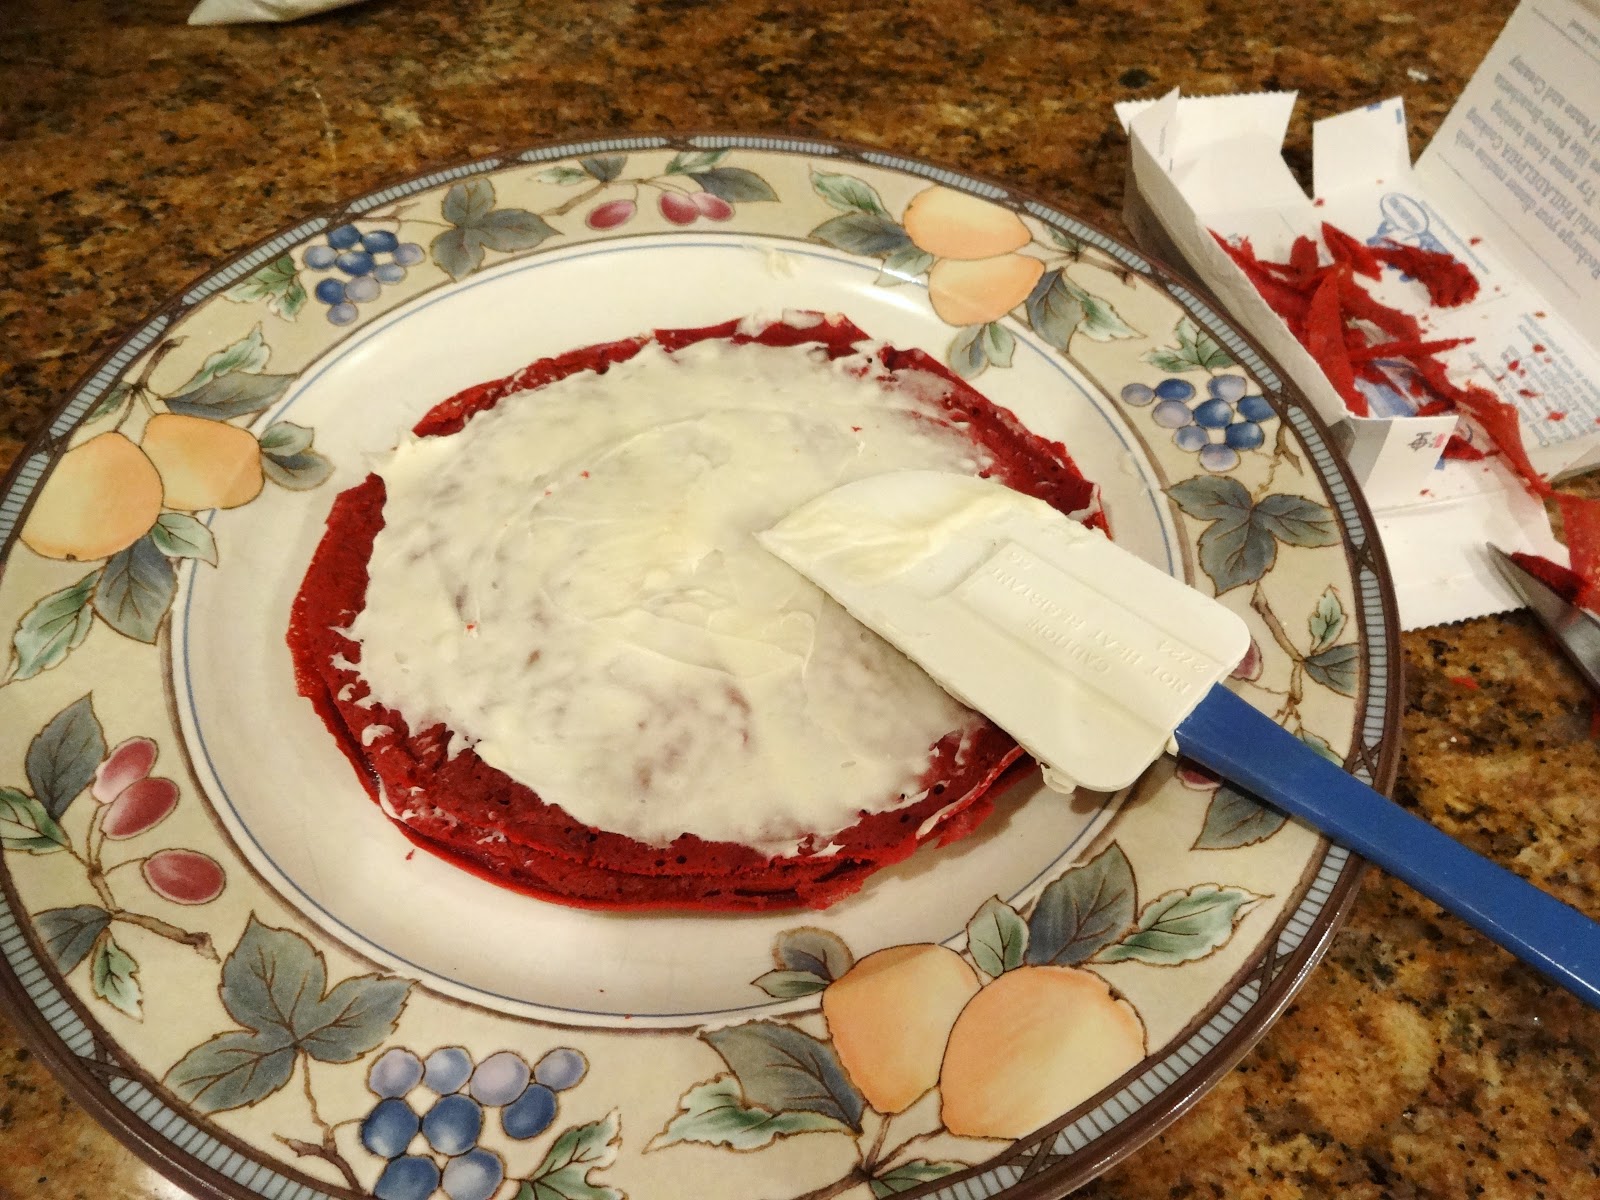
The edges of the crepe will be thin and crunchy.  This will make it uneven and put a lot of crumbs in the frosting.  Take some kitchen shears and gently trim off the crunchy and uneven bits as you start to assemble the cake

    .
 

Place one crepe on a cake plate.  Plop a rounded Tablespoon of frosting in the middle of the crepe and gently spread it to almost the edge all around the crepe.  Place another crepe on top and spread it with frosting.  Don't worry.  You will have enough and a bit left over.  Try to keep the sides of the cake even as you layer.  You will use about 15 to 20 layers.  If you are having a hard time keeping them from sliding, chill your frosting for a bit.  Or turn the A/C up.  It is winter here and I didn't have any problems, but I can imagine a hot summer day and a tall pile of slippery layers.  No fun.


When you are all done with layering, use a thin coating of frosting up the sides and on top.  Chill the cake for about 10 minutes in the refrigerator and then finish the frosting.  The thin layer is a crumb coat.  After it chills, it will be easier to spread the rest of the frosting that you did NOT put in the refrigerator and it won't have a bunch of crumbs in it.


Tara made a stencil in the shape of a Christmas tree and we put colored sprinkles on top.  It made the top layer a bit crunchy, but it was festive and fun.  Feel free to use just the frosting.  When cut into wedges, it is dramatic and beautiful all by itself.


If you want to make 2 cakes, don't just double the recipe.  Go to the Taste Of Home recipe site and use their ingredients.  Well, maybe not the 12 cups of sugar!!!


Sunday, December 23, 2012

Don't Do As I Do


I had this brilliant idea.  Why cut the borders for my quilt to a set length and then discover it was too short or too long?  I cut them a bit longer until I finished sewing them on and then cut the perfectly on the edges.  How smart am I?

Not so smart.  I guess I pulled a little too much on one of the borders and it got stretched out.  Just a wee bit.  About 1/2 inch.  But enough that I couldn't get the next border to sit properly.  So THAT is why Carolyn at the Old Trinity Quilt shop told me to cut it to size?  Then she reminded me to pin it at each end and the middle and then make sure it fit evenly all along the edge.  This seemed overly fussy to me at the time, and now that I know there is a good reason for it, I will be overly fussy in the future.  I guess I have to know the WHY of something.  I'm too stubborn to just follow the rules.  Gotta know why.  Good thing I'm not in the Army.


That meant I had to take out the whole side and then cut a bit off , pin it the RIGHT way and sew it again.  Next I cut and put on the rest of the borders and I am done with the top.


I put the quilt away for the rest of the year.  I may get a new sewing machine and I will use that to do the final quilting.  Two of our kids (adult children) are coming for Christmas and when I am working on a project I tend to get engrossed and forget about everything else.  I want to finish it.  Then I need another project.  So I will think about it next year.


So what did I do?  I set up the craft room for stained glass, that's what. 


I will go with the kids to Christiansburg to visit Tech and use that as an excuse to see the stained glass store there.  I hope they are open between Christmas and New Year's.  After I finish the transom I will start thinking about the quilt again.


So family will take precedence and I will wish you all a Merry Christmas and a Happy New Year.  There will be some baking going on, so I hope to have some recipes to post soon.

Thursday, December 20, 2012

How Is This Helping?


I have a cat that is sort of like a dog.  He likes to follow me around the house and investigate anything I do.  He is not so fond of following me around the farm, because the work I do there is generally loud and trees and bushes tend to go flying in the air. I am on my own there.

Both cats like it when I am in the craft room, because the door is usually shut and now it is open.  New stuff to look at and sit upon.  In the winter I have a little space heater and cats love something warm.

I am in the middle of a quilt, so there is an iron to investigate.  The room is too small to set up an ironing board, so I have a table top ironing pad for the counter.  They like to jump up to check it out and then I have to jump up and keep them from burning themselves.

There is also lots of cloth to sit on.  I have to move them carefully so that they don't rip it when I take them off.  When I get up to cut or pin something, they like to take my chair so that I can't sit down and sew.


Today I had to go to another room to lay out the quilt.  I am cutting and sewing on the last of the borders.  They are quite long and I needed to lay them out to measure the exact length .  Not only did Rhett (because he is a handsome, charming, rascal) sit on and crawl under the fabric, but he chased and bit my measuring tape.


It is a good thing he is so handsome and charming MOST of the time, or I might have gotten mad.  It helps if you pretend that HE thinks he is helping.  Not a lot, but some.

Pumpkin Nutella Cookies


     One big and one little.

My daughter-in-law sent me a link to http://abovetheclouds.onsugar.com/.  There was a recipe she thought I would like.  It was a cookie with Nutella in it.  What's not to like?

If you have never had Nutella, then you have a treat coming.  It is what they use for chocolate crepes in Paris.  It is what a lot of Europeans have on their toast or bagels for breakfast.  It is the chocolate filling for lots of baked goods.  Nutella was developed during WWII when chocolate was hard to get.  So add some hazelnut butter to stretch the chocolate, and HEY!.  This tastes pretty GOOD!   It is sort of like peanut butter with chocolate in it.  Only way better.

Pumpkin is also nutritious.  So add the protein from the hazelnuts and the goodness of squash and these cookies are practically a whole nutritious meal all by themselves!  The first batch I made, the cookies were a bit too big.  I used a Tablespoon scoop as recommended.  The second batch I made with a smaller scoop and I liked them better.  These cookies are very soft and the smaller ones seemed to hold up better than the bigger ones. I kept some out, for testing purposes only.  I am that concerned for you.  The rest I froze for the holidays when massive hoards of people will descend (two adult children).  That was my concern for ME.

Pumpkin Nutella Cookies

1 cup canned pumpkin
1 cup sugar
1/2 cup vegetable oil
1 large egg
1 Tablespoon vanilla extract
2 cups flour
2 teaspoons baking powder
1 teaspoon baking soda
1/4 teaspoon salt
2 teaspoons cinnamon
1/2 cup Nutella

Preheat the oven to 350.  I use Silpats for the cookie sheets, but if you don't have them use parchment paper.


Whisk together all the wet ingredients (pumpkin, oil, vanilla and egg) in a large bowl. You will have left over pumpkin.  Label a Ziploc bag, sandwich size is fine.  There will be about 3/4 cup left.  Put it into the bag and set the bag in the freezer.  Use it for baking, or even a veggie soup later.


Don't forget that the recipe calls for 1 Tablespoon vanilla.  I love vanilla so I went ahead and put it in.  I was a bit concerned that it was a typo, because that seemed like a lot, but it tasted great, so go for it.   Add the sugar and whisk that in.  Whisk vigorously to dissolve all the sugar.


The recipe called for another bowl to mix all the dry ingredients.  I hate doing that.  So I carefully placed all the dry ingredients on top of the pumpkin and swirled it around with a fork. Then I mixed it into the pumpkin below.  That saved ONE WHOLE DISH.  Yay, me. 


So, if you like to follow directions, use another bowl, whisk all the dry ingredients together and then mix it into the pumpkin mixture.  This is make sure that everything is evenly distributed.  I just stir it well and don't worry about it.


Oh, and don't forget to change from a whisk to a spoon.  The whisk will fill with batter and it will be a pain and a mess to try to get the batter out of it.  Don't ask me how I know this.  Just assume that I was smart about this baking process and move along.


Now for the Nutella.  It is cold right now, so my Nutella was a bit hard.  In the summer it gets softer.  I popped it into the microwave for about 10 seconds and then the scooping went easier.  I filled a 1/2 cup measure and then,  using a dinner teaspoon, scooped small globs and dropped them all over the top of the pumpkin mixture.


Next take a spoon or knife and swirl all through the Nutella lumps.  Leave it swirly and don't mix it all the way in.  I did a couple of deeper swirls to mix the Nutella clear through.  Don't worry of there is a big spot of pumpkin.  You can swirl the scooper through the different areas to make sure you have a good mix in each scoop.


If the mixture is too warm to scoop, put it in the refrigerator for awhile.  A cookie scoop works great here.  I tried a fairly large (1 Tablespoon) scoop, but these cookies are very soft and so I went with a small cookie.  The smaller scoop is just perfect.  Plus, then you can eat more cookies!


Leave room between the cookies as they will spread out a bit.

Bake for about 10 minutes or until lightly browned.   Let them sit on the cookie sheet for about 2 minutes and then remove to a cooling rack.


Tuesday, December 18, 2012

Stained Glass Transom


I decided to make the transom above one of the doors between the front of the basement and the back of the basement in stained glass.  This will allow light in and hopefully add a bit of built-in art.  Not that I am an artist.  But I am a bit of a craftsman.  I can follow a pattern...sort of.  If you follow my blog you have seen the quilting that I am learning.


Unfortunately, I don't have a pattern for this job.  But Lee did get me a book of transom patterns and there is one I think I can make work.  I will use it as a guide.  He is going to get me some large drawing/tracing paper so I can play around with it.

Lee thought it would be fun to put SGF for Shenandoah Gateway Farm in the transom somehow, but I couldn't find any patterns or pre-cut letters that I liked.  I don't want to attempt letters all by myself.


I found a site (thank you, Internet) where I could purchase a beveled cluster of glass.  I really like it and it will give the center a finished look.  Now I have to cut glass to fill up the rest of the hole.  Easy peasy, she said, hopefully.


I bought some glue chip clear glass that I think looks like feathers. 


I added a bit of blue for a border and to add some color.  Can't go wrong with blue, right? 


If I didn't order enough glass, I will have to drive to Christiansburg to buy more.  I will not be returning to the store in Salem.

Next I have to sit down with some straight edges and start drawing.  First I will decide how big, then add the bevel cluster in the middle.  All I have to do next is cut some straight edges for borders and fill in around the cluster.  I should be able to do that, right?

If the Christiansburg store was closer, I might have them draw me a pattern.  One year for Christmas, I got a picture of my mother's childhood home in Ashland, Kentucky.  I took it to a stained glass store and they drew up a pattern for me.  I made a stained glass for my parents.


My mother is now in an assisted living facility in San Clemente.  She loves it, by the way and won't leave there to move closer to me. (Thank you San Clemente Villas.)  So I got my picture back and I love it.  I am not a complete novice, but it has been years and I have a lot of other projects.  But I think this will be challenging and fun.  I hope.

I think I should have bought more glass.  There may be some mistakes I didn't factor in.  Oh, well.