Showing posts with label Kitchen Aid mixer. Show all posts

Thursday, September 5, 2024

Amish White Bread

 I grew up in Altadena, CA. I also used to make a lot of bread.  So when a site I follow on Facebook, What's Up In Altadena, posted a bread recipe, I decided to try it.

It was easy and used my Kitchen Aid mixer. I have always enjoyed the process of kneading bread, but this recipe used my dough hook. I have never used it!  Plus, I am now dealing with carpal tunnel problems, so saving my hands seemed like a good idea.

Amish White Bread

2 cups warm water, about 110-120 °

2/3 cup sugar

1 1/2 Tablespoons yeast (2 packets of the 3)

1 1/2 teaspoons salt

1/4 cup vegetable oil

6 cups flour 

Place the sugar and water in the bowl of your mixer.  Stir to mix and then sprinkle the yeast on top. 

Let it dissolve 5-15 minutes.


This is called the bloom.

Add the salt, oil and half the flour.  Mix slowly to incorporate.

 Then add the remaining flour, but don't mix. Replace the mixing paddle with the dough hook and mix slowly until the dough ball is pulling away from the sides of the bowl.

Sprinkle a bit of flour on the very clean counter and knead a few times.

Drizzle about 2 Tablespoons oil in a large mixing bowl and smear it all around and up the sides. Place the dough ball in the prepared bowl and flip it a few times to get it coated in oil. Cover with cling wrapp and place in a warm, draft free area until it doubles in size.  Check in about 1 hour.  I set a timer on my phone as I tend to get involved in projects and forget to look.

Remove the cover and place it upside down to use later  Spray two bread pans with Pam.

Punch the dough down and lay it out on a surface sprinkled with flour.  Cut it in half.  

Knead the ball to get rid of air bubbles.  Roll it out into a rectangle.  

Pinch any remaining air bubbles.  Roll it up tightly from the long side. 

Pinch the seam closed.  

Pinch the ends closed and fold over to make it a bit smaller than the size of the bread pan.  

Pinch the seams. Place in the prepared pan and repeat with the second half.

Place in a warm spot and cover the pans with the saved cling wrap. Let rise until doubled, about 30-50 minutes. Mine took about 40 minutes.  Set a timer so it doesn't rise too much.  Pre-heat the oven to 350°.

Place in the  center of the oven and bake for 25-35 minutes.

Pull out and brush the tops with melted butter.  Let cool 10 minutes before removing to a cooling rack.  

Let cool before you cut into it. This could be the hardest part.  If you cut too soon it will smush together.  

This makes a very nice sandwich bread.  But it is especially nice with a smear of softened butter.


Wednesday, July 31, 2019

Chocolate Zucchini Bundt Cake

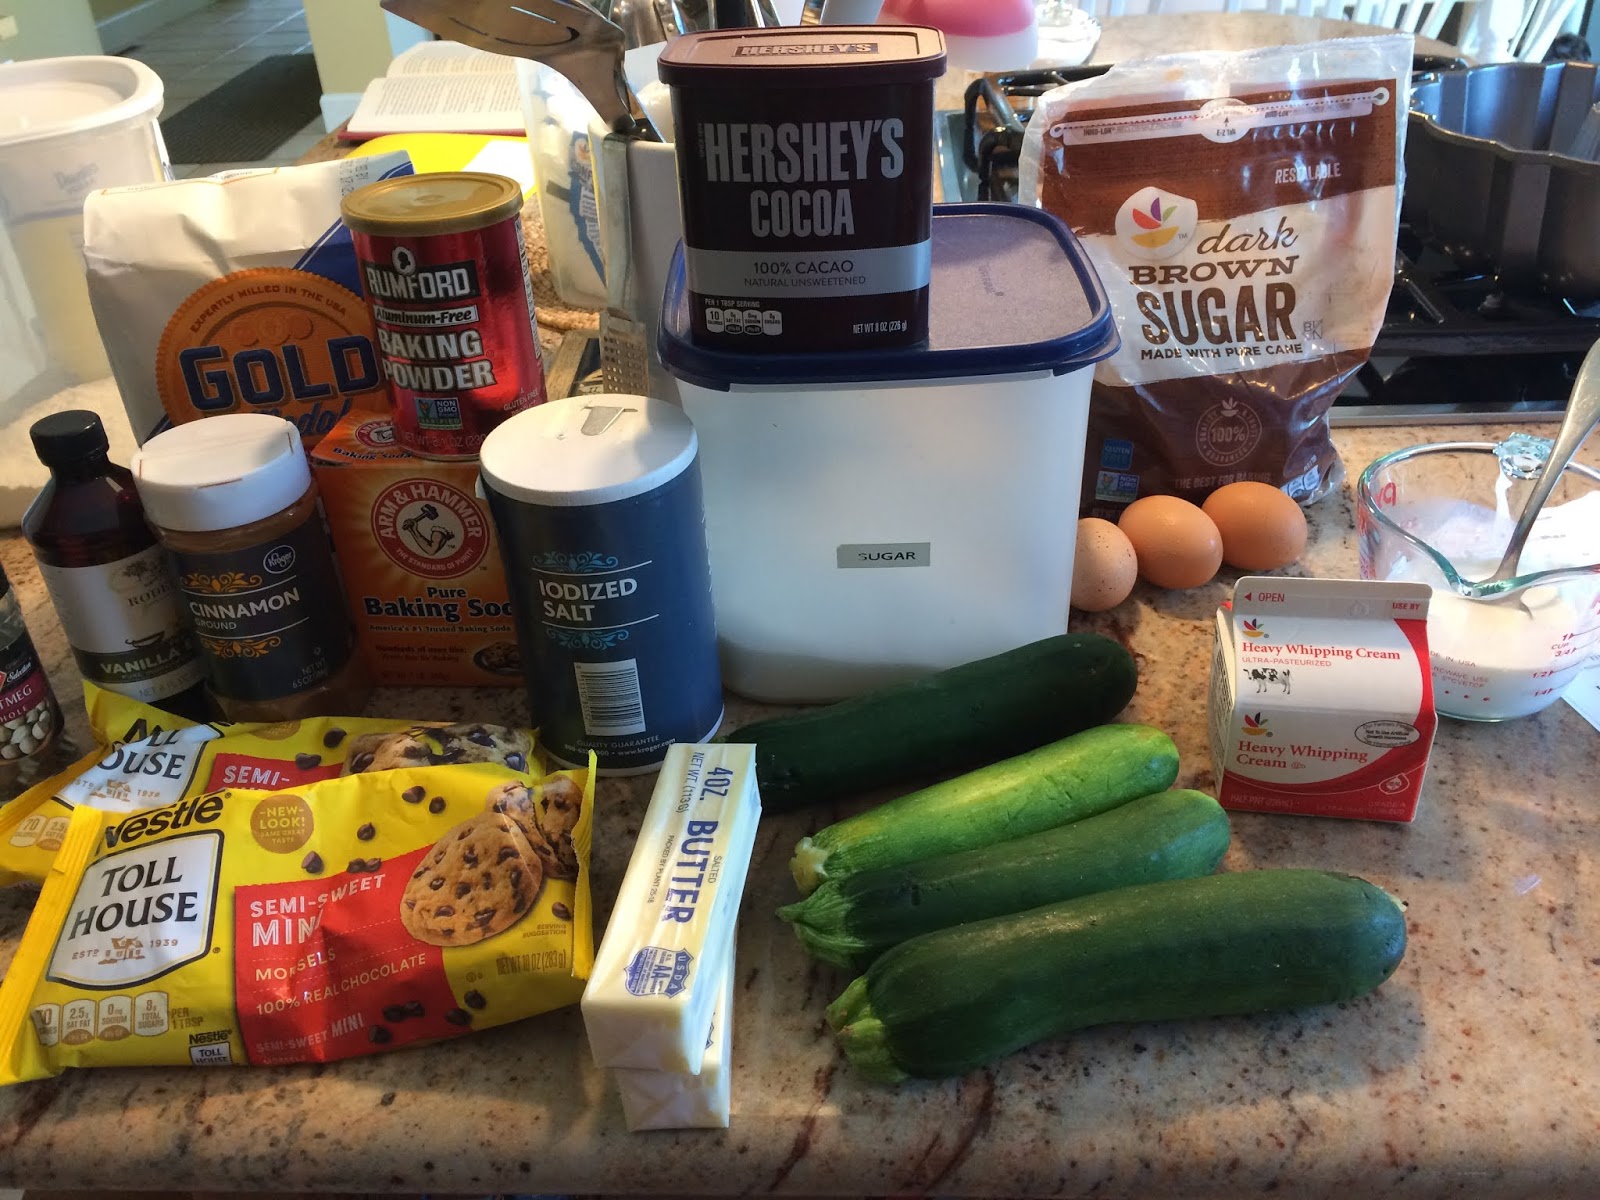
My son's father-in-law posted this BruCrew recipe on Facebook. He is a great gardener and shares his fresh vegetables.  The recipe calls for three cups of shredded zucchini. That sounds healthy!  It also calls for three eggs. We now have chickens, so that is easy and healthy.  I decided to make this healthy recipe.


Chocolate Zucchini Bundt Cake

(OK!  It may not be the healthiest recipe, but it could be the nicest way to get zucchini in your belly!)

3/4 cup butter, softened
1 cup sugar
1/2 cup brown sugar
3 eggs
2 teaspoons vanilla
1/2 cup buttermilk*
3 medium zucchini, enough for 3 cups shredded
2 1/2 cups flour
1/2 cup cocoa powder
2 teaspoons baking powder
1 teaspoon baking soda
1 teaspoon salt
1 teaspoon cinnamon
1/2 teaspoon nutmeg
1 cup mini chocolate chips

Glaze
1 1/4 cups semisweet chocolate chips
1/2 cup heavy cream
2 Tablespoons mini chocolate chips


Preheat the oven to 350°.  Use a square of wax paper to spread the butter all over the inside of the bundt pan.  Don't forget to butter the flutes of the center carefully.  Place 2 Tablespoons of flour in the pan and swirl and pat until the whole thing is coated.  Dump out the loose flour.


Set the pan aside.

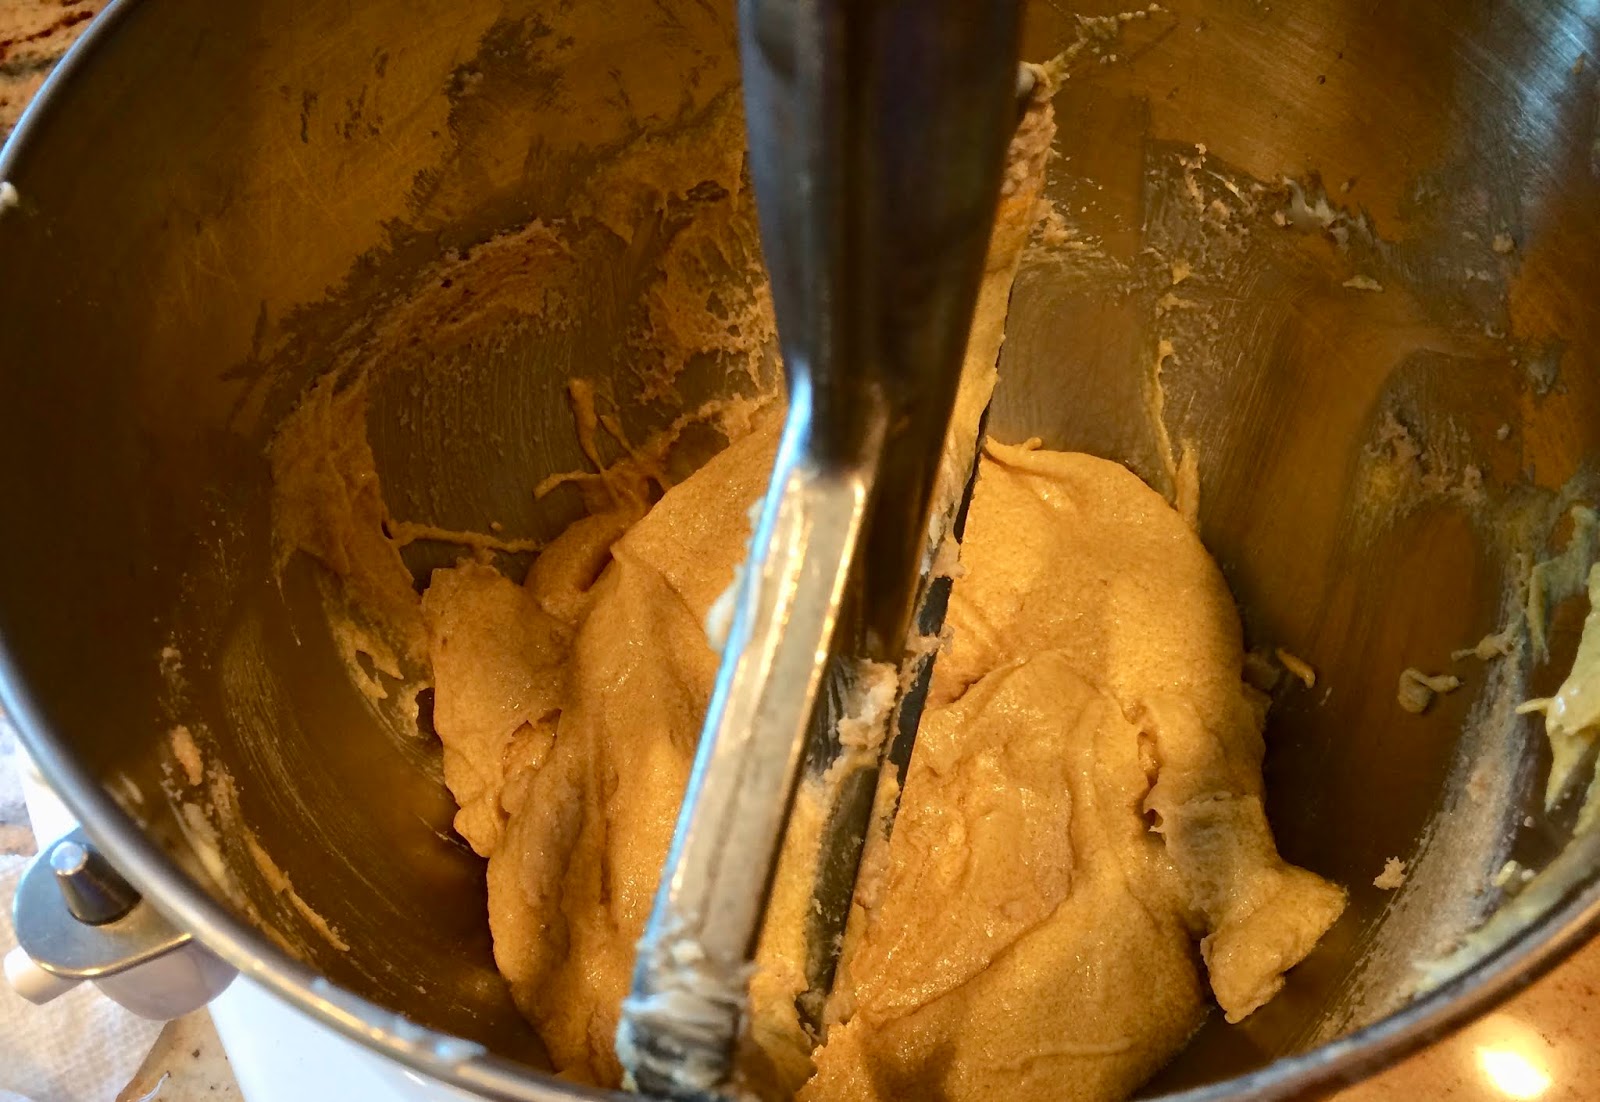
Beat the butter until light snd creamy.  Add the sugars and beat more until creamy again.  A stand mixer works great for this. I use a Kitchen Aid.


Add the eggs and vanilla to the mixer and mix well.


Sift the flour, cocoa powder, baking powder, baking soda, salt, cinnamon and nutmeg together in a medium bowl.  I used a microplane to grate the nutmeg.

* I couldn't find the buttermilk at our new store.  I didn't have any lemons or I could have put  1 1/2 teaspoons of lemon juice in some milk and waited about 5 minutes to make a good buttermilk substitute.  So I mixed 1/4 cup sour cream and 1/4 cup half and half and called it buttermilk.

Add half the. buttermilk and half the flour mix to the butter mixture and mix until moistened.


Then add the last of the flour and the buttermilk and mix until everything is incorporated.


I used a Cuisinart food processor with a grating disc to grate the zucchini.  It didn't come out as fine as I wanted, so I dumped them on a cutting board and chopped them finer.


Stir in the zucchini and mini chocolate chips.


Carefully place the batter into the Bundt pan.  Spread it evenly.


Bake for 50 to 60 minutes, until a tester comes out clean.  Remove from the oven and allow to cool for 15 minutes.


Flip the cake out onto a cooling rack until completely cool.    Place waxed paper under the cooling rack.


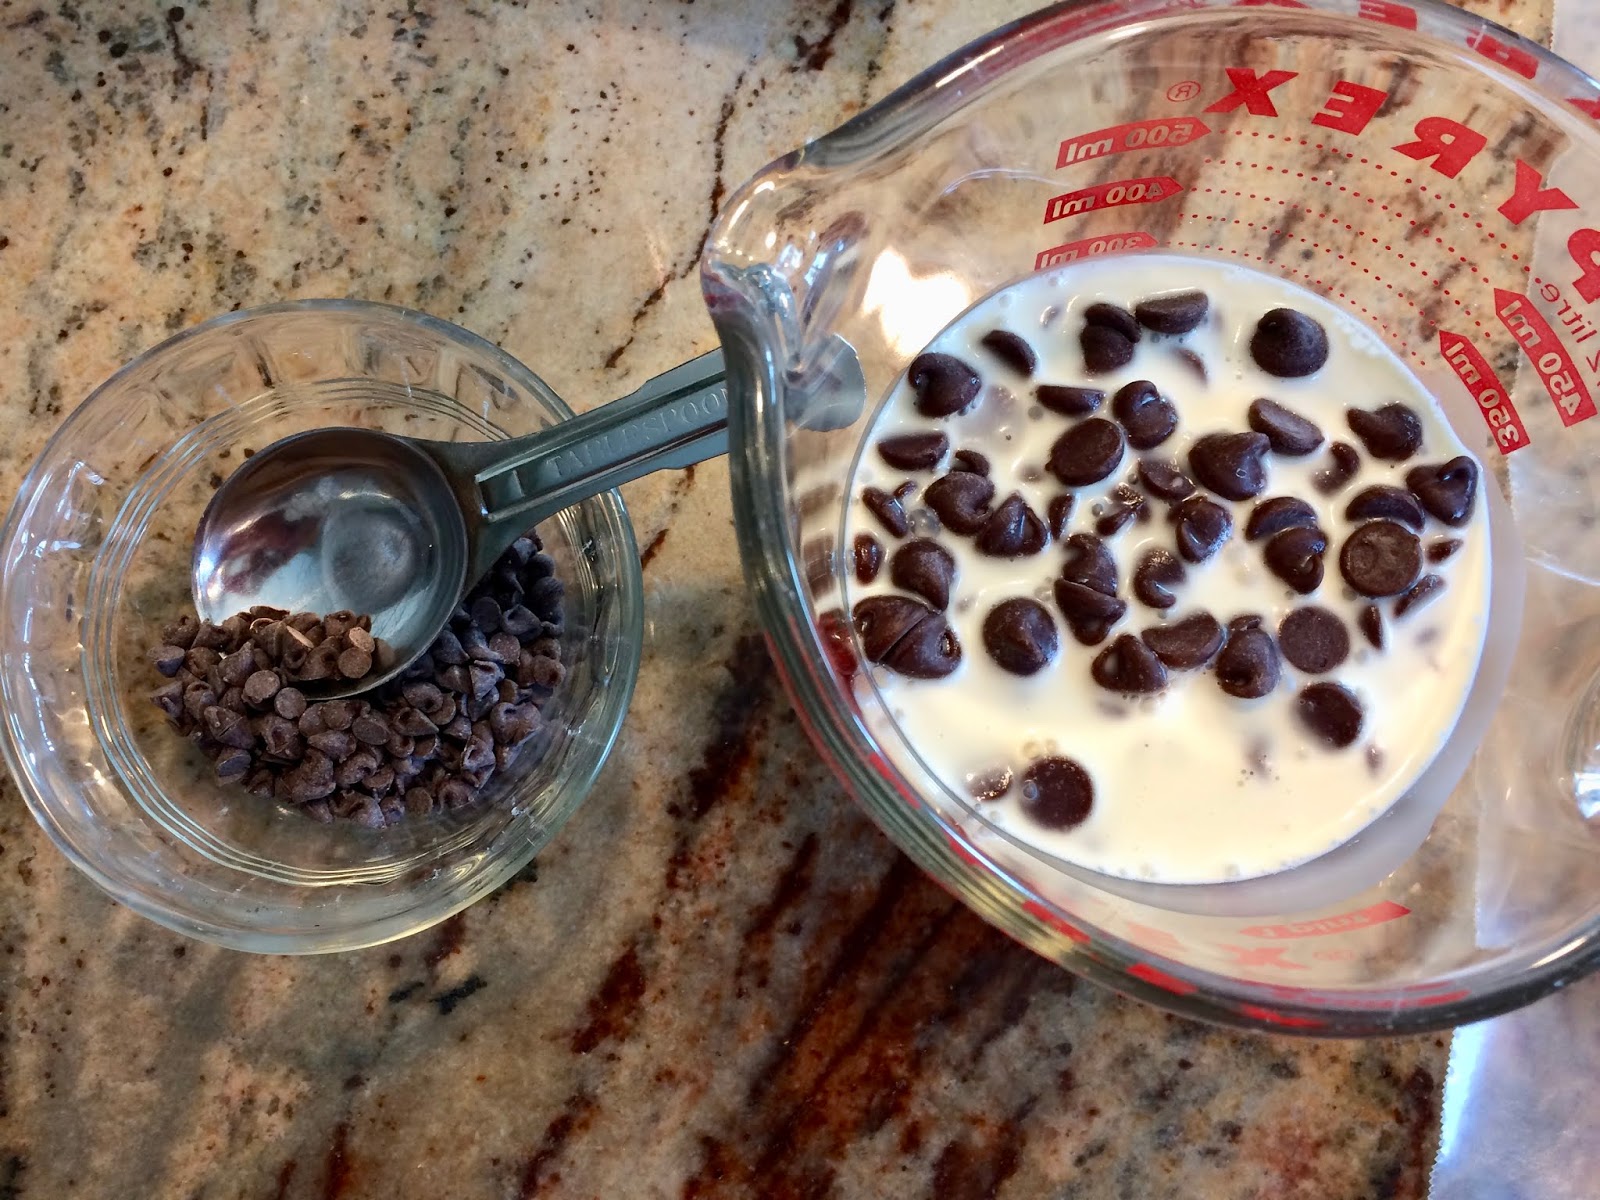
Prepare the glaze. It's super easy.  Place the heavy cream and the chocolate chips in a heat proof container, reserving the mini chips.  I used a Pyrex 2 cup measuring cup.  Heat for 30 seconds in the microwave. Stir until the chips are melted and smooth.


Let the glaze cool for 5-10 minutes.  Carefully spoon or poor the glaze all over the top of the cake, allowing it to drizzle down inside the hole and outside of the cake.  Sprinkle the mini chips over the cake.


There will be puddles on the waxed paper under the cake.  You shouldn't use your finger to scoop up the chocolate and eat it.

Once set, store in an airtight container.


The zucchini adds a lot of moistness to this Bundt cake.


The chocolate adds the fun!!


For even more fun, serve with vanilla ice cream.


Monday, February 4, 2019

Maple Pecan Snickerdoodles

I love finding new things to bake.  While shopping for chocolate chips I discovered that Nestles makes Maple flavored chips. That's new!  It had a maple pecan snickerdoodle recipe on the package.  I made a few adjustments to it to suit me and it is a delightful cookie!

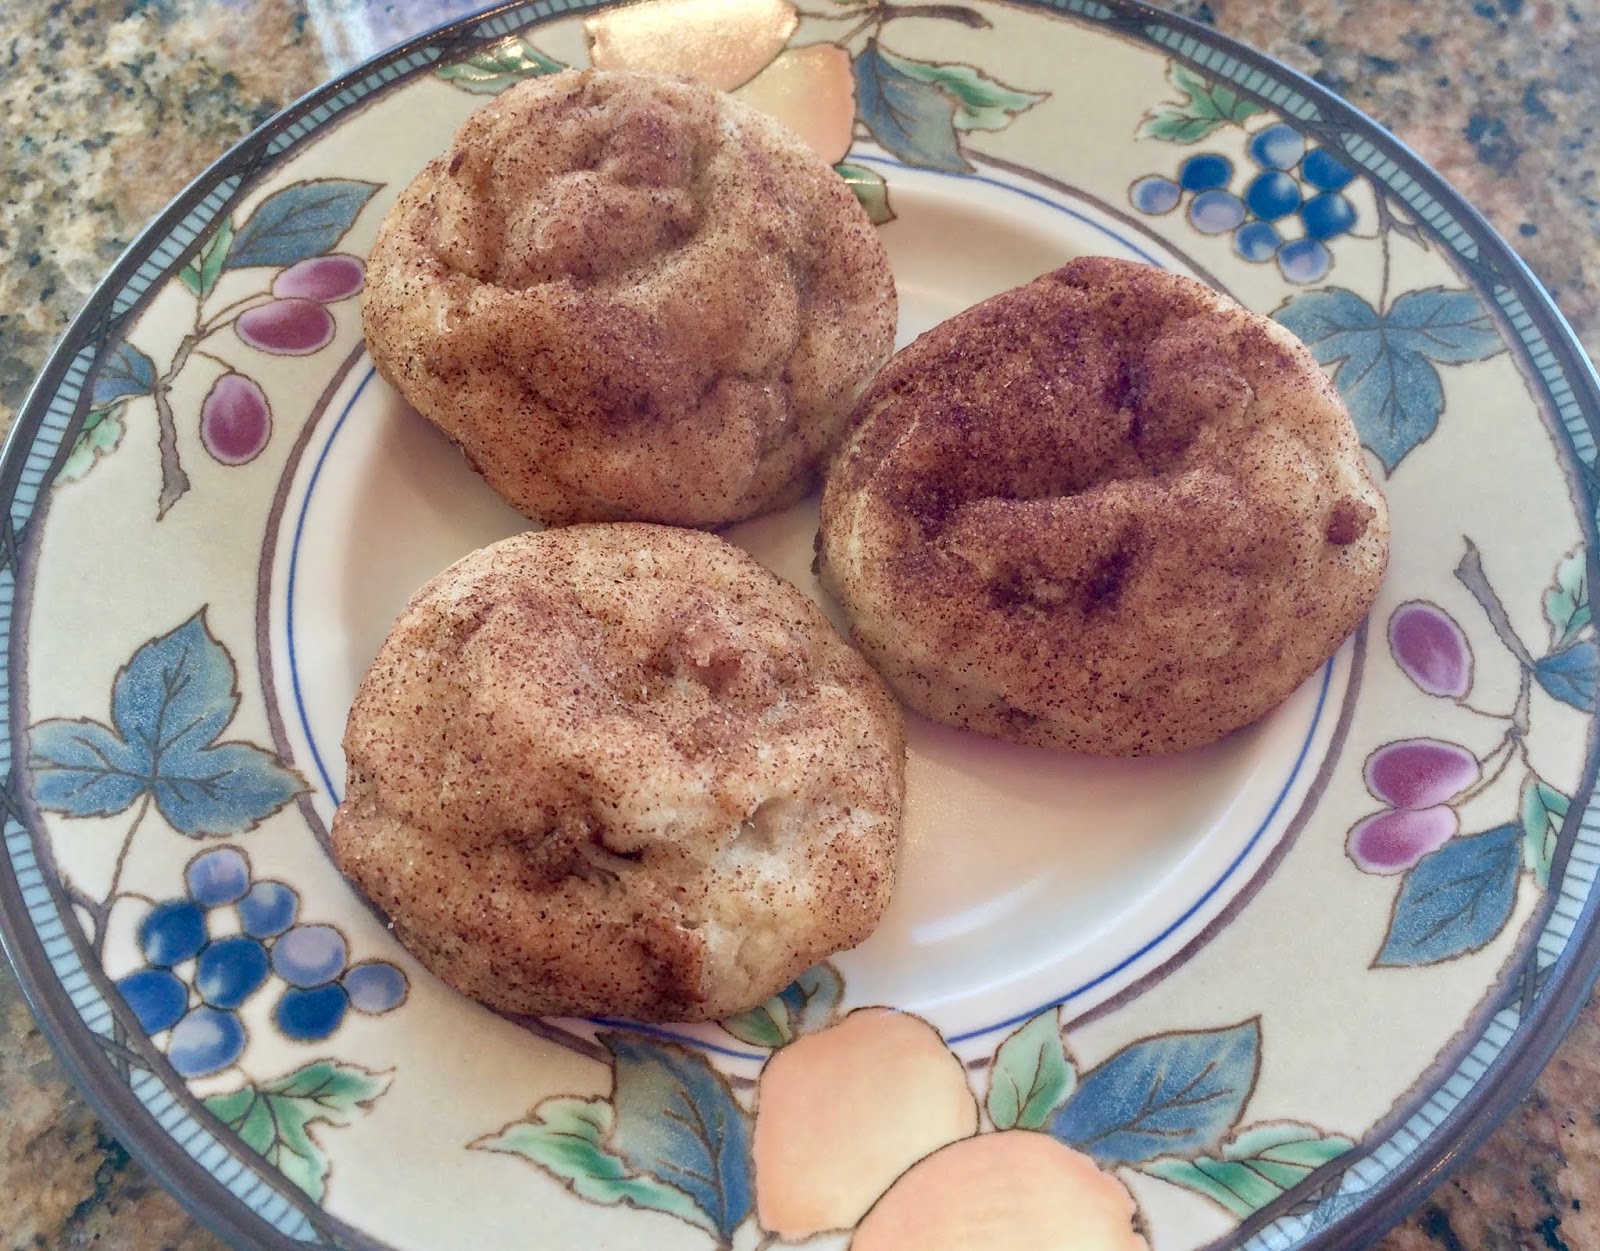
Snickerdoodles are basically balls of sugar cookie dough rolled in cinnamon sugar and baked.  You can find my recipe here.


Maple Pecan Snickerdoodles

3/4 cups butter (1 1/2 sticks), room temperature
1 1/2 cups sugar
2 eggs
1 teaspoon vanilla
2 3/4 cups flour
1 teaspoon cream of tartar
1/2 teaspoon baking soda
1/4 teaspoon salt
1 package Maple morsels (chips)
1 cup chopped pecans

3 Tablespoons sugar
3 teaspoons cinnamon


Preheat the oven to 350°.  Prepare cookie sheets with parchment paper or a Silpat to avoid sticking.

Place the butter in a mixing bowl and mix for several minutes.  I use a Kitchen Aid stand mixer.  I can let the butter mix while assembling the other ingredients.  It will turn pale and be super soft.


Add the sugar and beat until combined. You may have to scrape down the bowl a few times.  You WILL have to scrape down the bowl a few times.

Add the eggs and the vanilla.  Mix some more.


Add the flour, cream of tartar, baking soda and salt to the mixture.  Mix gently to avoid flour flying about the room.


When the dry ingredients are full combined, add the chopped nuts and maple chips.


Place the sugar and cinnamon in a medium bowl and stir to mix.


Use a one inch cookie scoop to make a small ball of dough.  Place about three balls of dough in the sugar and cinnamon mixture.  Gently roll the balls with a fork and place the covered balls on a cookie sheet.


Bake for 11 to 12 minutes. Remove from the oven and let the cookies cool for about 2 minutes before removing them to a cooking rack.

I liked the crunchy nuts and creamy maple chips in the snickerdoodle cookie.  They added an interesting texture and flavor.


Tuesday, September 11, 2018

Maple Pecan Oatmeal Cookies

I like to make cookies from time to time.  They can sit in the pantry and last a week or so for a nice treat now and then.  The impetus for this recipe came, as many do, from a book.  A character in a book was eating maple pecan oatmeal cookies and that sounded fabulous to me.  The fact that it has oatmeal means that I can pretend it is good for me.


Maple Pecan Oatmeal Cookies

2 cups oatmeal
1 cup flour
1 cup chopped pecans, divided use
1 cup brown sugar, divided use
1/2 cup butter, one stick, softened
1 egg
1/2 cup maple syrup
1/2 teaspoon baking soda
1/4 teaspoon salt
1/2 teaspoon maple flavoring
1/2 teaspoon cinnamon


Place 1/4 cup of the pecans and 1/4 cup of the brown sugar in a small bowl and mix well.  Set aside.


I use a Kitchen Aid mixer as it is easier to really beat the butter to a creamy, almost white, consistency. So, beat the butter until creamy and almost white.  Add 3/4 cup of brown sugar and mix well.


 Add maple syrup, maple flavoring, and the egg and continue mixing until smooth.


Place the flour, baking soda, cinnamon and salt in the mixing bowl and mix in. Mix in the oatmeal.


 Add the 3/4 cup of chopped pecans and blend.


Chill for at least 30 minutes.  One hour is better.


This will help the cookie dough to firm up and allow the oats to soak up a lot of the flavors.


Heat the oven to 350º.  Line baking sheets with a Silpat or parchment paper.  Use a medium cookie scoop to place balls of dough on the baking sheet.  Use two spatulas, one to press down and flatten the cookie balls and the other to release the dough from sticking to the first spatula.


Take a teaspoonful of the cinnamon pecan topping.  I used my fingers to place a portion on the cookie and then flattened it a bit more to allow the whole teaspoon of topping to be pressed into the top of the cookie dough.  Return the bowl of dough to the fridge also it can keep cold while baking.  Bake the cookies for 12 minutes,  The edges should just be starting to turn brown.


Cool the cookies for two minutes.  Transfer the cookies to a cooling rack.


Serve warm.


And with a cup of tea or coffee.