Showing posts with label Nutella. Show all posts

Friday, January 10, 2025

Italian Bread

 As I write, the town in which I grew up is burning to the ground. I grew up in Altadena, California.  It was an idyllic childhood.  Our yard was full of huge oaks and a tree house.  My father had planted many trees.  We had lemons, tangerines, oranges, figs, loquat and kumquat and many more.  We were free to pick fruit to eat and I pretended we were intrepid castaways.  The neighborhood was full of children of a similar age and we played sports in the alley and board games in each others houses. 

Our family had 5 kids.  The home we lived in was a small Craftsman/Victorian.  I remember sharing a room with my two sisters.  Then my father started adding on rooms and rebuilding the kitchen. When I was five I had to sweep the floors every hour.  This kept me busy so my father could work in safety.  

We would pack a sack lunch and head up Millard Canyon for a hike with no adults and a bunch of kids.  The rule was to be home before dark.  I rode horses in the street to trails up by JPL and the Rose Bowl.  This is not something kids can do today. 

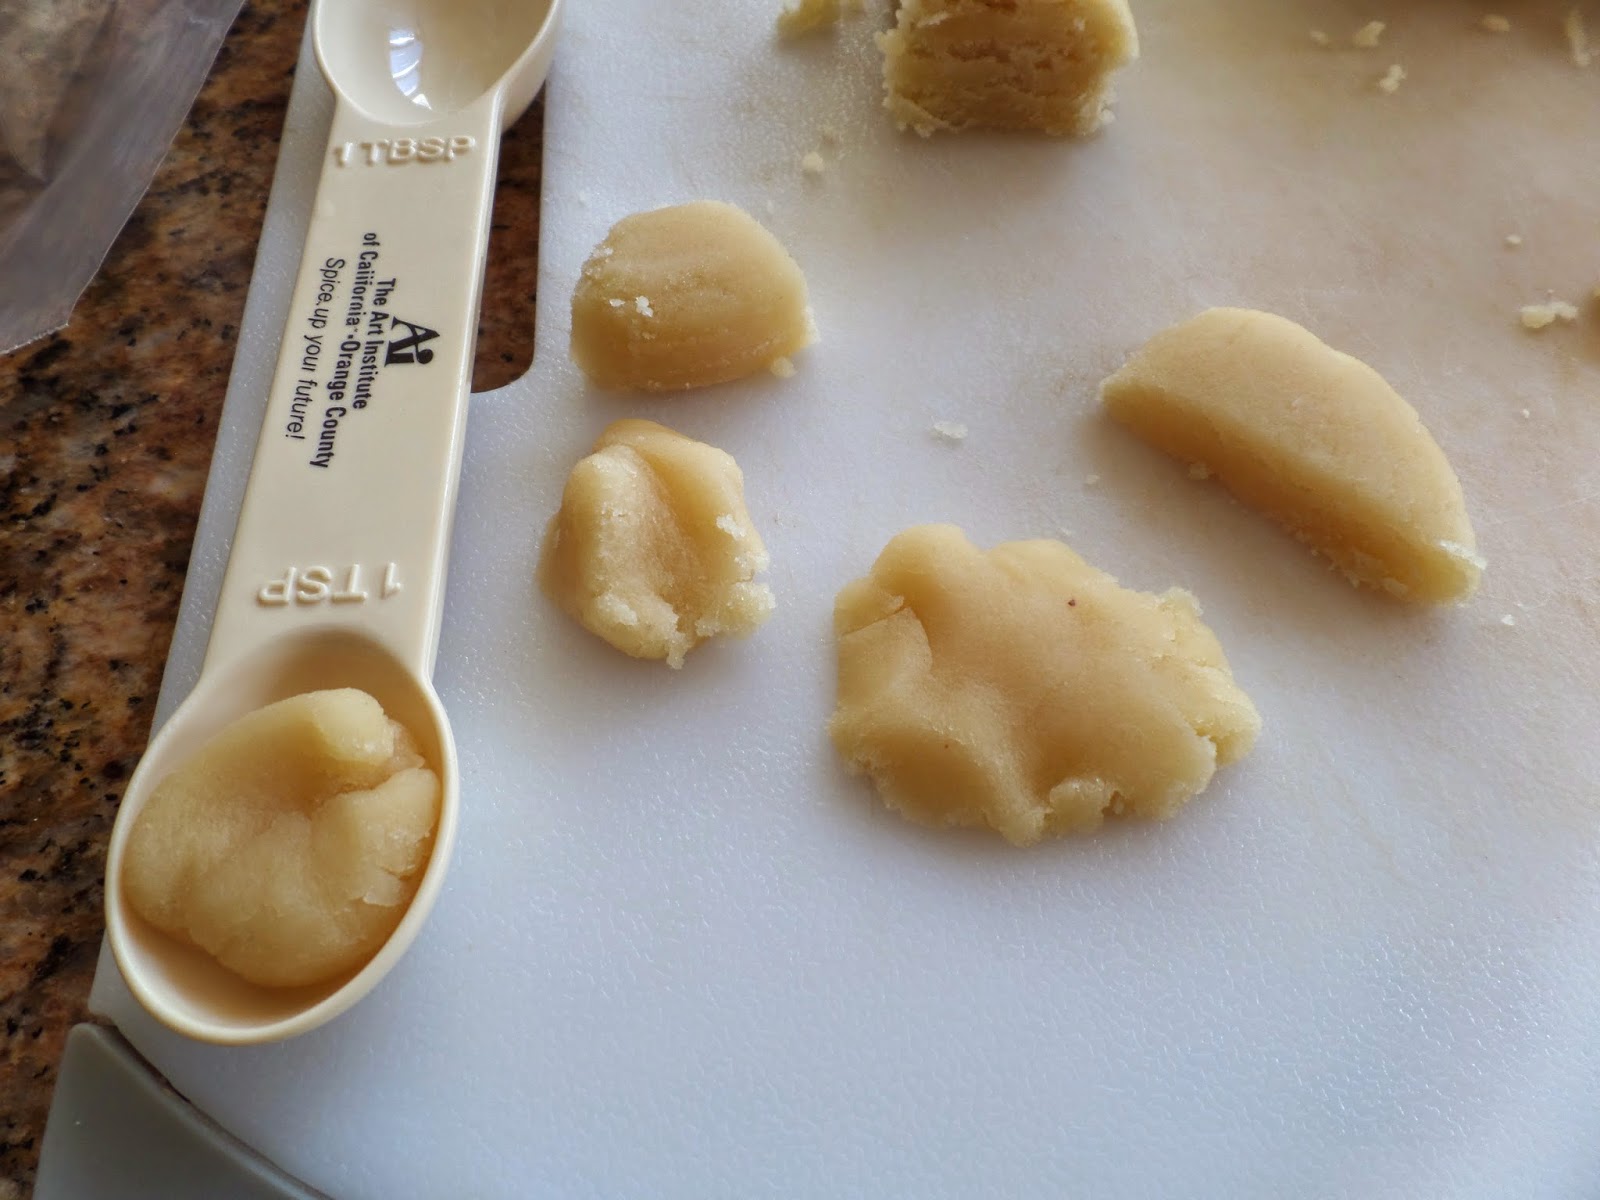
I am so heartsick and just plain mad. I decided to take my energy out on making and kneading some bread. And crying.  

I have made a lot of bread lately and really enjoy the process.  Here is the Italian Bread recipe I used to make the bread for the next two weeks.  I usually freeze the second loaf.

Italian Bread

1 1/2 Tablespoons active dry yeast ( 2 packets)

1/2 cup warm water

1 Tablespoon sugar

2 cups hot water

3 Tablespoons sugar

1 Tablespoon salt

1/4 cup Olive Oil

5-6 cups flour

1 egg, optional

It is very cold today.  It has been between 20° and 30°.  

This has made the bowl of my Kitchen Aid mixer cold. Yeast needs warmth to grow.  But heat will kill it, so there is a balance.  I  have been putting hot tap water in the metal bowl and setting it aside to warm up.

Set out the ingredients and then pour out the water in the mixing bowl.  Place the warm water and sugar in the mixing bowl, stir to dissolve and sprinkle the yeast on top.  Set aside for 5 minutes.

Place 5 cups flour in a large mixing bowl with the sugar and salt. Gently mix.  

The yeast should have puffed up and proved to be active. 

Add the olive oil and about 2 cups of the flour mixture and stir slowly with the paddle. 

Add the hot water 1 cup at a time alternating with a cup of flour.  After about 4 cups of flour with the paddle switch to the dough hook.  

Scrape down the sides and keep mixing and adding flour.  My dough took the extra cup of flour, so 6 of them. 

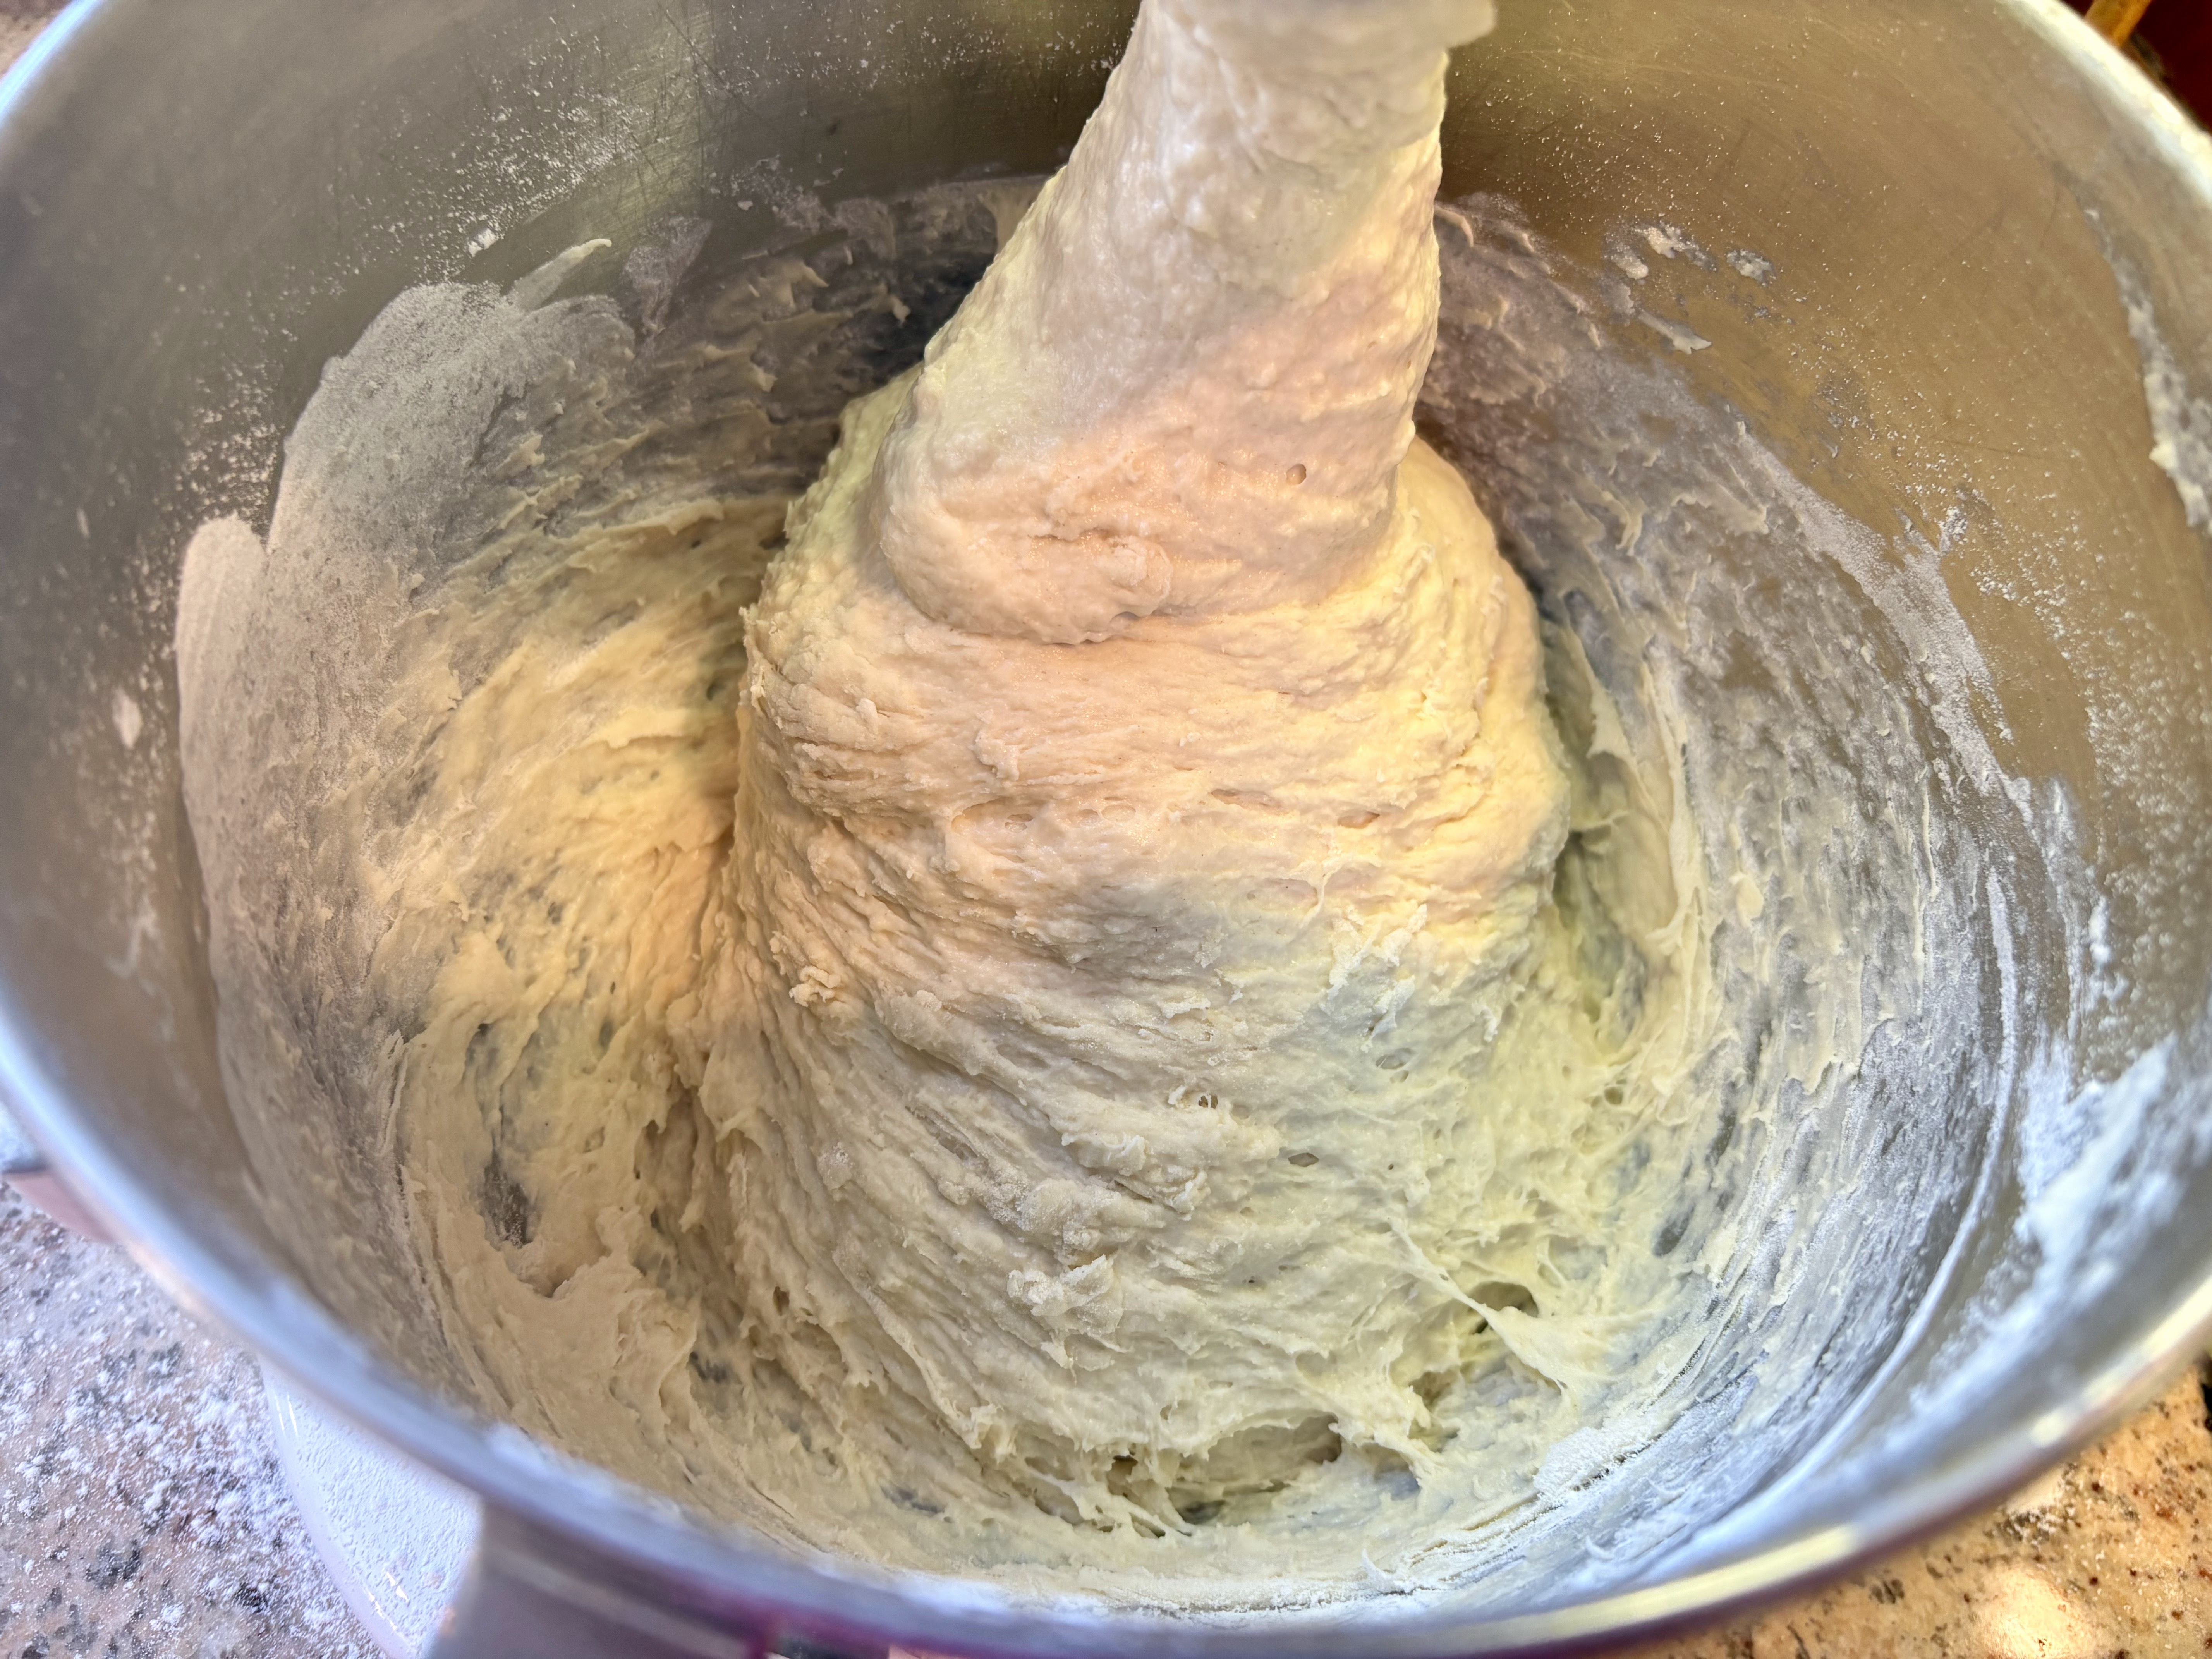
Sprinkle flour on the counter and place the dough on top. Mine was still sticky at this point, so I also added some flour on top of the dough ball and started kneading. 

 Knead until the dough is smooth and not sticky. I ended up using about 6 1/2 cups of flour altogether.

The flour bowl is now empty.  Put about 1 Tablespoon of olive oil in it and rub it up the sides.  Place the dough ball in the oiled bowl and flip it to cover it with a thin layer of oil.  

Cover with plastic wrap or a towel.  I use plastic wrap as I have had rising dough stick to the towel. Set the bowl in a warm spot and let rise for 1 hour.

By 1 hour the dough should have doubled in size.  Punch it down and turn it out onto the very clean counter.  

Divide it in half.  Press out the dough into a rectangle about 12X9.  

Fold it into thirds and pinch the seams.  

Repeat with the other half.

Fold into logs and place on a baking sheet lined with parchment paper or a silicone mat. I did both to see if they came out differently.  I didn't notice much of a difference, but the one on the silicone mat spread out a bit.

Preheat the oven to 375-400°. I used 375° because I had dark baking sheets.

Cover the dough for about 30 minutes.  It should rise up almost double. Make an egg wash. I used 1 egg and 2 Tablespoons of water in a small bowl. Whisk until combined. Make 3 shallow slashes across the tops of the loaves. Brush the tops with the egg wash.

Bake for 30 minutes. Switch the loaves around half way through to cook evenly. After 30 minutes, one loaf was brown and ready. I took it out and placed it on a cooling rack.  After about 5 more minutes the second loaf was also done.  Place on a cooling rack.

After cooling completely, I cut some slices.  The bread was soft and chewy.  Butter is always good on fresh, homemade bread.

The next morning I toasted the bread. I had one piece with butter and strawberry jam and one piece with Nutella.

All three methods were quite delightful. In fact, plain fresh bread with nothing on it was also perfection.


Thursday, January 2, 2020

Chocolate Hazelnut Mousse

This is a fabulously easy dessert to make.  There are only two ingredients.  Unless you choose to top it with a spritz of whipped cream.  I chose.

The magic ingredient is Nutella.  I love Nutella and use it in a lot of dessert recipes.  I also love it in breakfast treats.

This recipe makes 4 desserts.  I got it from Tiphero.


Chocolate Hazelnut Mousse

1/2 cup Nutella
1 cup heavy whipping cream


It helps to chill the mixing bowl and beaters for about half an hour before you start.  I used a Kitchen Aid mixer but you can use a hand held mixer.  This would be difficult to do by hand.


Heat the Nutella about 15 seconds in the microwave so that it is pourable.  Stir.  If you need to, heat it a bit more.   It took me a total of 30 seconds, but it's winter.  I covered the Pyrex measuring cup with waxed paper in case it wanted to make a mess in the microwave.  Let it sit while you whip the cream so that it can cool a bit.  If it's too hot it can damage your lovely whipped cream.


Whip the heavy cream until it forms stiff peaks. Gently fold in the room temperature Nutella.


Keep mixing until there are no visible streaks.


Place the mixture into four small dishes.  Chill for at least two hours.


You can serve it as is or you can spritz a bit of whipping cream on top.  This mousse is delicious as is, but it is more festive with a whipped cream swirl!


This was a lovely dessert and our guests were impressed enough to want the recipe!

Saturday, March 19, 2016

Stuffed and Dipped Strawberries

I was having a tea party and wanted to have something fruity to go with the sweet and savory I had planned.  I decided to try stuffing strawberries.  At first I was just going to use Nutella, but then I decided to mix it with some cream cheese.

It was good, but I will try plain Nutella next time to see which I like best.  After I made them they looked so naked.  So I dipped them in melted chocolate.  I like a dressed strawberry.

Stuffed and Dipped Strawberries

A selection of large strawberries, washed and dried.  I used 10.
about 1/4 cup Nutella
slightly less whipped cream cheese
 Melting chocolate, optional


I gently mixed the Nutella and the cream cheese in a small bowl.  Don't worry if there are small streaks of cream cheese.  Don't mix so vigorously that you loose the lightness of the whipped cream cheese.


Taste some and make sure you like it.


Use a paring knife to cut off the stem of the strawberries.  Then gently cut a core out of the center of the top of the strawberries and set aside.


I have frosting bags, but if you don't you can use a quart size Ziploc bag.  The sandwich ones are too thin.  Snip off the corner and use a star shaped frosting tip.  I just placed one in my frosting bag.  Then fill the bag of choice with the Nutella cream cheese mixture. 


Fill each strawberry leaving a little rosette on the top of each one.


Melt the chocolate according to directions.  Dip each side of the strawberries in the chocolate and set on a sheet of waxed paper to cool.  Try to avoid touching the filled part and ruining your rosette. I had extra melted chocolate and dipped some potato chips in it.  I highly suggest this!


Chill in the refrigerator until time to serve.


I served these with Sweet and Salty Bacon Bars and cucumber sandwiches. They were quite good.  The filling had a tendency to ooze out of the strawberry when you take a bite.  But then, if no one is looking, you can lick the filling off your fingers.  And that was delicious, too.

Monday, November 10, 2014

Grilled Chocolate Sandwich

A lot of my recipe ideas come from the books I happen to be reading at the time.  Because I read about a book a day...well, maybe 5 a week, I can't remember the book I was reading when I read about this amazing idea.  Two women were having a gab session when they decided to have some grilled chocolate sandwiches.  That's all they said about it.

A lot of books with recipes include them at the end.  I flipped to the back of the book, no recipe.  But this sounded like the perfect late night snack for a girls get together.  No females dropped by my house so I decided to invent the sandwich and force feed offer it to my husband for dessert after a light meal of soup.

We all know and love grilled cheese, right?  And almost anyone can make one of those.  I started with that premise and decided the chocolate could be from Nutella.  Nutella has a hazelnut base, so I figured it was a protein and sort of, kinda, healthy.  I decided this based on no actual basis in fact.


This isn't actually a recipe as much as an idea you should take into consideration. 

Bread
Nutella
Butter


Yep.  that's it.  I used an electric griddle, but any fry pan would work.


Just spread some Nutella on a slice of bread.  I used white wheat, cause I am all about healthy CHOCOLATE sandwiches.


Place another slice on top and butter the outside of that and place the buttered side down on the hot pan.  Then butter the side facing you.  When the bottom is a toasty brown flip the sandwich over and brown the other side.

"HEY!"  I can hear you yelling.  "That isn't a recipe.  I do that for grilled cheese when there is nothing else in the fridge and I need some comfort food."

Yes, but did you ever think about chocolate instead of cheese?  I thought not.


The sandwich dessert was pretty good.  The outside was buttery and crispy and the Nutella was warm and melty.  In fact, I could have slathered on a thicker pile of the chocolaty goodness.  But remember, we are going healthy, here.

Lee wondered why I didn't add fruit inside.  You know, like Elvis used to like grilled peanut butter and banana sandwiches.  I am not a slices of banana fan, but you go right ahead and add some.  Even better would be some sliced strawberries.  Or raspberries and use a Panini pan.  Or even a George Foreman Grill.  You see where I am going here?  Easy peasy and delicious. 

And if you add fruit to the Nutella protein, it is a main course.  AND healthy.  Sort of.  Kinda.

Monday, November 3, 2014

Almond Croissants

I have been obsessed with using Pepperidge Farm Puff Pastry lately.  It keeps in the freezer and I can thaw it the night before and make a few treats for the bed and breakfast guests.

I have been making chocolate croissants using Nutella a lot.  But, strange as it is to imagine, not everyone is a chocolate fan.  No, seriously.  There are people like that!  Otherwise perfectly normal people!

I decided to see if I could make an almond croissant.  They are my second favorite flavor of croissant.

I bought a can of almond paste and some puff pastry and started to experiment.  (Cue mad scientist music here...it is around Halloween, after all.  Oh.  And a Vincent Price laugh!)


Almond Croissants

1/2 package puff pastry, thawed overnight in the refrigerator
1/2 can almond paste
1 egg
1 Tablespoon water
sliced almonds

2 Tablespoons powdered sugar


I chose to make half of a box, but you can certainly make the whole box and the whole can of almond paste.  I just didn't need that many croissants.

Heat oven to 375°.  Line a baking sheet with parchment paper or a Silpat.  Set aside.

Beat the egg and water in a small bowl to use as an egg wash.


Remove one of the sheets of puff pastry and return the other to the freezer.  One suggestion I found was to sprinkle the work surface with sugar, rather than flour and this sounded like a great idea.  It did make the bottom of the croissants a bit browner and made a crispy sugar crunch on the bottom.  But I'm OK with that!


I wanted to make small croissants, but you could make bigger ones.  I chose to cut the sheet of puff pastry in thirds, along the fold lines.  If you wanted bigger croissants, then just cut the long rectangles from corner to corner making 6 long triangles.  I cut the long rectangles in half and then cut the short rectangles into triangles.


It helped to remove both ends of the can of almond paste and push it out onto a cutting board.  I separated one lump of almond paste and cut off sections of about 1 teaspoon. 


I pressed on these to make a thin pancake and formed them to fit inside the triangle, leaving room for the egg wash.


Brush the egg wash on the edges and roll up the triangle, set it on the prepared pan and gently shape it into a crescent.


After you fill and roll all the triangles, use the egg wash to brush all the croissants.  Sprinkle with a few sliced almonds.

Bake for 18 to 22 minutes.  You want them to be a nice golden brown to have a crispy outside.  Let them cool on the baking sheet for a few minutes.


Put a square of waxed paper under a cooling rack and place the croissants on it.  Sprinkle the warm croissants with powdered sugar in a small strainer.  Serve warm.

The clean up is easy, because you can just carefully roll up the waxed paper and toss.

These were truly delicious.  Make yourself some.  Make a bunch, because your family will take them when you aren't looking.

Don't ask me how I know this.