Thursday, October 29, 2015

Stocked Market II


I am selling some baskets at the Stocked Market.  This is a fund raiser for the Junior League of Roanoke Valley held at the Berglund Center.

In a previous post I showed some of the Christmas themed baskets I made from clothesline and fabric strips. 

Here are a few of the other baskets I have been making.


After I make the baskets, I try to find an embellishment that coordinates with the fabric.


I'm trying different shapes and ways of finishing the baskets.  Then I added a stripe!


I got tired of the fancy and made a simple.


I have a lot of ideas and a lot of fabric, but only two weeks until the sale to make them.  If I sell any baskets, I will make up a bunch over the winter and then try again at a different craft fair.  If I don't sell any, I will be set for all birthday and other gifting opportunities for quite some time!

Tuesday, October 27, 2015

Stocked Market

I have a friend that sells hair clips made on piano wire.  They are beautiful and make many different hairstyles with ease.  She is coming for a visit soon to sell them at the annual Stocked Market at the Berglund Center, put on by the Junior League.

I have been sending her pictures of the baskets I make from clothesline and fabric strips and she has been telling me I should sell some at a craft fair. I was intrigued by this idea.  Plus, it gives me the excuse to keep making them as I experiment with color and shape.  I gave her one of my early baskets when she demanded hinted that she would like one.  Her hair clips don't take up a lot of space in the booth she has rented at the Stocked Market and she arranged for me to sell a few baskets from her booth.

Since then I have been making baskets like a crazy woman.  Well, she said in a humble voice, an exceptionally talented and organized woman with a touch of OCD.

Here are a few that I made with Christmas fabric.


You can really change the appearance by changing the thread color.


I bought a lot of little findings and things and have enjoyed combining them with the baskets.  I will bring scissors to remove them if potential purchasers don't like my choices!


It is a bit harder to make handles so I will have to charge more for them.  That is my big problem.  How much to charge.  I have seen little plain baskets for around $25.  And huge purses for hundreds of dollars.


There is about $5. worth of supplies, if I purchase fabric for a specific basket.  It is a little less if I use fabric left over from another project.


So I have to figure how much my time is worth.  And how much people are willing to pay for a basket.  Even one that is one of a kind and handmade by an ARTIST!


Can I charge more if I call myself an ARTISTE?

Friday, October 16, 2015

Baked Maple Fennel Bacon

We watch a lot of Food TV.  This is bad as we usually watch it late at night and thereby sabotage our eating the next day.  I am also a sucker for restaurant advertising.  And must eat at any restaurant that has me drooling the night before.

Recently I watched a Dinner At Tiffani's show where she made some baked bacon.  I have been thinking about making some baked bacon for my B&B guests and this was the final push I needed to finally do it.

Of course you can't make a recipe for B&B guests without trying it out on a guinea pig treasured friend.  It was actually pretty good and I intend to add it to the B&B meals, but my oven cooks unevenly, so the next time I make it I will rotate the pan halfway through to prevent some spots being fine and others being a bit underdone.  Bacon should be crispy.  Unless you live in England and then it is a soggy mess and should  be called warm ham, or something.

I made enough for two people, but you can multiply this recipe for whatever number you are serving.

Baked Maple Fennel Bacon

4 slices thick cut bacon
1 Tablespoon Maple syrup
1 teaspoon brown sugar
1/4 teaspoon fennel seeds
black pepper


Heat the over to 375°.  Line a baking sheet with foil.  This is a messy recipe to bake and you will not want to try to get the burnt sugar off your pan.  So don't skip this step.


Place an oven proof rack over the foil.


Mix the syrup and the brown sugar in a small bowl.

I couldn't find my mortar and pestle.  I only seem to find it when I am looking for something else.  I do have a coffee/spice grinder.  The last time I used it was for coffee, so I wiped it out carefully and used it to coarsely grind the fennel.  I used 1/2 teaspoon of seeds and had a lot leftover.  Fennel has a fairly strong flavor, so I only used about half of what I ground and so I suggested 1/4 teaspoon in the recipe above.  I was a bit worried about transferring some coffee flavor, but that didn't happen.  On the other hand I am now curious to try some maple COFFEE bacon using ground coffee beans. 


If anyone tries that, let me know if it is good!

You should leave the bacon in the refrigerator until you are ready to place it on the rack.  A chilly slice of bacon is easier to remove and place without stretching it all out of shape.  Use a rubber spatula to separate the slices without stretching them.  Place the strips on the rack without them touching.


Brush one side of the bacon with the maple mixture.  Turn the slices over and brush the remaining maple mixture over the bacon.  Sprinkle the crushed fennel sparingly on them  and grind some black pepper over the whole thing.


Bake for 20 to 25 minutes.  You might consider turning the baking sheet halfway through.  I know I will next time.

Remove from the heat and loosen the bacon from the rack.  If you don't, it will stick and you may break the pieces trying to remove them.


I served the bacon in a glass.  They were quite good and nicely complemented the goat cheese blueberry scones and chocolate dipped strawberries I made for our tea party. 

I had to have SOMETHING to serve if the bacon didn't turn out!

Monday, October 12, 2015

Strawberry Ice Cream

Lee bought me an ice cream maker attachment for my Kitchen Aid stand mixer.  I found  a lot of different recipes on line.  I found an amount that would fit in the Kitchen Aid in one batch and used that as a baseline.  Even though it is not summer, I decided on strawberry ice cream.  I started with a French Vanilla base and then added in the strawberries at the end.  I may someday try just the vanilla.

This was my first attempt with my Kitchen Aid attachment.  If only I could eat ice cream every day, I could make ice cream every week!  I could try lots of fun flavors.  Wouldn't that be great?  sigh

If you are using the Kitchen Aid ice cream maker, and just got it, wash and dry it completely.  Place it in the freezer for HOURS.  It's best to just keep it in there for when the mood strikes.  But at least keep it there over night.  This process takes a whole other day to make, so don't start it the morning of your ice cream party.  It is a plan ahead kind of thing.

Strawberry Ice Cream

2 1/2 cups sliced strawberries  This used almost a whole quart size tub
1/3 cup sugar
1 teaspoon lemon juice

5 egg yolks
3/4 cup sugar
2 cups heavy whipping cream
1 cup whole milk
1 cup half & half.  You can just use 2 cups of the half & half, but I went with some whole milk.
    Cause I wanted this to be guilt free!  And, yes, I know I am deluding myself.  sigh
2 teaspoons vanilla bean paste or 4 teaspoons vanilla
1/8 teaspoon salt


Wash the strawberries and cut off the stem and leaves.  Then place them on a double thick section of paper towel.  Dry them thoroughly and slice them up.  The drying part is important as it keeps ice crystals from forming.


Mix the strawberries with the sugar and lemon juice and place them in the refrigerator to chill.


Heat the milk and half & half in a medium saucepan until very hot, but not boiling.  Stir often.  Remove from the heat and set aside to cool slightly.


Place the egg yolks and sugar in the mixing bowl of the Kitchen Aid and whip them with the wire whip.  Mix on Speed 2 for about 30 seconds.

While the whip is still mixing the eggs, slowly pour a small amount of the hot milk into the egg mixture.  Then pour a bit more.  You are trying to temper the eggs and make sure they don't turn to scrambled eggs when you cook them. There are recipes where you don't cook the eggs and milk, but I think the eggs need to be cooked.  So there.

Continue adding the hot milk mixture to the eggs in a drizzle until you have added all of it.  Then pour the whole thing back into the medium saucepan and return it to the stove.  Cook until small bubbles begin to form at the edges of the pan, while stirring often.  It should be very warm, but not boil.


Pour the milk and egg mixture into a large bowl.  I like to strain it first, so I poured it through a strainer.  Add the heavy cream and the salt.  I found some vanilla bean paste in an Amish store and have been using that instead of a whole vanilla bean.  They are so expensive and they tend to dry out so when I found this paste I was thrilled! 


Add the vanilla to the mix, stir, cover and chill in the refrigerator for HOURS.  The directions called for 8 hours.  But I only gave it 6 hours and it was very cold and made ice cream in a reasonable time, so use your own judgment. 


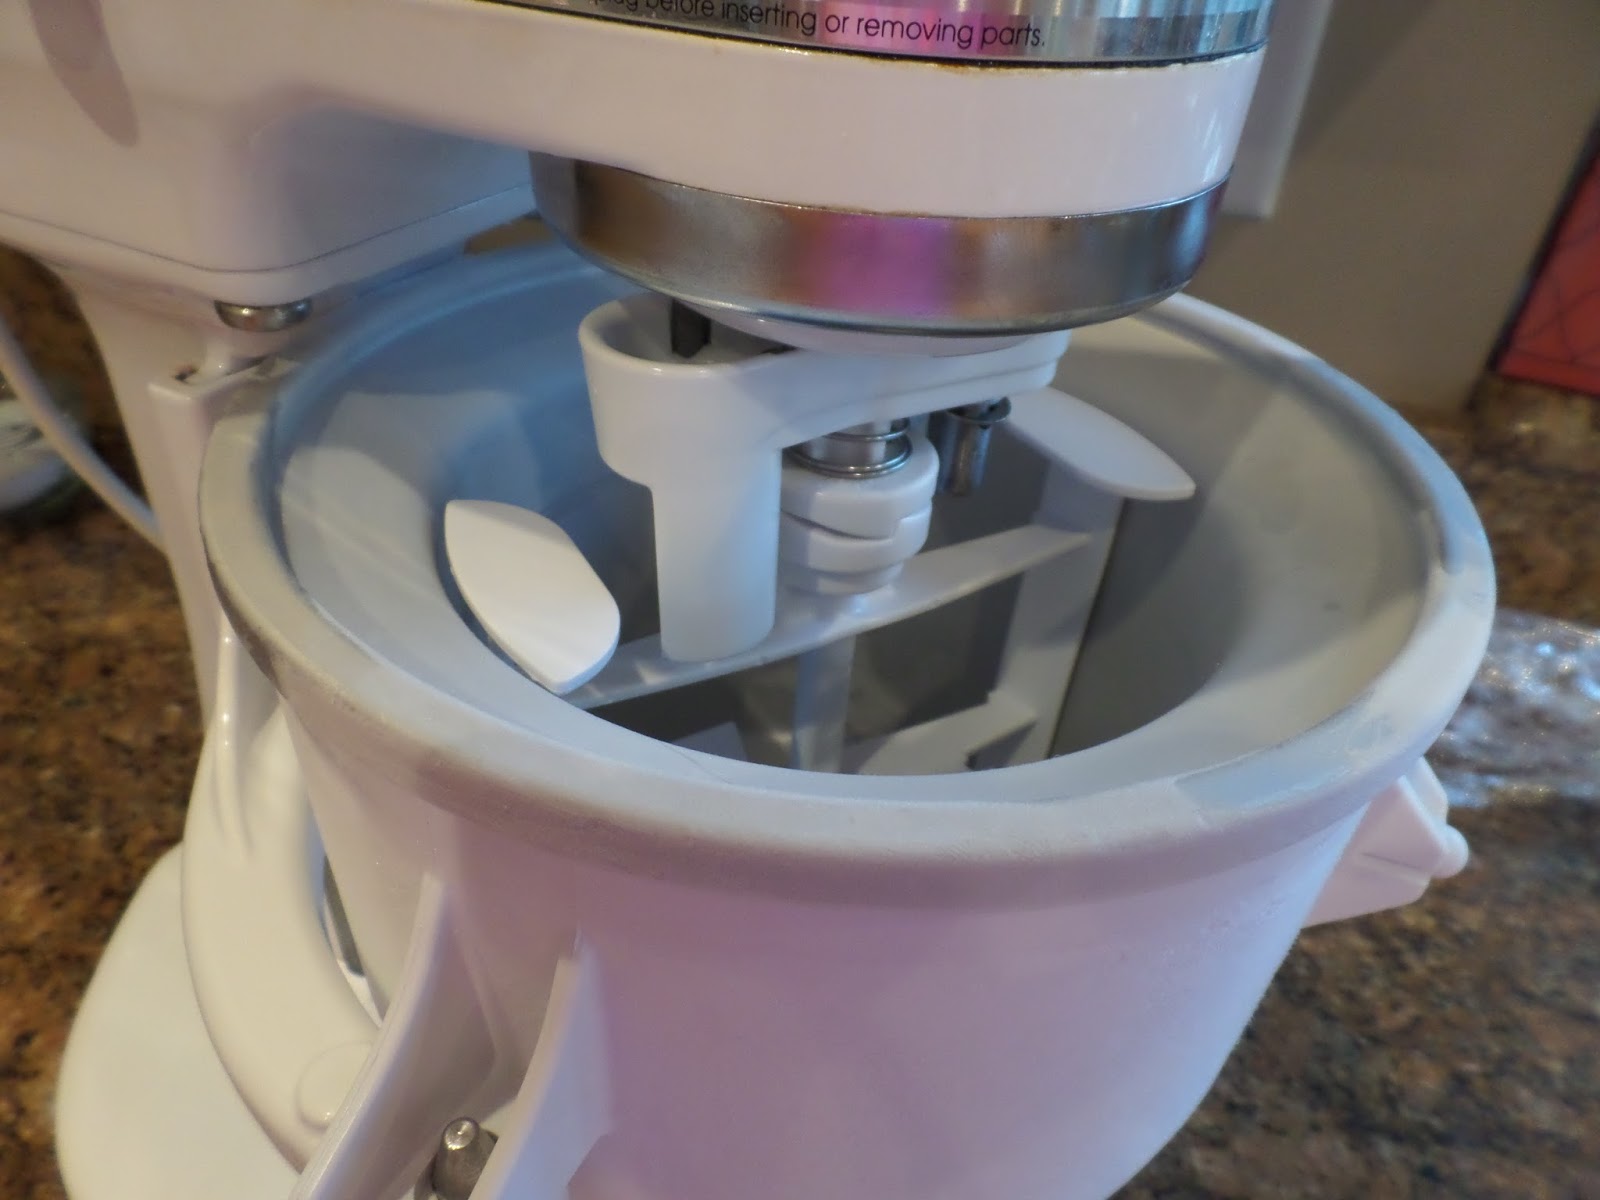
Assemble the Kitchen Aid gadget.  The paddle does not attach to the little doohickey that goes on the spindle.  You slide the doohickey on the spindle, snap the icy cold bowl on the Kitchen Aid stand and hold the paddle in the bowl with one hand, while you raise the bowl with the other had.  The doohickey sits on the paddle and it will turn that way.


Turn on the paddle to Stir or speed 1.  I had to transfer the ice cream base to a bowl with a spout.  Then, WHILE THE PADDLE IS TURNING SLOWLY, add the ice cream base.  If you pour it in first and then start the paddle, it may freeze too much for the paddle to scrape off.  Find something to do for 15 or 20 minutes because that is how long it takes to make ice cream. 

(If you want French Vanilla, you may stop here. and follow the directions after you add the strawberry puree.  It you want the strawberry flavor, keep on going.

Actually, at about 15 minutes, take the sliced strawberries out of the fridge and puree them using a stick blender.  When the ice cream has thickened it will rise to almost the top of the freezer bowl.  Add strawberry puree to the mixer and let it mix for about 5 more minutes.  It may not blend completely, but it will be fine and get more mixed when you transfer it.


The ice cream is now about the consistency of soft serve and you should definitely taste a bit.  Or more than a bit. 


But first scrape it into a container that you can cover and place in the fridge.  You will want to chill the rest to ice cream consistency.  Some will want to stick to the sides of the freezer bowl so scrape it with a rubber spatula until you get most of it in the container. 


Chill the ice cream for several hours or overnight.  See why I tell you to start a few days ahead?


The ice cream was very good, but not glorious.  I want to try other flavors and maybe play around with butterfat content.  And chocolate.  I definitely want to try chocolate.  Maybe chocolate with brownie pieces in it.  Yeah, definitely THAT.