Showing posts with label Silpat. Show all posts

Saturday, August 29, 2026

Lemon Poppyseed Scones

 A few years ago I met two lovely ladies at a library event.  We found we had a shared interest in crafting.  We started getting together to do our art... sewing, painting, stained glass and cooking! After working together on whatever art we had decided on, we stopped and had a bite to eat. Because you can't have friends over and not feed them something. And who doesn't love a tea party, even if you serve coffee!

Radhika and Shirley bring food that they have made and I bake something and it's a lot of fun.  I think we do more chatting than art!  Radhika has served us some fabulous Indian meals.  Shirley brings treats that she has made. But at our last get together we decided to do a baking day, rather than another kind of craft.

Radhika had her granddaughter visiting so Anika was roped into baking with us. Actually she was there mostly to play with the new kitten, but she was a big help with making scones.

Lemon Poppyseed Scones

2 cups flour

1/2 cup sugar

1 Tablespoon baking powder

1/2 teaspoon baking soda

1/2 teaspoon salt

1/2 cup butter (one stick) frozen

1/2 teaspoon lemon flavoring

1/2 teaspoon vanilla extract

2/3 cup cream or milk, you may need a bit more if it is too dry

2 Tablespoons fresh lemon juice

lemon zest from one lemon. But buy and zest two as you'll need it for the frosting

1 Tablespoon poppyseeds


Preheat the oven to 400°. Place a sheet of parchment paper or a Silpat on a baking sheet or two if you are making the whole recipe today, and set aside.

If you planned ahead you will have frozen a stick of butter. Grate the butter. If you didn't plan ahead, cut the butter into small pieces.

Put the flour, sugar, baking powder, baking soda and salt in a large bowl.  Add the grated butter and cut in until all the butter is incorporated and there are no large lumps.  A pastry cutter works well for this.

Mix the cream, lemon and vanilla flavorings. Add it to the flour mixture with the lemon zest. Add in the lemon juice and sprinkle the poppyseeds evenly.  

Mix just until incorporated. if it is very dry you can add a few Tablespoons more of cream, but it should still be a bit dry. Over mixing will make the scones tough. 

Scrape everything onto a lightly floured counter and gently press into a ball. I like to divide the ball into two pieces to make smaller scones, but you can just make a single ball for the bigger scones,  They may need a minute or two longer in the oven. Press the dough into a flat circle about 6 inches round.  A tiny line of flour on the counter is great for flouring a bench scraper to cut the dough into 8 equal pieces 

Once they have been cut, you may freeze some for future use.

Gently lift the scones with the bench scraper to the prepared pan or pans. Leave a few inches between each scone as they will rise while baking.

Bake in the preheated oven for 12-15 minutes.  They are done when they start to turn a golden brown.

Let cool for 2 minutes and remove to a cooling rack with wax paper under it to finish cooling. When mostly cool you can frost them.

I'm not a fan of a glaze.  I like a solid, flavored frosting. 


1 Tablespoon butter

1 1/2 cups powdered sugar

2 Tablespoon cream, heavy cream or half and half

1/2 teaspoon lemon flavoring

1 Tablespoon lemon zest

I like the intense and bright flavor that lemon zest brings to lemon baked items.  If you zested two lemons before baking you should still have enough for this frosting.

Melt the butter in a medium sauce pan over medium heat. Add the cream and allow it to start to bubble but not boil.  Add 1 1/2 cups of powdered sugar and stir to dissolve.  Keep stirring until it starts to pull away from the pan behind the spoon.  If it is too thick or thin, add more milk or powdered sugar.

Remove from the heat and stir in the lemon flavoring and the zest. If you want, you can add a drop of yellow food coloring, but the zest will add a hint of yellow.

Quickly spoon the frosting over each scone. I like to cover the scone and allow it to drip down the sides of the scone.  

I scrape the remaining frosting in clumps on the wax paper.  Then I put the hardened drops in a small container for a future snack. Waste not, want not!

These scones were a great addition to our little tea party.

 We all liked them.  Even Anika approved!

Sunday, January 28, 2024

Jumbo Breakfast Cookies

 I get daily emails from Allrecipes and some of them are great.  I made these cookies with some minor modifications.  The comments are useful to get ideas for changes.

Jumbo Breakfast Cookies


3/4 cup sugar

3/4 cup brown sugar

1 cup peanut butter

1 cup butter, softened

1/2 cup milk

2 T vanilla

2 eggs

2 1/4 cup flour

1 tsp baking soda

1/2 tsp salt

1 1/2 cups rolled oats

1 1/2 cups of a mixture of Craisins, chopped peanuts and chocolate chips

4 cups Cheerios


Preheat the oven to 375°.  I used Silpat sheets on a baking sheet, but parchment paper would do great.

Cream the butter until light and fluffy. Add in the peanut butter and keep beating. I use a Kitchen Aid mixer and then I can get other things ready while it beats. 

In a medium bowl stir the flour salt and baking powder.

Add in the sugars, eggs and vanilla to the mixing bowl.  Beat until fully incorporated.

Stop the mixer and add in the flour.  Start it up slowly them mix.  Add in the oats. Then place whatever combination of nuts and chips you choose in and incorporate them. 

I slightly chopped the peanuts and Craisins.

Remove the mixing bowl and hand stir in the Cheerios.   

Use the largest cookie scoop, about 1/3 cup and place 6 on a cookie sheet, leaving spaces for the dough to spread.  


Use a spatula to slightly flatten the cookie to about 1 inch tall.


Bake for 12 minutes or until the edges start to turn brown.  Do not remove to a cooling rack for 5 minutes or they will fall apart.  


I made 18 of the jumbo cookies and then I made a dozen using the mid sized cookie scoop. I only baked them for 8 minutes.

Because I added a bunch of different treats, each bite was a bit different. And the smaller ones were also unique.  They were almost like a trail mix cookie!  If you don't like the Cheerios in the cookie you can add in Rice Krispies instead or even the flavored Cheerios.   
I imagine these would be great to grab on the way out the door if you don't have time for a sit down breakfast!


Saturday, April 16, 2022

Maple Oat Nut Scones

I first had maple oat nut scones at Starbucks. I've been trying to recreate them ever since.  Maybe not exactly, but close enough.  In this blog I previously posted a similar recipe using an oatmeal scone mix from Victorian House Scones. This one is made from scratch and I liked it a lot.

A lot of scone recipes call for the oatmeal to be ground in a for processor but I like the rustic quality of the whole oats. Don't use the quick oats.

Maple Oat Nut Scones

1 1/2 cup flour, plus some for the counter

1 cup oatmeal 

1/2 cup brown sugar

1/2 teaspoon salt

2 teaspoons baking powder

1/2 teaspoon baking soda

6 Tablespoons butter

3/4 cup buttermilk

2 teaspoon maple flavoring or 1 of Mapleine

1/2 cup chopped walnuts

Preheat the oven to 425°.  Place a sheet of parchment on a baking pan. I use a Silpat.  

Place the stick of butter in the freezer for about 10 minutes while you get everything else set up.

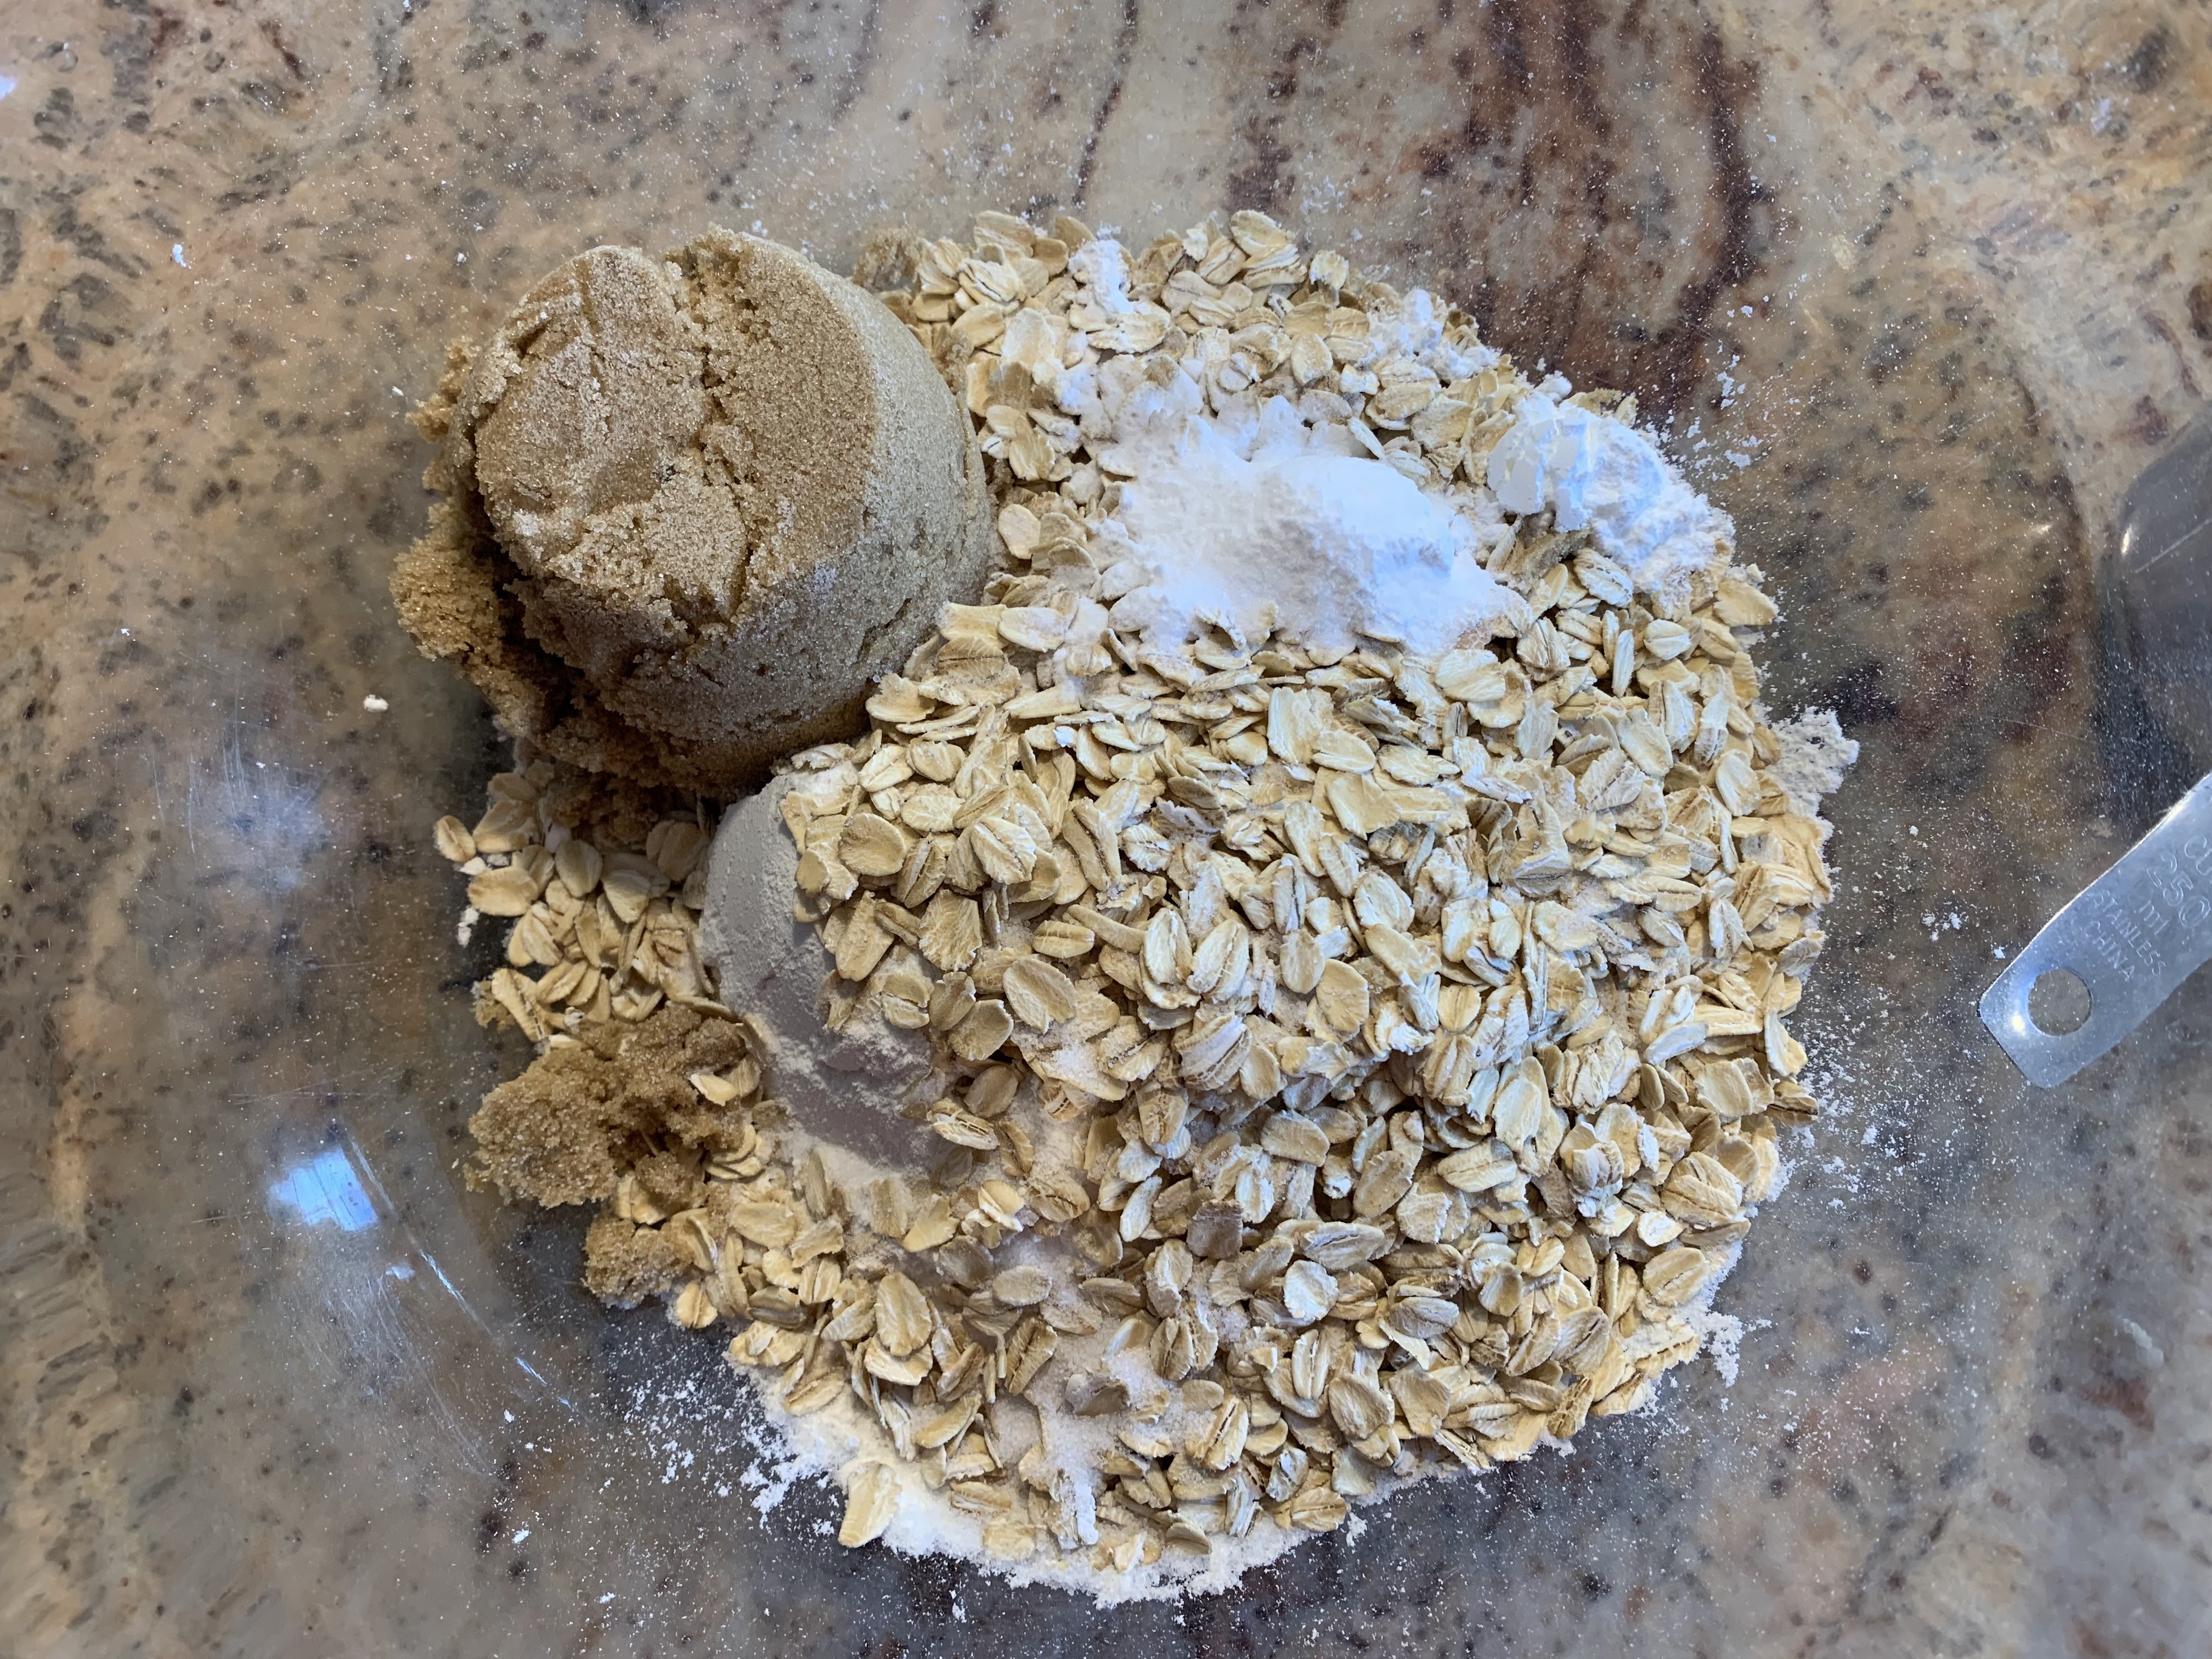
Put the flour, oatmeal, sugar, salt, baking powder, and baking soda in a large mixing bowl. Give it a stir.

Grate the partially frozen butter over a piece of waxed paper.  Add the curls of butter to the flour mixture. Use a pastry cutter to blend the butter into the flour.  Add the maple flavoring into the buttermilk and stir to combine. 

Don't over mix or the scones will get tough.  You may even think it isn't mixed enough. Add the nuts and give another quick mix.

Sprinkle some flour on the very clean counter and dump contents of the bowl onto it.  Knead the dough about three times and then shape it into a flattened circle. 

Cut the dough into eight pieces and place on the prepared baking sheet.   


Bake for 12-15 minutes or until the scones start to brown on the edges.  cool on the sheet for about 2 minutes and then transfer to a cooling rack. 

These scones need a maple flavored icing on it. The recipe is on my other scone recipe, so I will be brief. 

1 Tablespoon butter

2 Tablespoons milk or cream

1 1/2 cups powdered sugar

2 teaspoons maple flavoring, or 1 of Mapleine

Melt the butter in a medium saucepan over medium heat.  Add the milk.  Heat until little bubbles form.

Add the sugar and cook until it starts to thicken.  Remove from the heat and add the flavoring.  If you use Mapleine it will be a darker color.  I like using it, but the store doesn't carry it here.

Mix well and then drizzle over the cooled scones.  

These are best the day you make them.  But they are also good the next day if you pop them in a toaster oven for a quick minute, and before the icing melts off.

Thursday, May 28, 2020

White Chocolate Macadamia Nut Cookies

Like everyone else, I've been stuck at home with nothing I care to do, until Virginia is allowed to open up.  So I have been doing some cooking.  I'm bored with all my cooking.  I want to got out to a restaurant and SIT DOWN and eat there. Not pick up and drive home with rapidly cooling food.

So I made some cookies.  I don't need to eat another carb for months, but that hasn't stopped me.  And if you are like me, you should make these cookies.  I found some macadamia nuts in the baking section.  I bought some white chocolate chips and started searching for recipes.  I got this recipe from Allrecipes.com


White Chocolate Macadamia Nut Cookies

1 cup butter, softened
3/4 cup brown sugar
1/2 cup sugar
2 eggs
1 teaspoon vanilla extract
1/2 teaspoon almond extract
2 1/2 cups flour
1 teaspoon baking soda
1/2 teaspoon salt
1 cup coarsely chopped macadamia nuts
1 cup white chocolate chips


Preheat the oven to 350 °.


I use a kitchen Aid mixer for creaming the butter.  But you can use any mixer or wear yourself out by hand.  Set the mixer beating the butter while you get out the rest of the ingredients.

Add the sugar and scrape down the bowl.  Mix well.  Add the eggs and mix well.  Add in the flavorings.  Mix.

In a medium bowl place the flour baking soda and salt.  Mix with a fork and add in stages to the butter mixture.


Add the nuts and chocolate and mix until combined.

I use Silpat baking sheets.  If you don't, place walnut size lumps on an ungreased cookie sheet.  I use a cookie scoop for this.


Bake for 10 -12 minutes or until slightly brown on the edges.  Allow to cool on the baking sheet for 2 minutes and then transfer to a cooling rack .


 Eat slightly warm with a cup of tea.


I wouldn't have thought to use the almond flavoring, but it was really nice and made these different than others I have tried.  Sad to say, these were worth the calories and I will make them again.  Hopefully after I have lost some of this lockdown, COVID weight.


But probably not.

Friday, July 26, 2019

Potato Chip Chicken Bites

I saw a recipe in one of those magazines that show up mysteriously at our house.   In this case, it was My Magazine. It looked good, so I made it. In fact it WAS good, so you should make it too.


Potato Chip Chicken Bites

1 1/2 -2 cups crushed sour cream and onion flavored potato chips
1 egg
1 Tablespoon milk
2 boneless, skinless chicken breasts

Dipping sauces.  I used honey mustard and ranch dressing


Preheat the oven to 350°.


Place the potato chips in a shallow bowl. I placed a paper towel over the pile of chips. then I used my hands to crush the chips.  I didn't measure them.  I made a pile and when I needed more, I crushed more.


Whisk the egg with the milk in a cereal bowl.  Cut the chicken breasts into 1 1/2 inch cubes.


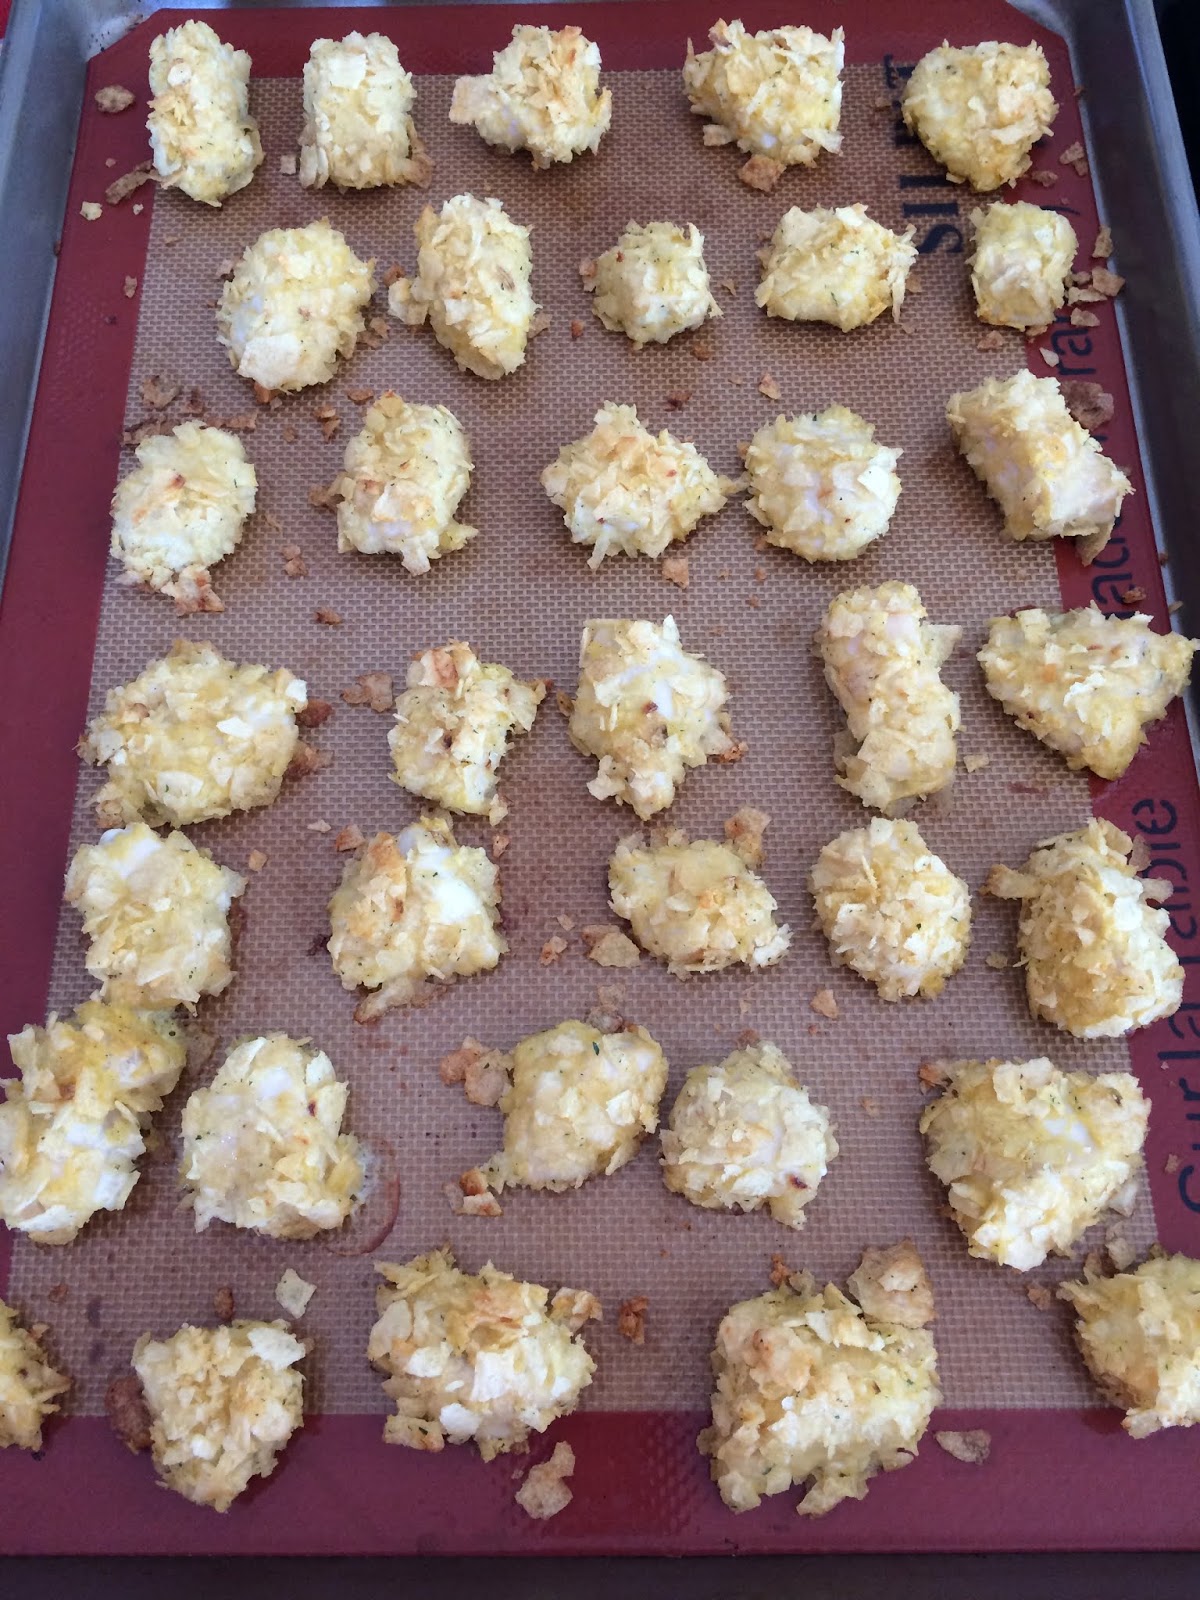
Dip the cubes of chicken in the egg mixture, then roll them into the crushed chips.  Place them on a baking sheet sprayed with Pam or use a Silpat. I used a Silpat.


Bake for 15 to 18 minutes or until they turn a golden brown.


Serve warm with a selection of your favorite dipping sauces.


And , maybe, with some fresh fruit.


The sour cream and onion flavor chips added some crunch and piquancy to the tender bites.   Lee really liked them and called them delicious.  He made an interesting suggestion. Perhaps it would be fun to try different chips to get different flavors.  That sounds like a fun idea.