So today I finished the top. Woo Hoo! It may not be perfect, but it is done and that is cause for celebration. It is also cause for trepidation. Now I have to learn how to put it all together. We have been given practice pieces to figure out the whole quilting thing. We will need to add the middle and the back. Then stitch them together.
The mere fact that there are people who are online advertising that they do the finish work or at least the top stitching makes me nervous. If it is that big of a deal that people get to this point and then give up, is frankly intimidating. But I am tougher than that, she says while struggling into her big girl panties! Don't panic until you are supposed to panic, is what I say.
Today I put the final borders on. Three sides went on easy and just as advertised. The second side gave me fits. I think my machine pulls the bottom along and leaves the top behind or something! After picking out parts of the seam and trying to make it work, I finally undid the whole thing, re pinned it and then TURNED it over and sewed from the other side and it went just fine. But then I sewed on the same side that gave me fits for the last two sides and no problem. My only conclusion is operator error and machine error. A very bad combination.

Adding the border to the two vertical sides was easy. Just measure the top and then cut the border to fit it. I wanted to just start sewing and then cut off what was left over. I was told that this was wrong and to just follow the instructions. It seems that we want to keep the top square, so that works for me.
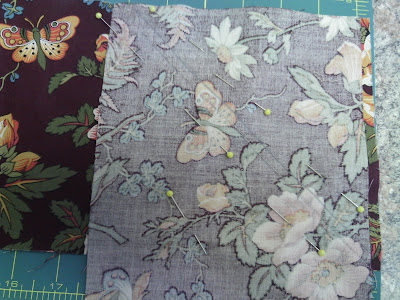
Fold the cut border in half and place a pin. Then find the center of your piece and place a pin. Place the border facing the top and line up the two pins. Then pin the ends together. You should be able to then place pins in between the existing pins and have it come out perfect. And, other than where noted, it did!
The other side were longer than the fabric and had to be pieced. Lay the one length across on the table face up and then add the second piece close to the end face down at a 90 degree angle.

Mark on the diagonal from corner to corner and stitch on the line. Before you cut make sure the piece is going to look like a continuous border.

Then cut 1/4 inch from the stitch line and iron. You can now measure and cut to fit using the same technique as above. Pretty cool!


No comments:
Post a Comment