This one I found online, so I didn't get to see it up close. It has a LOT of stiches. Little tiny stitches. Every square inch is covered in stitches put in by yours truly. And most of them are in the right spot and perfectly done. Better than 90%, which beats the current expectation on the Obamacare website! (Insert smiley face emoticon of extreme cuteness so as to not offend anyone.)

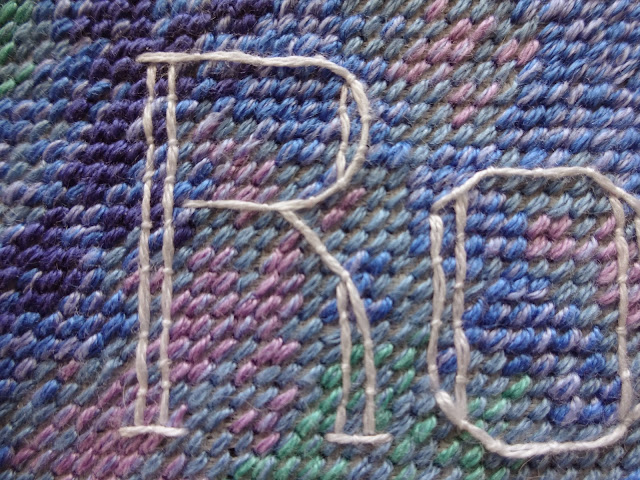
I finished the main part a few weeks ago and then had to add all the details that really add to the picture. And last came the name. I traced the name from the supplied alphabet and tried to pin it to the stocking. But the I couldn't see where I was placing the stitches. They had to be in the right spot or it would be impossible to add the top stitching in the right spot and then it would be WRONG and BAD. I took out a lot of stitches.

This stitch is called couching. You take one needle with several strands of floss (A) and one with one strand (B). Starting with A, you go up where you want to start the lettering and then use B to grab and stitch all along where you have marked for the letters to curve and bend. My method was to go up at the start and down at the end and then put the A thread out of the way and then work with the B. I kept A loose so I could adjust it to go along the lettering curves. Where I had to do a long piece with no curves, I skipped the couching until I finished the rest of the letter and could remove the tracing paper and see the exact spot I needed. A bit off is way off. More stitches out and back in.. The name took big parts of three days.
Then I decided to line it with satin. I didn't want eager finger to rip out the prezzies from Santa and damage the exposed stitches.

The stocking came with a felt back and for some reason I decided to line that side, too. If I ever do another stocking like this one, I will only line the stitched side of the stocking. I made a sandwich with the front and back facing and then added the satin with right sides facing and stitched along the edge of the finished piece.

Trim and turn right side out according to the instructions. Then you have to figure out how to hand stitch the lining along the edge of the stocking. That took MORE time.

The hanger is easy.

You braid the yarn and knot it and attach it along the seam. I think it looks great.

It looks better than Trista's stocking. I offered to make her another one. But she likes hers. Good. I don't want to do this again any time soon. Plus, hers is bigger and that means Santa has to put more things in her stocking.

Good thing the next son-in-law is a few years out. I need a break.

OMG. The tiny stitches, the detail...wow...
ReplyDeleteThe nice thing about such a personalized gift is that it is something to keep year after year, unless of course the relations change as has happened in our family. We used to use glitter to write the names on store bought stockings.
ReplyDelete