Thursday, September 12, 2019

Poor Little Girl

When we bought this house it came with 12 chickens. By the time we moved in there were 10.  Chickens only live 4 to 5 years and the former owners explained some of them were nearing the end of their life span.

The last few days I have been finding one of the hens lying on her side and not even attempting to get up.  Each time I have set her on her feet and left her with food.  Tonight she was stuck on her side.  and is looking worse.  I gave her some water which she drank, propped her up and left her with food.


This time she was so light that I truly don't believe she will still be here in the morning.  It's sad, but it's life.

Lee, on the other hand, will be happy to see the end of the chickens.  They are just one more thing we have to arrange to have fed and cared for when we travel.

I haven't had them long enough to name them or to have them like me.  They no longer run from me, but we aren't buds.  We will still have 9, which is quite a few chickens, but it is sad.

Update: The Little Red Hen passed away overnight.

And then there were nine.

Tuesday, August 6, 2019

Finishing The New Craft Room


After the polyurethane dried on our finished counter tops, we attached them from underneath with screws.  The cabinets have little plastic doohickeys in the corners for this.


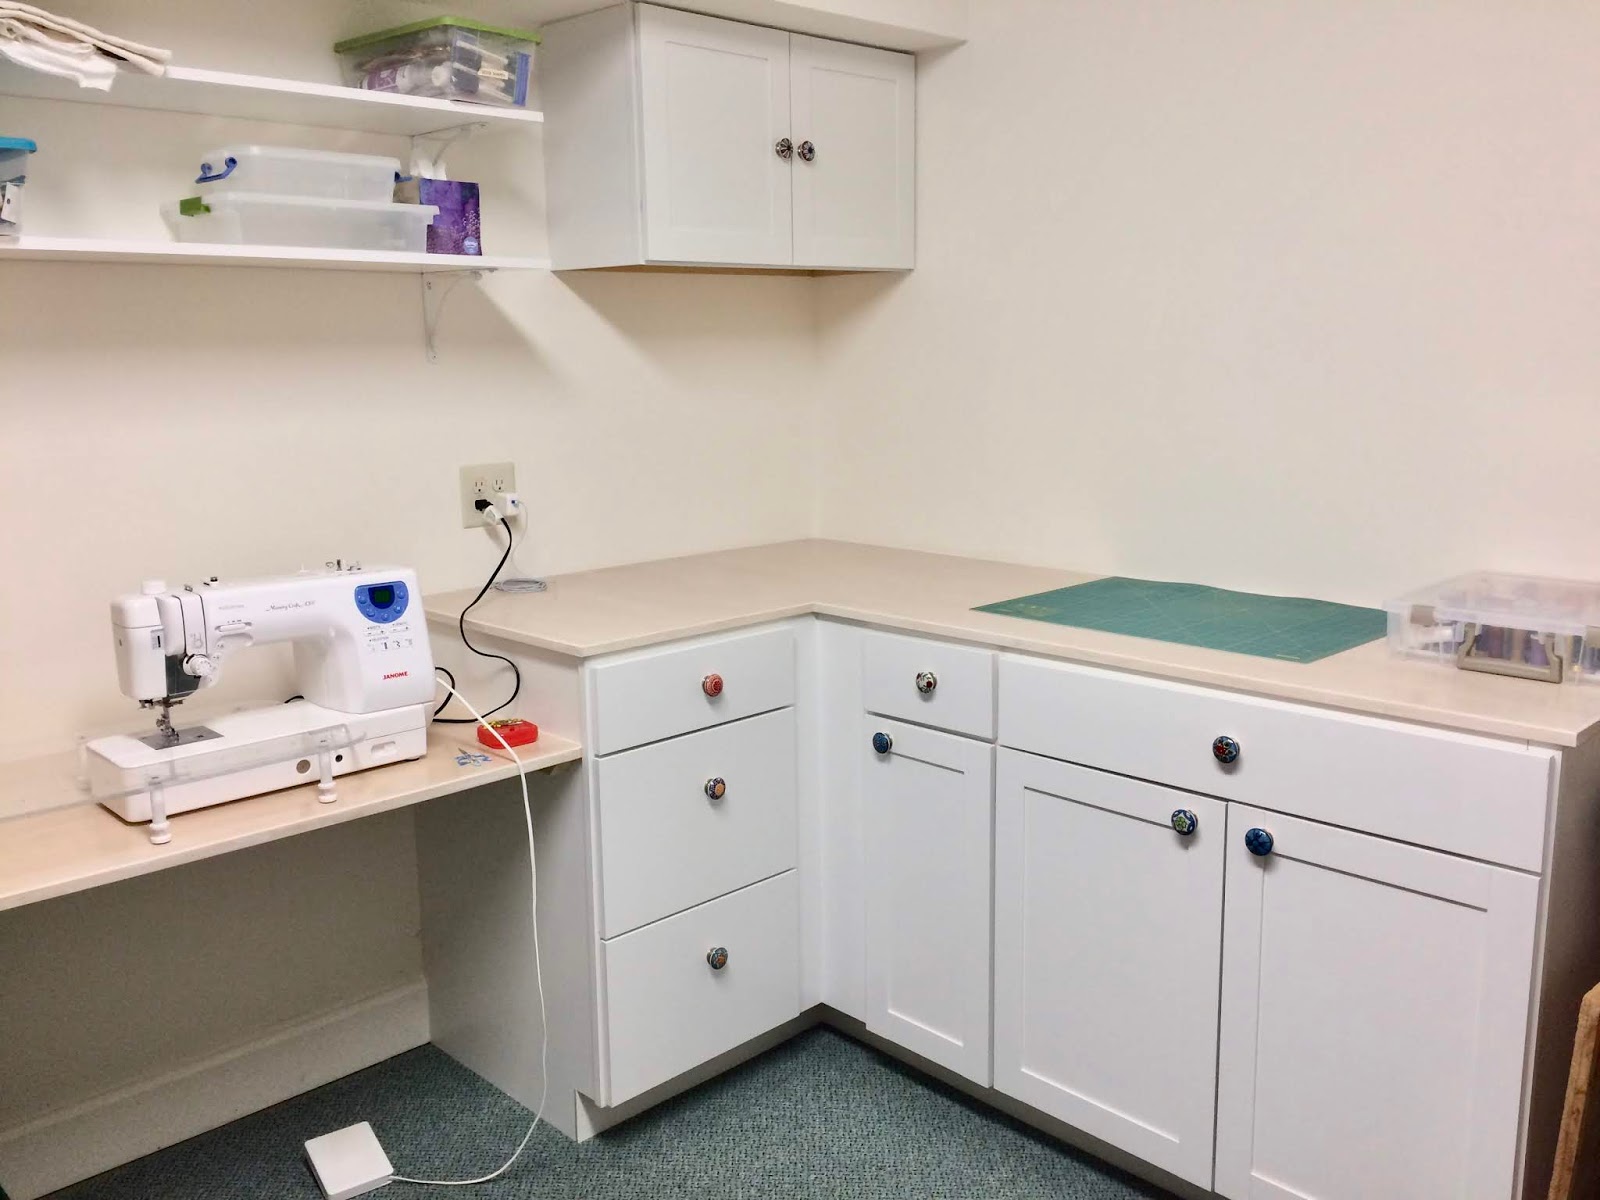
You'll notice a lower section. This is where I will use the sewing machine.  A taller counter is too hard on my back.  It is at 29 inches and works well for me.  Lee screwed 2X2 pine to the wall at the right height to support the counter top.


I used caulk where the top met the wall to hide the places where the wall wasn't perfectly straight.  The cut, on the other hand WAS perfect, she said modestly.

Then I could start clean up and putting away my crafting supplies.


Lee found some great shelves and brackets.  He installed them over the sewing table so I can reach for supplies from a sitting position.


I ordered some colorful drawer pulls to give a bit of whimsy.


The things you can find on Amazon!


I am ready for my next sewing project.  I have a quilt my sister started.  I may finish that.  Or make a new basket.  So many possibilities!

Behind the work station I set up the table with my Cricut.  It is now ready for card making.


What will I do???

Monday, August 5, 2019

A Borrowing Of Bones


I just finished A Borrowing Of Bones by Paula Munier.  It was a really good mystery and I highly recommend it.

On her last deployment, Mercy Carr was shot, her fiancĂ© was killed and his bomb sniffing Malinois developed PTSD.  Yes, dogs can get that, too.  Mercy was able to retire with the dog, Elvis, and moved home to Vermont to heal.

But a mystery isn't mysterious without a puzzle to solve. While hiking in the woods, Elvis alerts on a pile of debris and finds a baby.  She gets the baby to the hospital but she soon disappears.

Mercy and Elvis find themselves trying to find the missing baby and her mother.  She meets Troy,  a U.S. Game Warden with a Newfoundland trained in Search and Rescue.  They join forces to solve the multiple, yet connected, issues that arise as Mercy uses her investigative training from the military.  This causes trouble for Troy as Mercy is a civilian and needs to stay out of the investigation.

This book is the first in a new series and I'm excited to see the next one.


Thursday, August 1, 2019

A New Craft Room

I do a lot of crafting.  Mostly I like to do fiber arts and paper crafting. But I am also fond of stained glass.

So one of the first projects we need to work on in our new home is making a craft room.  The room I chose was used as an exercise room by the previous owners.  Once their equipment was removed, it was an empty room with strange carpet. The carpet will have to wait, so we made a plan using cabinets on sale at Lowe's and got started.


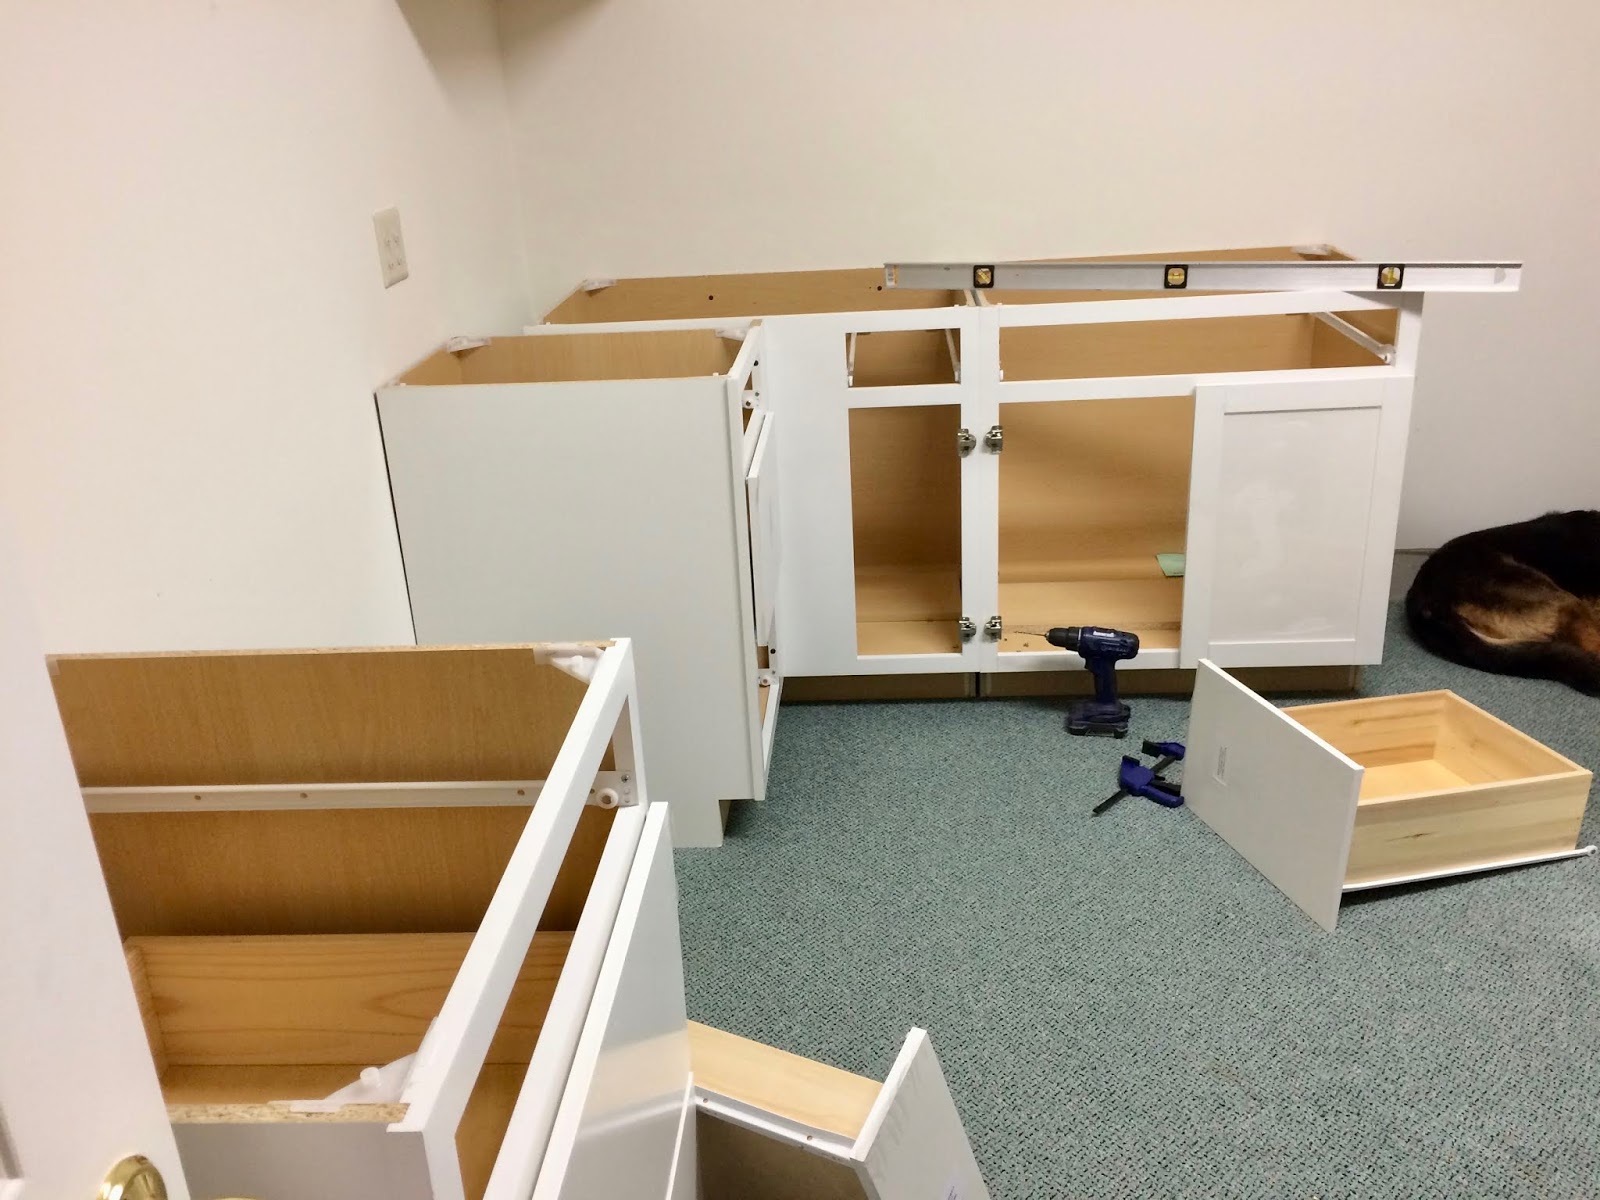
The cabinets were easy to get.  We've installed a lot of them over the years, so that was pretty easy, too.


The counter tops have been an issue. Our last craft room was configured so that the finished edges of the counter tops were  the exposed edges.  The cut edges were against the wall and any minor imperfections in the cut were hidden against a wall.


Most of our tools are still buried in a storage unit and we can't build work benches until our new garage is finished. And we haven't even gotten the permit yet. Our choices are limited.  Cutting Formica counter tops with a built in backsplash and limited tools was not something I wanted to try.


In the end, we went with 3/4 inch plywood with a maple veneer.  Because this room is in the basement and doesn't have a window, I wanted a very light countertop. I chose to use some white wood stain to allow the grain to show through while keeping a light color.


I used the stain on the trim pieces.  Before I finished the tops, I used a bit of spackle to fill the slight gaps.  It might not be noticed by a casual observer, but I will be up close and I wanted a more finished look.  You can see the difference between the top and the bottom.

It took two coats of a polyurethane to protect the top and make it smooth for dealing with fabric.

Once that is dry, we will screw the tops down and start organizing.

Wednesday, July 31, 2019

Chocolate Zucchini Bundt Cake

My son's father-in-law posted this BruCrew recipe on Facebook. He is a great gardener and shares his fresh vegetables.  The recipe calls for three cups of shredded zucchini. That sounds healthy!  It also calls for three eggs. We now have chickens, so that is easy and healthy.  I decided to make this healthy recipe.


Chocolate Zucchini Bundt Cake

(OK!  It may not be the healthiest recipe, but it could be the nicest way to get zucchini in your belly!)

3/4 cup butter, softened
1 cup sugar
1/2 cup brown sugar
3 eggs
2 teaspoons vanilla
1/2 cup buttermilk*
3 medium zucchini, enough for 3 cups shredded
2 1/2 cups flour
1/2 cup cocoa powder
2 teaspoons baking powder
1 teaspoon baking soda
1 teaspoon salt
1 teaspoon cinnamon
1/2 teaspoon nutmeg
1 cup mini chocolate chips

Glaze
1 1/4 cups semisweet chocolate chips
1/2 cup heavy cream
2 Tablespoons mini chocolate chips


Preheat the oven to 350°.  Use a square of wax paper to spread the butter all over the inside of the bundt pan.  Don't forget to butter the flutes of the center carefully.  Place 2 Tablespoons of flour in the pan and swirl and pat until the whole thing is coated.  Dump out the loose flour.


Set the pan aside.

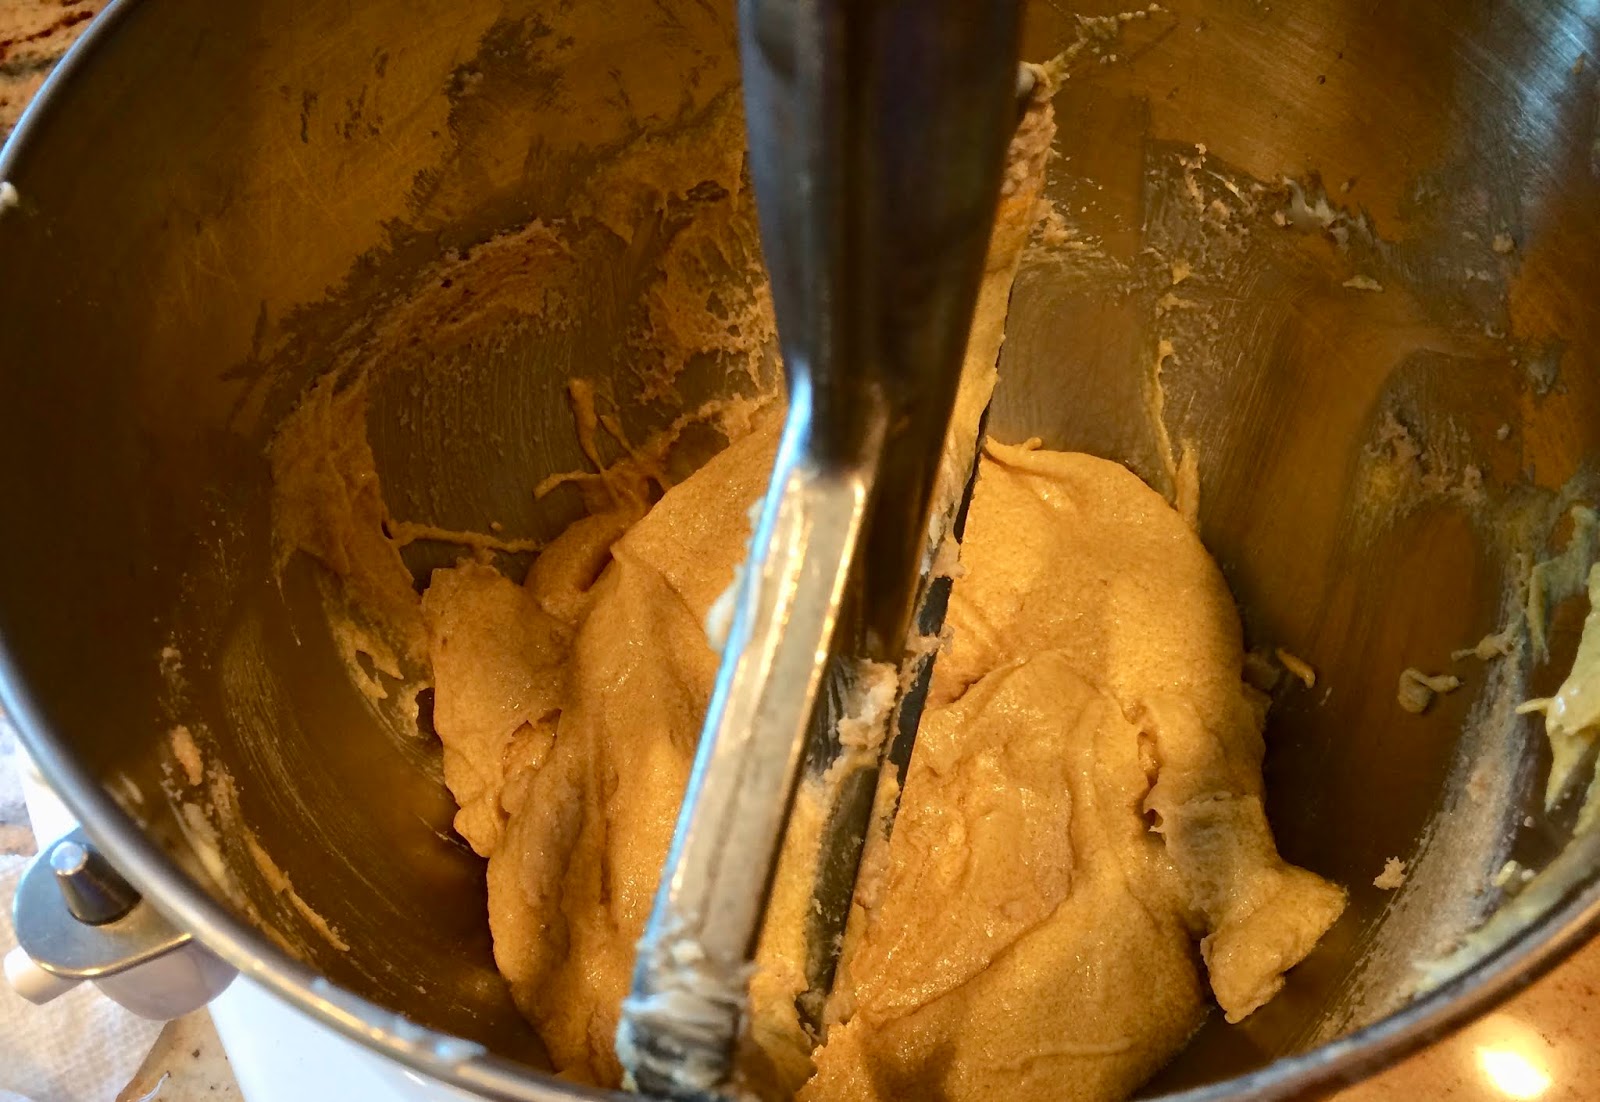
Beat the butter until light snd creamy.  Add the sugars and beat more until creamy again.  A stand mixer works great for this. I use a Kitchen Aid.


Add the eggs and vanilla to the mixer and mix well.


Sift the flour, cocoa powder, baking powder, baking soda, salt, cinnamon and nutmeg together in a medium bowl.  I used a microplane to grate the nutmeg.

* I couldn't find the buttermilk at our new store.  I didn't have any lemons or I could have put  1 1/2 teaspoons of lemon juice in some milk and waited about 5 minutes to make a good buttermilk substitute.  So I mixed 1/4 cup sour cream and 1/4 cup half and half and called it buttermilk.

Add half the. buttermilk and half the flour mix to the butter mixture and mix until moistened.


Then add the last of the flour and the buttermilk and mix until everything is incorporated.


I used a Cuisinart food processor with a grating disc to grate the zucchini.  It didn't come out as fine as I wanted, so I dumped them on a cutting board and chopped them finer.


Stir in the zucchini and mini chocolate chips.


Carefully place the batter into the Bundt pan.  Spread it evenly.


Bake for 50 to 60 minutes, until a tester comes out clean.  Remove from the oven and allow to cool for 15 minutes.


Flip the cake out onto a cooling rack until completely cool.    Place waxed paper under the cooling rack.


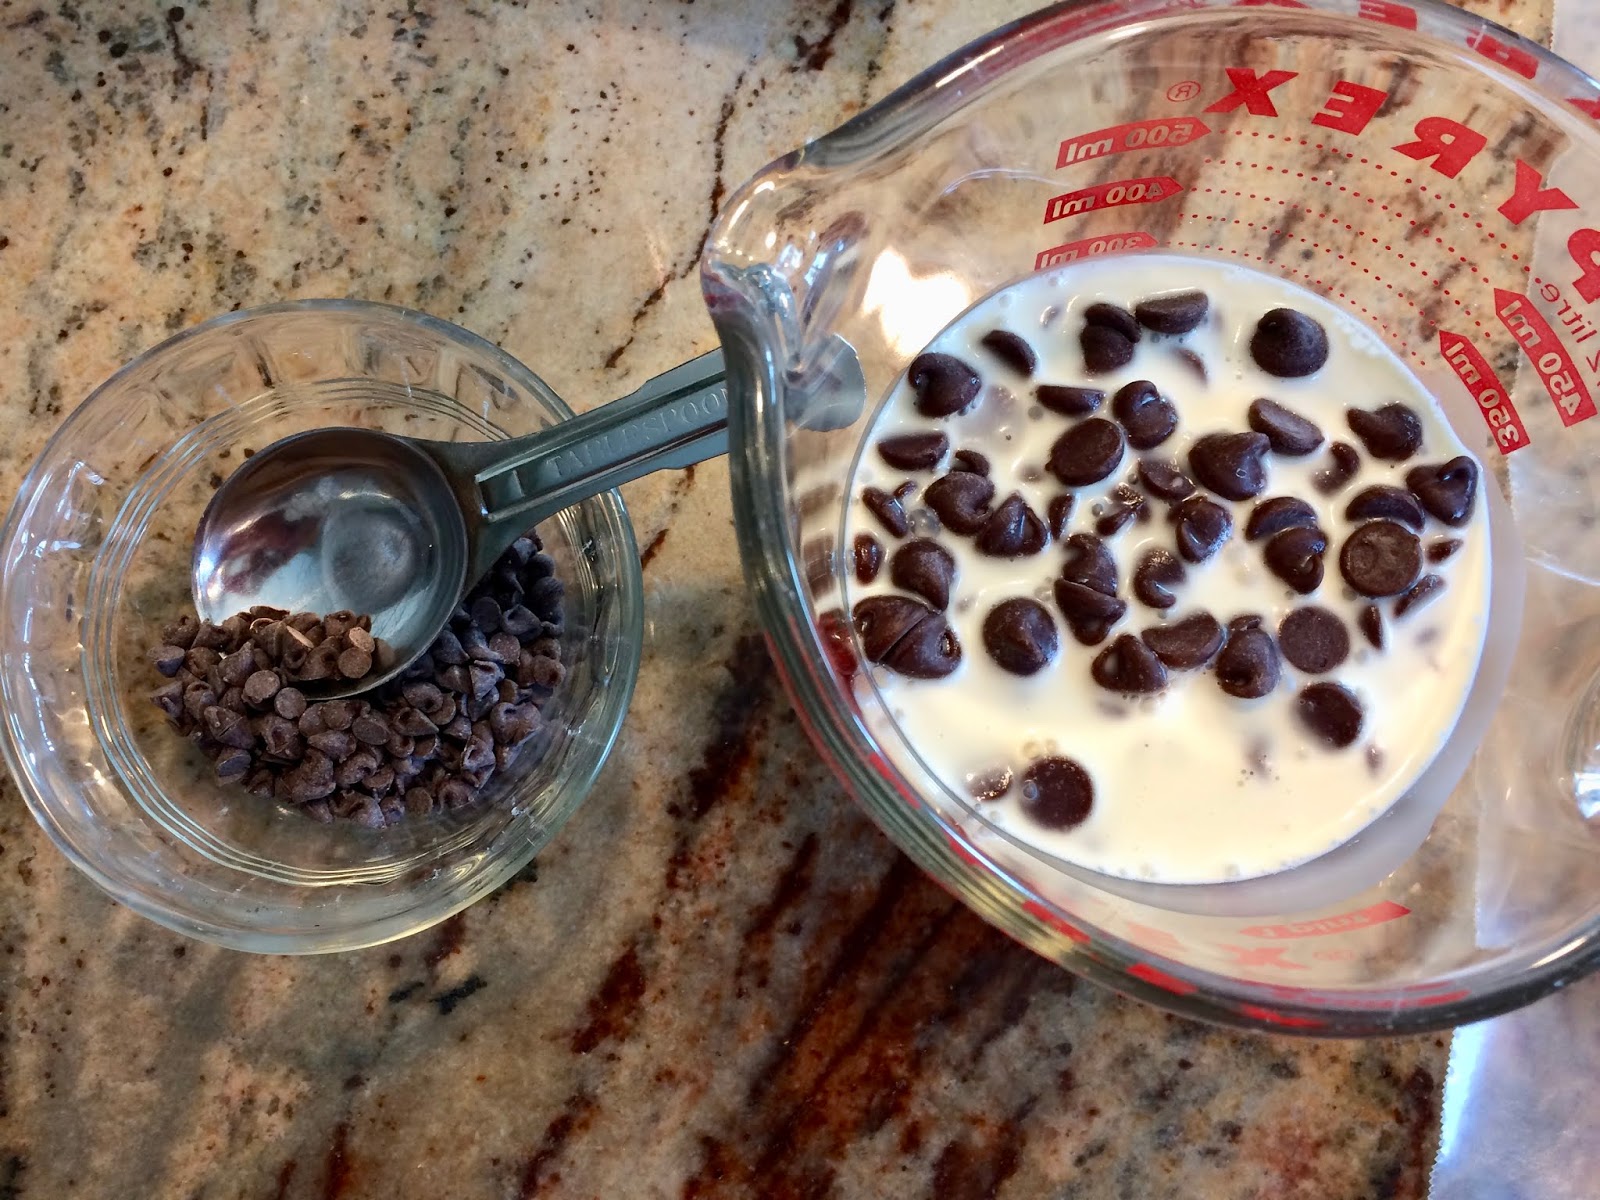
Prepare the glaze. It's super easy.  Place the heavy cream and the chocolate chips in a heat proof container, reserving the mini chips.  I used a Pyrex 2 cup measuring cup.  Heat for 30 seconds in the microwave. Stir until the chips are melted and smooth.


Let the glaze cool for 5-10 minutes.  Carefully spoon or poor the glaze all over the top of the cake, allowing it to drizzle down inside the hole and outside of the cake.  Sprinkle the mini chips over the cake.


There will be puddles on the waxed paper under the cake.  You shouldn't use your finger to scoop up the chocolate and eat it.

Once set, store in an airtight container.


The zucchini adds a lot of moistness to this Bundt cake.


The chocolate adds the fun!!


For even more fun, serve with vanilla ice cream.


Friday, July 26, 2019

Potato Chip Chicken Bites

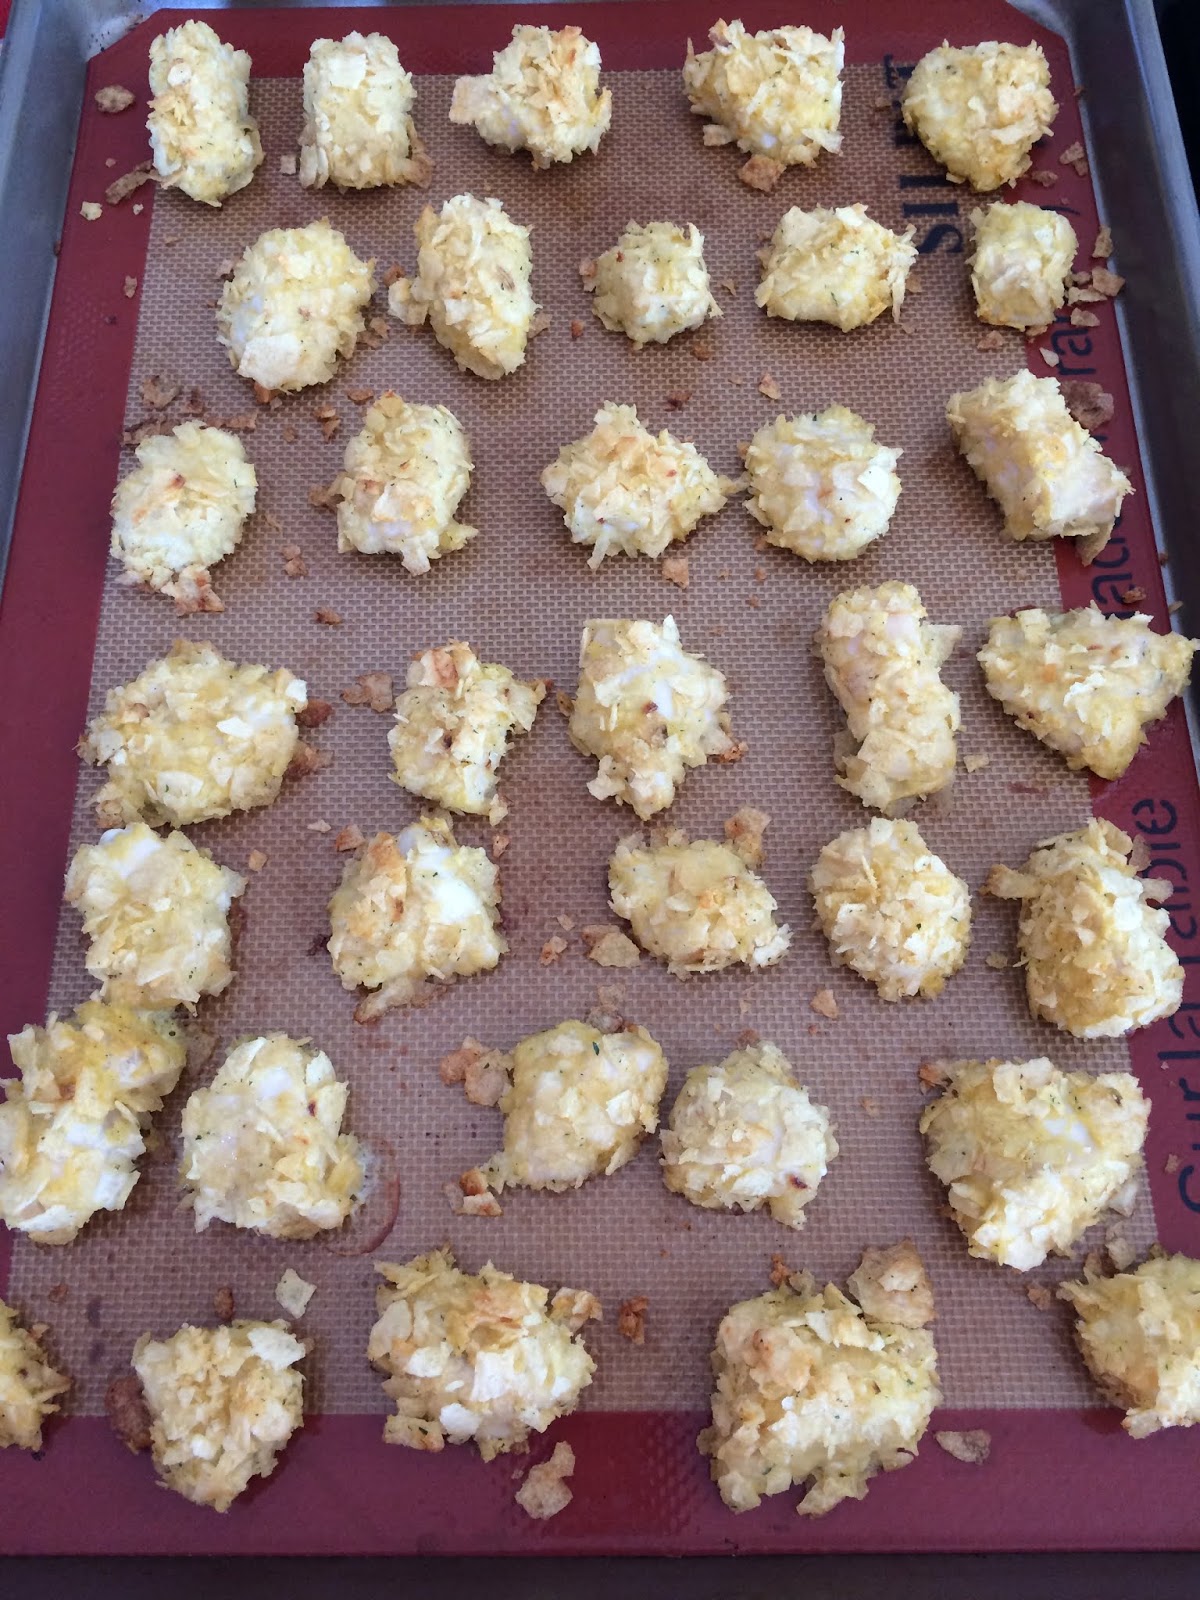
I saw a recipe in one of those magazines that show up mysteriously at our house.   In this case, it was My Magazine. It looked good, so I made it. In fact it WAS good, so you should make it too.


Potato Chip Chicken Bites

1 1/2 -2 cups crushed sour cream and onion flavored potato chips
1 egg
1 Tablespoon milk
2 boneless, skinless chicken breasts

Dipping sauces.  I used honey mustard and ranch dressing


Preheat the oven to 350°.


Place the potato chips in a shallow bowl. I placed a paper towel over the pile of chips. then I used my hands to crush the chips.  I didn't measure them.  I made a pile and when I needed more, I crushed more.


Whisk the egg with the milk in a cereal bowl.  Cut the chicken breasts into 1 1/2 inch cubes.


Dip the cubes of chicken in the egg mixture, then roll them into the crushed chips.  Place them on a baking sheet sprayed with Pam or use a Silpat. I used a Silpat.


Bake for 15 to 18 minutes or until they turn a golden brown.


Serve warm with a selection of your favorite dipping sauces.


And , maybe, with some fresh fruit.


The sour cream and onion flavor chips added some crunch and piquancy to the tender bites.   Lee really liked them and called them delicious.  He made an interesting suggestion. Perhaps it would be fun to try different chips to get different flavors.  That sounds like a fun idea.

Thursday, July 25, 2019

I'm Stumped

Any time you move, there are things to do to the house to make it suit you. Even a new house needs work. And then any house needs constant maintenance.   Our new house had a nicely mowed front yard. But the back half of the yard was allowed to grow quite tall and then bush hogged a couple of times a year.

I like having the whole yard mowed for several reasons. When we first moved here there were deer bedding down in our tall grass.  RJ used to run in the grass to chase them.  Tall grass is a perfect place  for ticks to rest until getting on RJ or ME!

Other animals can hide in the grass.  We have a few groundhogs I'd like to move on down the road.  RJ will chase them off, if he can see them.

We saw three snakes in one day.  Snakes can hide in the grass.

These are all good reasons to keep the place fully mowed. But I admit a lot of it is because it just looks nicer when it is kept mowed.

We hired a guy to bush hog the "back 40".

The major obstacle to mowing the grass closely is the many hidden stumps from bushes that were chopped down at some time in the past.  These can tear up a mower.  And our new mower was expensive. We don't need to kill our new mower.

We have been in the middle of a heat wave.  The last few mornings have been cooler so we have taken advantage of the break in the weather to run out and pull some stumps.  We're good for about an hour. Rather, I'm good for about an hour.


Our technique is to dig around the stump with a shovel and pickaxe.  After we expose a large portion of the stump we wrap a chain around it and attach it to our tractor.


Some came up easily.


Others were a struggle, with a lot of digging and chains slipping off.


When we were too tired to continue, but, by no means finished, the section we were working on looked a little like a moonscape.


I came in the house to clean up and Lee was left with the clean up. We'll have some soil to distribute when we scrape the garage location to pour the slab.  It will come in handy to fill all the divots we have made in the yard digging up stumps.
    

When all stumps are out and the soil replaced we'll add grass seed and when the grass is established, mowing will be a lot faster.  But it may take a few months.