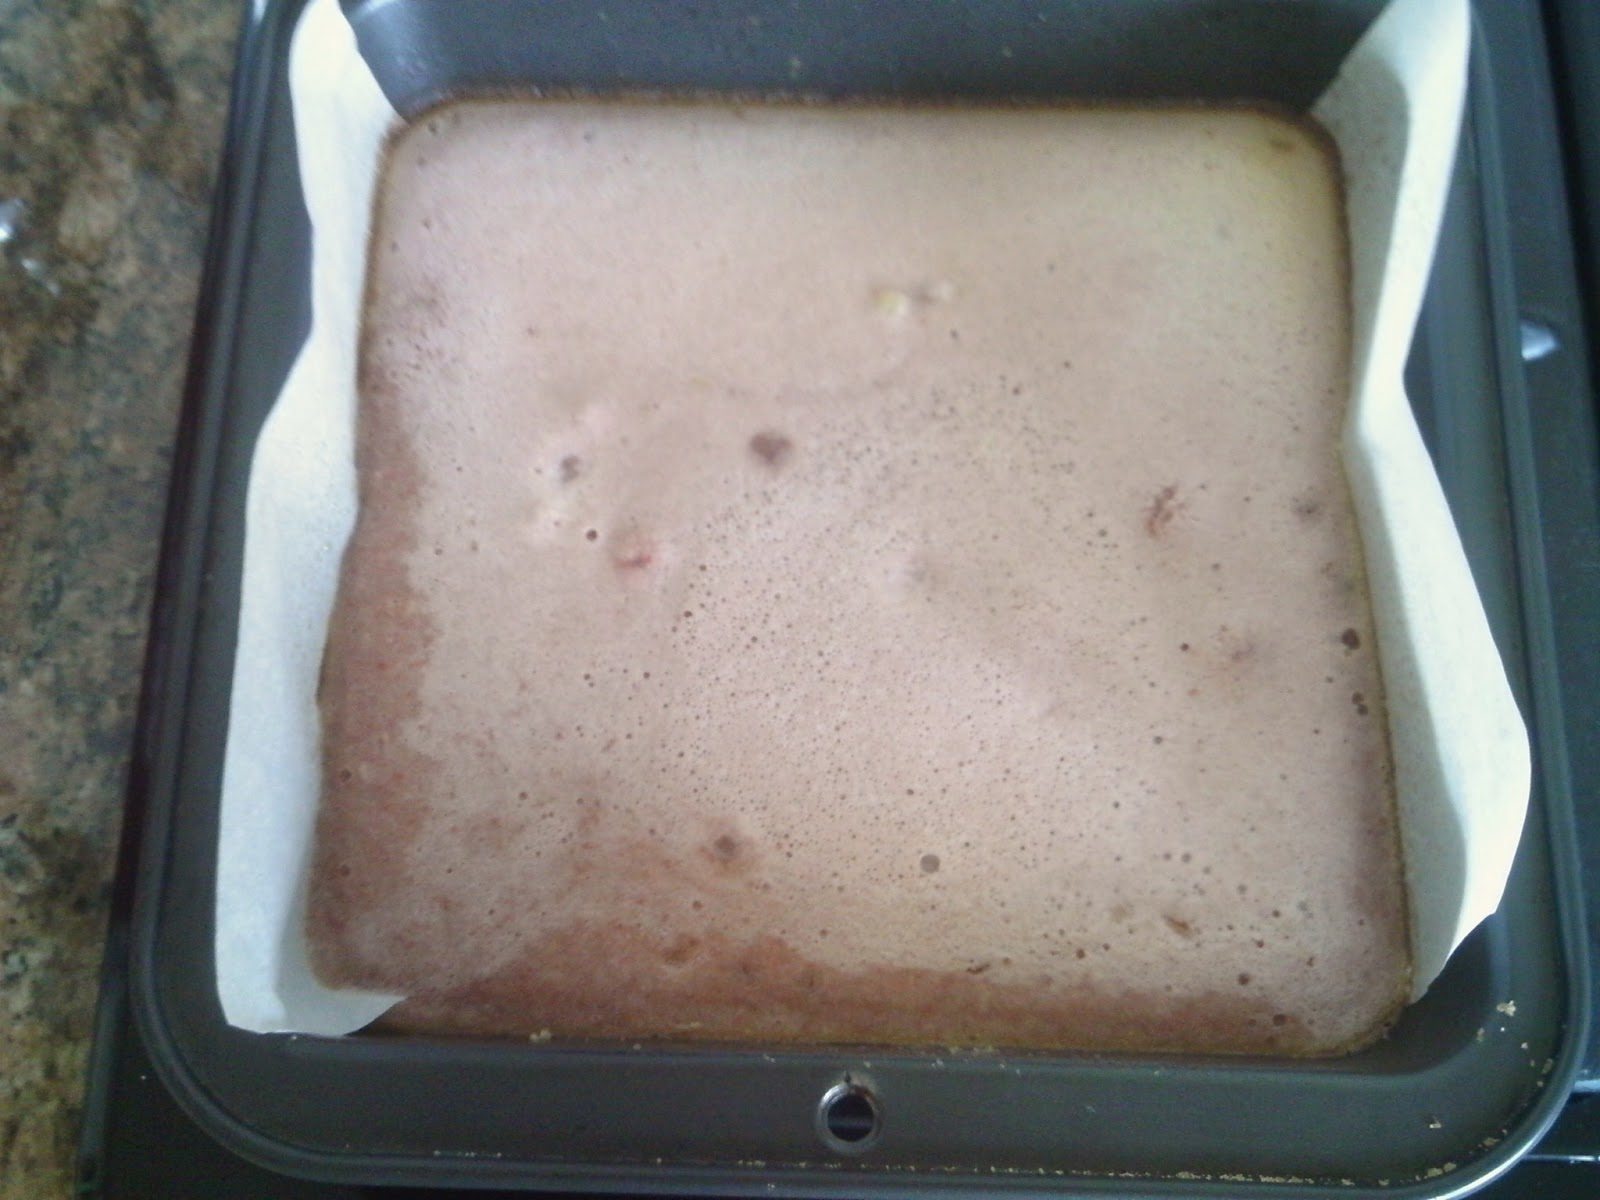
Wednesday, August 22, 2012

Orange Flan or Flan de Naranja


One of the things I miss about living in California is the great Mexican food.  There are Mexican restaurants here, but they are not as good as the ones I am used to in California.  I don't know if it is because they change the flavors to suit a Southern palate or why it is.  I ALWAYS go to a West Coast chain called El Torito when in California.  This time they had a meal that included a miniature flan.  It was delicious.  Think custard or crème brulee but without the crunchy caramelized topping.  Instead it is upside down with a caramel sauce topping.

I looked around for a flan recipe.  I found one with orange and lemon in it.  Sounded good to me. 


Orange Flan
       or
Flan de Naranja

I speak a little Spanish, but mostly just enough to order food!

Caramelized Sauce

1/2 cup sugar
1/2 cup orange juice

Flan

2 cups half and half
zest of one orange
zest of one lemon
1/2 cup orange juice (I used 3 large oranges for the whole recipe)
3 eggs
1/4 cup sugar

First get everything out you will need to make this.  It will use most of your pans and you don't want to go searching for them in the middle of cooking.

You will need a 9 X 13 baking dish and 6 ramekins.  I used 2 saucepans, a medium and a large.  Get out a strainer,a micro plane,  a mixing bowl and measuring cups.  You may need another mixing bowl if you don't have a quart size measuring cup.

Preheat oven to 325.


First remove the stuck on labels and wash the fruit.  I used one lemon and three oranges.  I was buying one orange anyway for the zest.  You may want to buy one and use OJ from the refrigerator, but I used fresh.  Zest the lemon and one orange and set aside.  Use a bowl or a plate.  MORE stuff to get out and then wash!  You want to zest before you squeeze them.  I just used my hands over a quart size measuring cup.  If you have a small amount of oranges, have some OJ in the refrigerator or freezer, just in case!  You will need one cup, divided use.


Break the eggs in a medium bowl.  Add the sugar and whisk until the sugar is dissolved.  Set aside.  Keep the whisk, you will want to stir it again just before you use it.

Heat a medium sauce pan over a medium burner and then add 1/2 cup sugar and 1/2 cup orange juice.  If you did your own squeezing, you should strain it so you don't get seeds and pith in it.  Yes, that is a word and no, I am not lisping.


You will need to stir this almost continuously.  Take a few breaks.  Like right now.  Put the zest and the cream and the other half cup of orange juice in the large saucepan.  Put it on a burner over medium low heat.  You want to cook this JUST until it starts to think about boiling.  It will start to bubble around the edges.  Then turn off the heat.

The sugar and OJ mixture will take longer to cook.  You want to reduce it by half.  It will turn a darker color but the OJ will keep it from becoming as caramelized as you would want for regular flan.

At some point you will find yourself stirring both pots at once.  That is OK.  If you get over busy, turn off the milk.  You just want to scald it, not boil it.  It only takes a few minutes and the sugar/OJ mix takes about 10 minutes.

Now take a break and put about 4 cups of water in the microwave or heat it in a kettle.  You will need it for the water bath for the ramekins and you want it very hot. 

After the sugar/OJ mix is reduced, quickly pour a small amount into each ramekin.  If you wait it will harden. 

Take a small amount of the hot milk and drizzle it into the egg mixture while you are whisking.  If you just dump it in you will have scrambled eggs.  Orange flavored scrambled eggs.  You need to temper it by slowly bringing the egg mix up to temperature.  Then add the rest of the egg mix, while still whisking.


Pour this through the strainer into a bowl or measuring cup with a lip.  Carefully pour about 1/2 cup into each ramekin.  Place them in the large baking dish. 


Carry the baking dish close to the oven door.  Set it down and THEN add the hot water until it is halfway up the sides of the ramekins.  This way you won't have to carry the hot, unwieldy dish all across the kitchen and risk burning yourself.  And it is a risk.  Use mitts and both hands.  Carefully place it in the oven and set the timer for 50 minutes. 

Test with a clean knife by inserting it in the custard.  If it comes out clean you are done.  If not, set the timer for 10 more minutes and test again.  Mine took the whole hour.  Don't worry about how it looks  You will serve them upside down!


Remove from the oven and once again be careful not to spill the water.  It is hot.  Use a pair of tongs to remove the ramekins to a wire rack to cool.  Don't drip across the finished ones.  Pull from the side that has the wire rack.  When cool enough to touch, put them in the refrigerator for at least two hours.

To serve, take a knife or small spatula and run it along the inside edge of the ramekin to loosen.  Hold a plate upside down over the ramekin and turn everything over.  Tap the bottom of the ramekin if it doesn't come out right away.  You may have to encourage it with a knife. 

The custard will come out with the orangey caramelized sauce over the top and down the sides.  Yum.

I added a few strawberries and a bit of Cool Whip, but it was fine all by itself.


Tuesday, August 21, 2012

Hominy Quesadillas With Pineapple Mango Salsa


A few weeks ago my daughter called and asked about Hominy Quesadillas.  I hadn't made them in some time and had to think about how I used to do it.  I know I have the recipe somewhere.  In fact organizing recipes has been on my list for wee...make that months.

Hominy is a Native American food made from dried corn.  It can be found way above the canned corn or way below the canned corn at the grocery store.  It comes in white and yellow and I have no idea if there is a difference...other than color.

There are versions with jalapenos, but they no longer appeal to me.  So add them to the quesadillas and the salsa on days when I am not invited to your house for dinner.  This is a refreshing meal for the summer.

Hominy Quesadillas

8 corn tortillas
1 15 oz. can drained hominy
1 1/2 to 3 cups  mixed cheeses. I used Cheddar, Monterrey Jack and Feta cheese
vegetable oil


I made the lesser amount of cheese.  You can make the cheesier version, if you like.  You can also add jalapenos and pepper Jack Cheese.  Make sure you use at least some feta.  It has great flavor.  Mix the cheeses and the drained hominy in a medium bowl.
 
I have a long griddle pan.  You can use a heavy bottom fry pan.  Heat a small amount of oil in the pan over medium heat. 
 
Place as many tortillas as will fit, my griddle held three.  Top them with the hominy mixture, reserving enough for the rest of the tortillas.  Top each tortilla with another tortilla for a sandwich with the hominy in the middle.
 
Cook until the tortilla starts to crisp and the cheese is melted.  Now comes the tricky part.  You need to flip this whole thing over without losing the middle.  You will lose a few of the hominy.  Hominy is up to you....get it?

I use two spatulas.  Lift the crisp tortilla ( crisp helps to keep the filling inside) with a large spatula Use another spatula and place it on top of the quesadilla.  Flip the whole thing over so that your bottom spatula is now on the top and carefully return it to the pan.  Practice first!  In case of excessive hominy loss, gently lift the top tortilla and using a utensil, like chopsticks,, not your fingers ( HOT), push the lost ones back in.

Finish cooking so that this side is crisp and carefully move to a cutting board.
You've seen how they cut pizzas.  They place a large knife in the middle and rock it across .  Do this to make four equal pieces.  Place on individual plates or on a serving plate.  Serve with the salsa...This is a must.  It's just cheese and corn if you don't.
Pineapple Mango Salsa
1 cup cut up pineapple
1 or 2 large mango
1/2 cup chopped red onion
lots of cilantro
You can cut up fresh pineapple, but I just used the tidbits in its own juice.  Peel and slice the mango.  Stand it up and cut down around the seed.  Then cut off the bits on the side.  Cut into wedges to make removing the skin easier.  Dice and place in the bowl.
 
I LOVE cilantro.  Tear off about 1/3 of the bunch from the store, rinse and dry with a paper towel.  Finely chop. Add the cilantro and the onion and mix. Some people, and by this I mean younger people than I, like to add some seeded chopped jalapeno.
 
Serve a generous portion with the quesadilla wedges.  If you make extra it is still good the next day and can be used with chicken or even just scooped up with a chip.

Sunday, August 19, 2012

I'm Back


I have been away for a week to visit my mother in California.  She won't move here and I can't move there so I visit...a lot.  While I am gone Lee has to hold down the fort.  It seems that the cats miss me.  You can't tell it from their less than enthusiastic response to my return.


They did run around the house and slide on the runners.  They did roll around in some sort of friendly cat fight and leave bits of fur.  But they do that all the time.


Lee harvested some veggies neglected by me before and during my trip.  I now have zucchinis the size of the butternut squash.


The basement rough plumbing is now awaiting the framing, which is waiting on the next few bids to come in.  Plus it is raining, so this prevents me from any actual work.


My plan is to finish the place mats I started. 


Then I want to organize the myriad of stamps my friend Cherie gave me. 


I got so many new stamps they wouldn't fit in my suitcase and I had to mail a bunch.  I can't wait to see what I got and try out some new cards.Cherie has the best ideas, but lives in California and stamp help doesn't do well over the phone!  Gotta set up Skype!


I did come up with some recipes I want to try.  I had the best flan at El Torito and I want to try to recreate it.  Then I want to make some hominy quesadillas.  I have to scale it down for two.  And maybe lighten it up by using less cheese and more fruit salsa.  Check back.

Saturday, August 11, 2012

And So It Begins

The plumber started work on our basement yesterday.  We had so many problems with the architect.  When the plumber saw who it was, he told about HIS difficulties with him.  Wish we knew that before!

The first step is to cut the concrete in the basement to run the sewer lines.   The original owner had a sewer line where we didn't want a toilet and none where we did want a toilet.  They had to cut a trench and then they will dig out the trench and run lines. 


The sad fact is that one of the toilets is so far from the sewer line that the slope is inadequate.  You don't want a sewer line that doesn't drain properly.  Well, I don't know about you, but I don't want that.  On the other hand, I don't want to have to pay for a grinder pump that is now necessary for a toilet in the basement with insufficient drainage.

The plumber had to dig a big hole and bury a grinder pump.  It collects and then pumps the waste up to a nearby sewer line from the upper floors.  It is buried in the concrete so I hope it doesn't fail!  Well, it will have an access lid, I guess.  It will be hidden in our equipment room.

When the concrete cutting began, all our smoke alarms went off.  This scared the cats under the beds and caused the dog to pace.  He is pretty good with loud noises, even thunder.  Lee had to get out a ladder and disconnect all the alarms, and there are a bunch.  The house filled with smoke, not concrete dust but fumes from the cutter and jack hammer.  It got better when I opened all the windows and doors and turned on the ceiling fans.  The smoke alarms had never gone off before, so I guess it was good to know that they worked


Rhett loves ladders.  He doesn't know what to do after he gets up there, but he climbs them because they are there.  Master of all he surveys and all that.


Once the rough plumbing is in, we need  to get the framing done.  We have done a lot of that, but this time we will hire it done.  Neither one of us wants to frame the tray ceiling.  So we might as well hire the whole thing done .  Lee and I will do the electrical.  Well, Lee will do the work and I will cut holes or hand him things or run wires over the top.  He draws diagrams and figures all the hard part and I am the grunt labor. He could probably do it faster by himself, but I like to think I am helping!  Kind of like the cat!

Friday, August 10, 2012

Vegetarian Fried Rice


Tara is trying out a new diet.  She is also vegetarian, so we decided to make fried rice that was heavy on the vegetables.  We didn't really follow a recipe.  We just made it up as we went along and it turned out tasty.  And pretty low in fat.  Isn't it nice when those two go together?

Vegetarian Fried Rice

3 cups cooked and chilled rice, white or brown, your choice
1 Tablespoon butter
1 cup frozen peas
1 cup diced yellow onion
1/2 cup diced carrots
1/2 cup diced celery
1/2 cup diced vegetable slaw
1/4 cup chopped green onion
1/2 can sliced water chestnuts, chopped smaller
1 teaspoon chopped garlic
2 beaten eggs
salt and pepper

lite soy sauce
sesame oil
rice vinegar


It is important to plan ahead for this meal.  Freshly made rice is too warm and will turn gluey when you try to fry it up.  I set up the rice cooker in the morning and took out the finished rice and set it in the  refrigerator.  It was just right when we started to cook dinner.  You could also do it the night before and have it ready to fix the next day's meal.

We had a bag of broccoli slaw, so I chopped up a handful of that.  You don't want any vegetable that is too big.  Basically you can cut up any vegetable that you have on hand and that you like.  I always like water chestnuts for the crunch.

Melt the butter in a large fry pan.  If the pan is too small you will be spilling rice all over the stove.  Use the biggest one you have.


Saute the yellow onions until they start to become translucent.   Then add the beaten eggs.  You can leave them out if you want to have a vegan meal, but they do add some nice and easy protein.  You want to scramble them and then chop them into small pieces, about the same size as the vegetables.


Add all the rest of the vegetables and continue to stir them until they are all slightly cooked.  You don't want them mushy and this doesn't take long, maybe five minutes.


Add the cooked and chilled rice.  You may need to add a bit of oil at this point, but I didn't need to.   It helps if the pan is non-stick. Sprinkle a bit of salt and pepper over the top and keep stirring. When everything is heated through you need to add the flavoring part.


I didn't measure.  First pour a few Tablespoons of soy sauce over the rice and stir it in.  This is salty and you don't want too much.  It will give the rice a nice brown color.  Then add a small amount of sesame oil.  This adds great flavor, but a little goes a long way.  Start with a 1/2 teaspoon.  You may want to add up to 1 teaspoon.  Then stir in a Tablespoon of rice vinegar.


At this point, get a clean spoon and taste the concoction.  Don't be gross and eat off the stirring spoon.  Pretend you are cooking for people you like and don't want to spit in their food.  You can adjust the amount of the flavorings.  Just remember that it is too late to make more rice if you over do it.  Taste again...you have a lot of clean spoons in the drawer and they are not hard to wash.

We served this with some cantaloupe and strawberries.  A dollop of Cool Whip makes it feel decadent!

Thursday, August 9, 2012

Pinky Lemonade Bars


Our younger daughter is visiting.  She doesn't get here as often as she used to.  It is a three hour drive and she does have a job.  So we are grateful when she comes.

My girls frequently call me when they are coming and ask me to make something they read on a blog.  Not MY blog you understand, but someone ELSE'S blog.  Often they choose something from Smitten Kitchen.  In addition to recipes she has cute baby pictures.  I guess that would trump my country living blog...

We decided to make the pink lemonade bars. Because my sister's nickname was Pinky, I decided to alter the name to Pinky Lemonade Bars.  I did not change the recipe and it is as follows.

Pinky Lemonade Bars

The bottom layer:

1/4 cup sugar
1/4 teaspoon lemon zest
1/8 teaspoon salt
1/2 cup ( 1 stick), butter, cut into chunks
1 cup flour


For the lemonade layer:

1 cup raspberries ( We just used the small flat container from the market.)
2 large eggs
3/4 cup sugar
1/4 cup lemon juice (about 2 lemons)
1/3 cup flour
Powdered sugar

Preheat the oven to 350.  Line an 8X8 baking pan with parchment.  Cut it along two sides and leave the other sides long so they extend up the sides.  You will use this to remove the bars later so give yourself a bit of room to grab them, but not so long they touch anything in the oven.

Spray the inside and around the edges of the pan and set aside.


I used a micro plane to zest a large lemon.  I used almost the whole lemon and it made more than the 1/4 teaspoon called for in the recipe.  I didn't measure and used all I "zested".


Place the sugar, zest and salt in a food processor.  Pulse about 10 times for one second each.  Add the cubed butter and pulse until even distributed. 


Add the flour and once again, pulse until the mixture is crumbly, about 10 times.


Press the dough into the prepared pan.  Bake for 15 minutes until lightly browned at the edges.  Let it cool on a rack while you make the filling.  Don't turn off the oven.  You will need it at 350 to finish the bars.


While the "cookie" part is baking, start on the filling.

Puree the raspberries in the food processor.  We followed the part of the recipe where we are told NOT to bother cleaning it first.  Love those time saving hints!  Run the processor until the raspberries are liquefied. 


Pour it into a strainer that is held over a bowl.  Make sure you can't tip it over.  You don't have enough berries to start over!  Press the berries through the strainer.  You will end up with a bunch of seeds on top and some raspberry puree on the bottom.

In a large bowl, whisk the eggs and the sugar together.  Ordinarily I would be using my KitchenAid mixer for this, but there is only so much room on my counter...and so many large appliances I am willing to clean for one dish!  When they are a creamy yellow, add in the lemon juice.


Add in 3 Tablespoons of the puree.  We had more than that, so we put in 4 Tablespoons.  The recipe warned us about too much liquid,  and suggested we keep the lemon juice and the raspberry puree to 7 Tablespoons in total.  I had already added the lemon juice when I realized I had a lot of puree.  I went with the 4 Tablespoons of puree and it was fine.  Don't do more than that though!


Stir in the flour.  Pour the mixture in the cooling crust.  Return the bars to the oven and bake for 25 to 30 minutes.  Once again the sides of the bars will just start to turn a golden brown.  Cool completely.


I have a plastic knife that I use to cut in my coated pans.  I gently pressed it on the edges with out the parchment paper.  When I could feel that it was loose, I lifted the whole thing with the long sides of the parchment paper and placed it on a cutting board.  Tara used the long knife to release the bars from the paper and slid it out.  We cut it into squares.  Using the same strainer, sprinkle some powdered sugar over the top.  Unfortunately, THIS time you will have to wash and dry between steps!


I plated the bars for a picture.  My artistic attempt had me placing one bar on the other so that the lemon layer would show.  Tara cut a slice of the lemon we didn't use and added a few raspberries.  I think I need a full time food stylist!  And sous chef!

Striped Placemats

The pattern for making a striped runner I made earlier includes information on making a rectangular striped place mat.  I like the idea of a set.   When I saw the demonstration at the Trinity Quilt Shop there was a round one and I liked that better.  Of course that means I was "flying blind"  and had to extrapolate for a round one.  That means hours of agonizing over each cut.  I made one and the very center was kind of wonky...that is a technical term meaning "looks funny to me".

I took it back to the Quilt Shop and said "What did I do wrong and how do I fix it?" Or words to that effect.  Caroline very kindly explained to me that as long as the lines matched the center was an iffy thing....or words to that effect.  So I was let go to work blindly in the darkness..or in the privacy of my craft room.


I cut 6 triangles with the 60 degree ruler.  This actually means you have to cut 12 triangles because you have to flip the triangle over so that there is no waste.  This means each place mat will be different, because you will have different areas of the stripes at least I did for my particular fabric.  But that is OK because I like them both. 


I lined up the stripes and sewed them together until I had 2 sets of three.  This will be half of your placemat top.  I then cut a straight line across the centers so that they would line up better.

Sew the two halves together and press.  Make sure the stripes all line up.  I didn't have to pick out thread and resew very much.  Maybe I have gotten better at this sewing thing...or, worse case scenario, I have gotten less picky.


I had a lot of left over batting from the quilts I have made...all two of them.  I did not want to buy new batting for this project.  I lined up the scrap pieces with the straight edges together.  I placed the top I had finished on the two pieces of batting and cut with an extra inch margin...just in case.  I don't KNOW in case of what?  I just DID.


Butt the edges of the batting together right under the presser foot, lined up so the seam is centered.  Then zigzag with fairly short stitches until the two pieces are joined together.  Voila!  ( This is about 20 percent of the French I remember from high school.)  One piece of batting for your place mat, at no additional cost.  My favorite kind of project. 

When I finish quilting I hope everything will stay nicely in place and I am not going to worry about it.  Not ever.  It will be fine.  Keep going!


Next I measured the backing fabric and cut it in strips.  I placed the tops face down on the backing fabric and cut around the edges with my large clear ruler.  I also left about 1/4 inch, just in case...

Next make a sandwich.  The batting, then the backing face up and the top face down.  Smooth and pin.  Sew 1/4 inch in from the edge of the top piece.  You will want to leave about 8 inches unsewn to turn the piece right side out.  I put two pins where I want to stop and start.  This reminds me not to sew the whole thing!


Cut all around so the edges are even.  Press and turn right side out.  I had to put my fingers in the corners to push them out to a point.  Press the open seam so that the edges are folded under 1/4 inch.  Hand sew the gap and press again.

I just did a quick quilting of "stitch in the ditch".  Gently pull out at each seam on each triangle and sew in the seam.  I also sewed around one of the stripes about halfway up.  I have to make a lot more so I don't know if I will do more quilting.  I am thinking of adding some 1/4 inch in from the edges all around.


I still don't like the wonky centers.  Don't know what to do about that.  If I had one of those fancy machines I might add some embroidery to hide it.  Still thinking...