Monday, April 16, 2018

Fireball Cake

My Aunt Suzy likes a drink now and then.  She has made a point to tell me she likes Fireball, which is a whiskey flavored with cinnamon.  She turned 87 last week, so I made her a Fireball cake.  It wasn't difficult, but it also didn't taste particularly of Fireball whiskey.  The flavor was mostly a bit of cinnamon.  So it should go well with people that don't go for a boozy cake.  But it may disappoint those that were really looking for an alcohol flavored treat.

Suzy liked it, so that is what counts!  I found this recipe on delish.com


Fireball Cake

White or Vanilla cake mix of your choice
1 teaspoon cinnamon
1/3 cup vegetable oil
3 eggs
1/2 cup water
1/2 cup Fireball whiskey


Frosting

3 sticks butter, softened
pinch of kosher salt
6 cups powdered sugar
1/4 cup Fireball whiskey
yellow and red food coloring
Hot Tamales


Preheat the oven to 350º.  I heat mine at 325º because I have the dark nonstick cake pans.  Spray the 8 inch pans with Pam and set aside.

You basically follow the recipe on the box, except you you replace 1/2 of the water with Fireball.  You also add cinnamon.


Place all the ingredients for the cake in a large bowl. Mix gently to moisten, then beat vigorously for two minutes.  Pour 1/2 of the batter into each of the prepared pans. Bake according to the package directions.

Let cool and flip the cake out onto cooling racks until completely cool.


I used a stand mixer to make the frosting.  Beat the butter for two minutes until light and creamy.  Add the powdered sugar, salt and the Fireball.  Beat slowly until mixed.  Beat on high until it is creamy and smooth.  Remove from the mixer and stir in a few drops of yellow food coloring, I did about 6.  Add a few of the red, but don't mix it all the way. The frosting is supposed to be streaky.


To frost, place one of the cakes on a cake plate.  Spread about 3/4 of a cup of frosting on top.  Place the second cake on the first layer.  Frost the top and sides, reserving enough for the last bit.  Smooth the frosting and then fill a piping bag, fitted with a star tip, with about 1/2 to 3/4 cup of frosting.


Place a dollop of frosting all around the top of the cake.  Place four dollops in the center of the cake.  Gently press a hot tamale into each dollop of frosting.


Serve with a shot of Fireball!

Friday, April 6, 2018

Lavender Scones

I had a guest request lavender scones.  No problem. I love scones, too. I still had some food grade, dried lavender.  Then the kicker, a lavender scone that is dairy free.  I found several recipes and mixed them together to find one I liked.

If your grocery store doesn't have dried lavender, you can find some online.  Tea shops are also a good source.  I used coconut milk instead of the buttermilk I usually use for scones.  Then I used a dairy free butter substitute.  You have to read the labels.  Some of the fake butters have some milk or whey in them.  These turned out so delicious I made them again a week later!
  

Lavender Scones

2 cups flour
1/2 cup sugar
2 teaspoons baking powder
1 teaspoon baking soda
1/2 teaspoon salt
1/2 cup butter substitute, I used Country Crock
1 teaspoon dried lavender buds, food grade
1 teaspoon fresh lemon zest
3/4 cup unsweetened coconut milk
1/2 teaspoon vanilla

raw sugar


Preheat the oven to 425º.


Place the flour, sugar, baking powder, baking soda, salt, butter substitute, lavender and lemon zest in a large bowl.  Mix.  Add the fake butter.


Use a pastry blender to mix all the ingredients, until they resemble coarse crumbs.


Add the coconut milk and vanilla.  Use a spatula to gently mix, just until all the flour is moist and included.

Chill the dough and allow it to rest while you tidy up and prepare a baking sheet.  Line one with parchment paper or use a Silpat.  Get about about 1/4 cup of flour before you put it away and hang on to the raw sugar.

The dough really isn't pink.  Somehow my pink shirt reflected against the dough while I was trying to block the sunlight from my shot!
 

Spread a small amount of flour on a clean counter.  Get the dough and place it on the floured counter. If it is sticky, sprinkle flour on top of the dough. Knead gently two or three times.  Don't overwork the
dough.  I like to make smaller scones so I separate the dough into two equal balls.  I use a pastry scraper to cut the ball in half. Gently shape the dough into two rounds and press to flatten until they are about 3/4 inch high and about six inches around.


Use the scraper to cut each round into eight even pie shapes.  Then use the scraper to transfer the scones to the baking sheet.

Brush the tops of the scones with coconut milk.  Sprinkle them with the raw sugar.


Bake for 10 to 15 minutes. I baked them for 10 minutes for the smaller ones and 12 minutes when I made eight scones from one large dough ball.  Test with a toothpick when they just start to turn golden on the edges, to make sure the scones are cooked through.  The toothpick should come out clean.


Cool on the baking sheet for 2 minutes.  Transfer them to cooling racks.


Serve warm.  These scones are best on the day they are made.


Tuesday, January 30, 2018

Continuing Maintainance

Our home has recently been listed for sale.  You can see the listing here.  We live in the country, so this may take awhile.  Sadly, this doesn't mean we are done taking care of this house.  Routine maintenance continues.

I recently noticed the caulking between the counter and the backslash in the kitchen needed replacing.  This happens.  If you don't stay on top of this, water can get behind the counter and cause problems.

Tools:
one sided razor and holder
rags
masking tape
scissors to cut the tip of the tube of caulk
new caulk the color of the old caulk, I needed clear silicone


First you have to clean out the old caulk.  This takes a one sided razor and patience.  You want to scrape off the old caulk, not scratch the granite, so hold it at an angle and scrape gently.


Doing this behind a faucet is a challenge.  I had to take the razor out of the holder and contort my hand to get the job done.

Clean and dry the surface.


Carefully place the tape above and below the gap you are trying to fill.  The easiest way to to this is to hold one end of the tape on the surface below the gap.  Unroll about six inches.


Raise and lower the free end until it is exactly where you want it and press it smooth.


Repeat this until you get to the end of the project and then do it again above the gap.


I didn't have a large area to fill, so a small tube of clear silicone caulk worked for me.  If you have a larger job, a caulking gun and tube are better.


You can see the detailed instruction were very helpful....if I could read them, the print was VERY small.


It was also particularly helpful to have the cat lie down right behind me.


Squeeze the tube as you fill the gap. Get eye level to make sure you are using enough.  I had to go back and add caulk in a few places, like in the above picture


Don't worry if it is a bit lumpy, although you should try to do an even bead.  I couldn't get close to an even bead behind the faucet.  After you finish, get your finger damp and run it gently along the bead of caulk to smooth it out.  If you put way too much caulk, you will have to stop and wipe off the excess.  Then wet your finger again and continue.


Let the caulk dry for about 10 minutes and then remove the tape.  You don't want to wait too long as the tape may then pull out some of the caulk.  Pull it at a sharp angle away from the hole to break the connection with the tape.  It may not be as smooth as you like, mine wasn't, so wet your finger again and make one more pass over the caulk.


Wait for it to dry according to the very tiny instructions and you are back in business.


By the way, the cat wants a treat.  He did help, after all.


Monday, January 29, 2018

Helping Me Read

I like to read while brushing my teeth. After all, my toothbrush takes two whole minutes of sonically vibrating.  That is a long time to stare at my face.


So I read.


When I can.  Because cats tend to sit on whatever it is you are trying to accomplish.  They are unrepentant in their arrogance.


They help me make the bed, too.

Tuesday, January 23, 2018

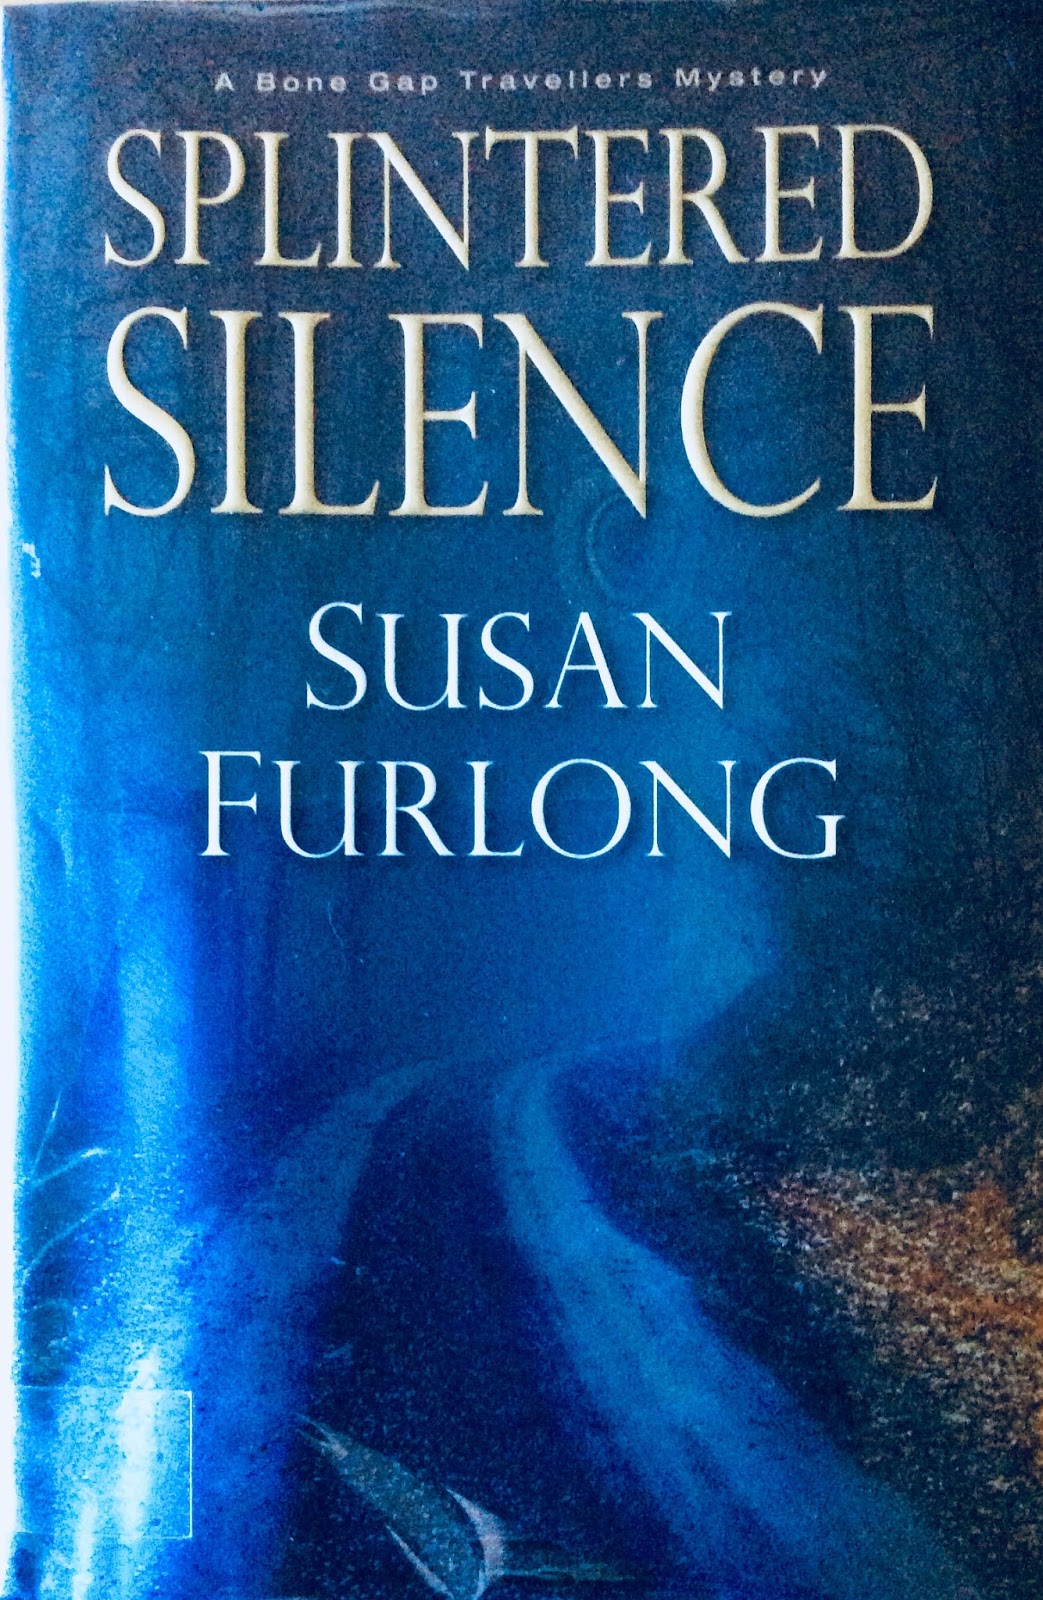
Splintered Silence by Susan Furlong


I just finished Splintered Silence by Susan Furlong.  It is a murder mystery involving Irish Travellers ( also known derogatorily as gypsies), Marines, Cadaver dogs and PTSD.  There is a small resemblance to Linda Castillo's Kate Burkholder series.  Both books involve women who belong to a group of people belonging to a closed community that tends to keep to themselves and avoid outsiders.  Burkholder is a former Amish that is now a Chief of Police is a community with many Amish.  Brynn Callahan, from Splintered Silence, is a former Marine that left her Irish Traveller community in Bone Gap, Tennessee.  Both have experienced trauma from within their community and then got no support when they tried to get help.

It is also interesting that the titles in both series have started with the word Silence.  Both the Amish and the Travellers tend to avoid other people and try to solve problems within the community without calling in outside help, like the police.

Brynn was an MP and K-9 handler in the Marines and was deployed 3 times to Iraq and Afghanistan.  She and her service dog  were both injured in an explosion and Brynn was medically discharged.  She was able to get her HRD (Human Remains Detection dog) and has gone home to her Traveller community  after being fired from 3 jobs because of fallout from her PTSD.  There are not a lot of services for PTSD and even fewer for female service members.  She ends up relying on prescription drugs and alcohol to mask her symptoms.  Her dog, Wilco, has lost a leg, is now deaf and also suffers from PTSD.

Shortly after returning to her grandparents home, Wilco discovers a body in the woods behind the mobile home community where they live.  Soon another body is discovered by the dog near the mobile home park. The settled community, those that are not park of the Traveller clans, are outraged and use this opportunity to protest against them.  Wilco has been instrumental in recovering the bodies, and Brynn has to navigate the line between helping the sheriff find the serial killer and hurting her family by cooperating with the authorities.  It becomes personal when she discovers a connection to both of the victims.

The bodies and the violence of the protests are all triggers for Brynn's and Wilco's PTSD.

I like a good mystery and appreciate when I can learn a bit about a different culture. The incidents of PTSD were realistically and respectfully handled.  I'm looking forward to the next book in the Bone Gap Travellers series.


Monday, January 15, 2018

Baked Brie with Cranberry Chutney

I had a bunch of company over the holidays.  I decided to make a baked Brie to put out with crackers for snacking when I was doing other things.  I found one by James Briscone on The Food Network and didn't change it much.  It was great.

One thing I did, that I don't recommend, is I bought a giant Brie wheel from Sam's Club. It was about the same price as the smaller ones you can buy at the grocery store.  Don't get sucked in. It was too big.  Spend more, get less.


Baked Brie with Cranberry Chutney

10-12 ounce round Brie
enough cranberry chutney to cover the brie, about 1/2 cup. Recipe to follow
1 sheet puff pastry, thawed
1 beaten egg

1 Tablespoon flour

Cranberry Chutney

12 ounce bag of fresh or frozen cranberries
1 apple, peeled and grated   Granny Smith, preferred
1/4 cup water
1/2 cup sugar
1/2 teaspoon cinnamon
1/2 teaspoon ground ginger
pinch of ground cloves
zest and juice of one orange


Combine the cranberries and all the other chutney ingredients in a medium saucepan.


Bring to a boil and reduce heat.  Let it simmer until thickened and the cranberries have popped, about 20 minutes.  Set aside to cool.


Line a baking sheet with parchment or use a Silpat.


Cut the Brie in half horizontally.  Take off the top and place about 1/2 cup of the room temperature cranberry chutney on the bottom circle. Replace the top circle of Brie on the chutney.


Place flour on your very clean and dry counter top.  Use a rolling pin to make the puff pastry about 3 inches larger than the circle of cheese.  Cut a bit off the corners to make it mostly round.  Place the filled Brie in the center of the pastry.


Fold in the corners of the puff pastry to cover the Brie.  Brush the edges of the pastry that touch with the beaten egg.  Fold the pastry until it is wrapped tightly around the cheese.

Flip the Brie so it is seam side down and place it on the prepared pan.  Refrigerate the Brie for one hour.

Heat the oven to 400 degrees.

Brush the pastry with the rest of the egg wash and place in the preheated oven.  Bake for 35 minutes, or until golden brown.


Mine got too brown too fast, so I covered the top with foil for that last 10 minutes.

Cool on the pan for about 10 minutes, then remove to a serving platter.


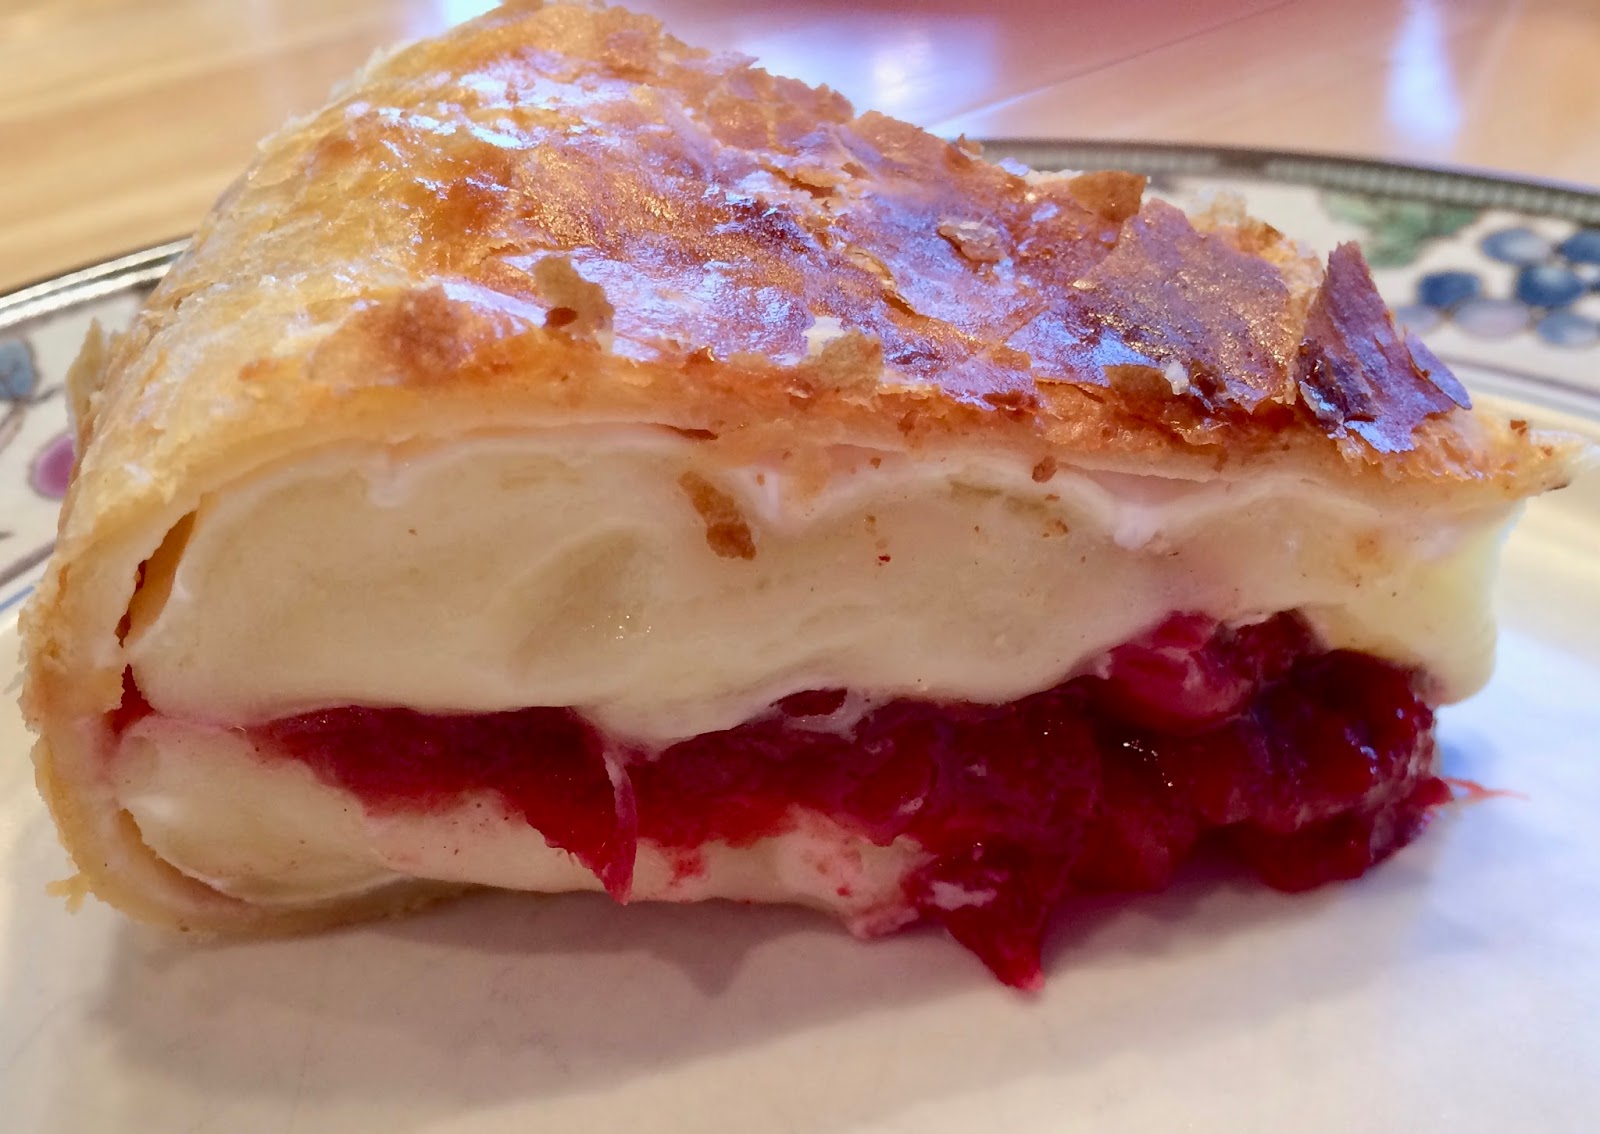
Serve with crackers and the remaining chutney.  Or you could just pick up a wedge of creamy cheese and sweet, tart cranberry with just a hint of flaky pastry and just eat it.  I'm not saying I did that.  But a person could and it would be delicious.


Sunday, January 7, 2018

It's So Cold

It has been so cold!  The weather has been hovering in the teens and twenties.


It is so cold our stream has frozen.


The sunset the other night was so beautiful.


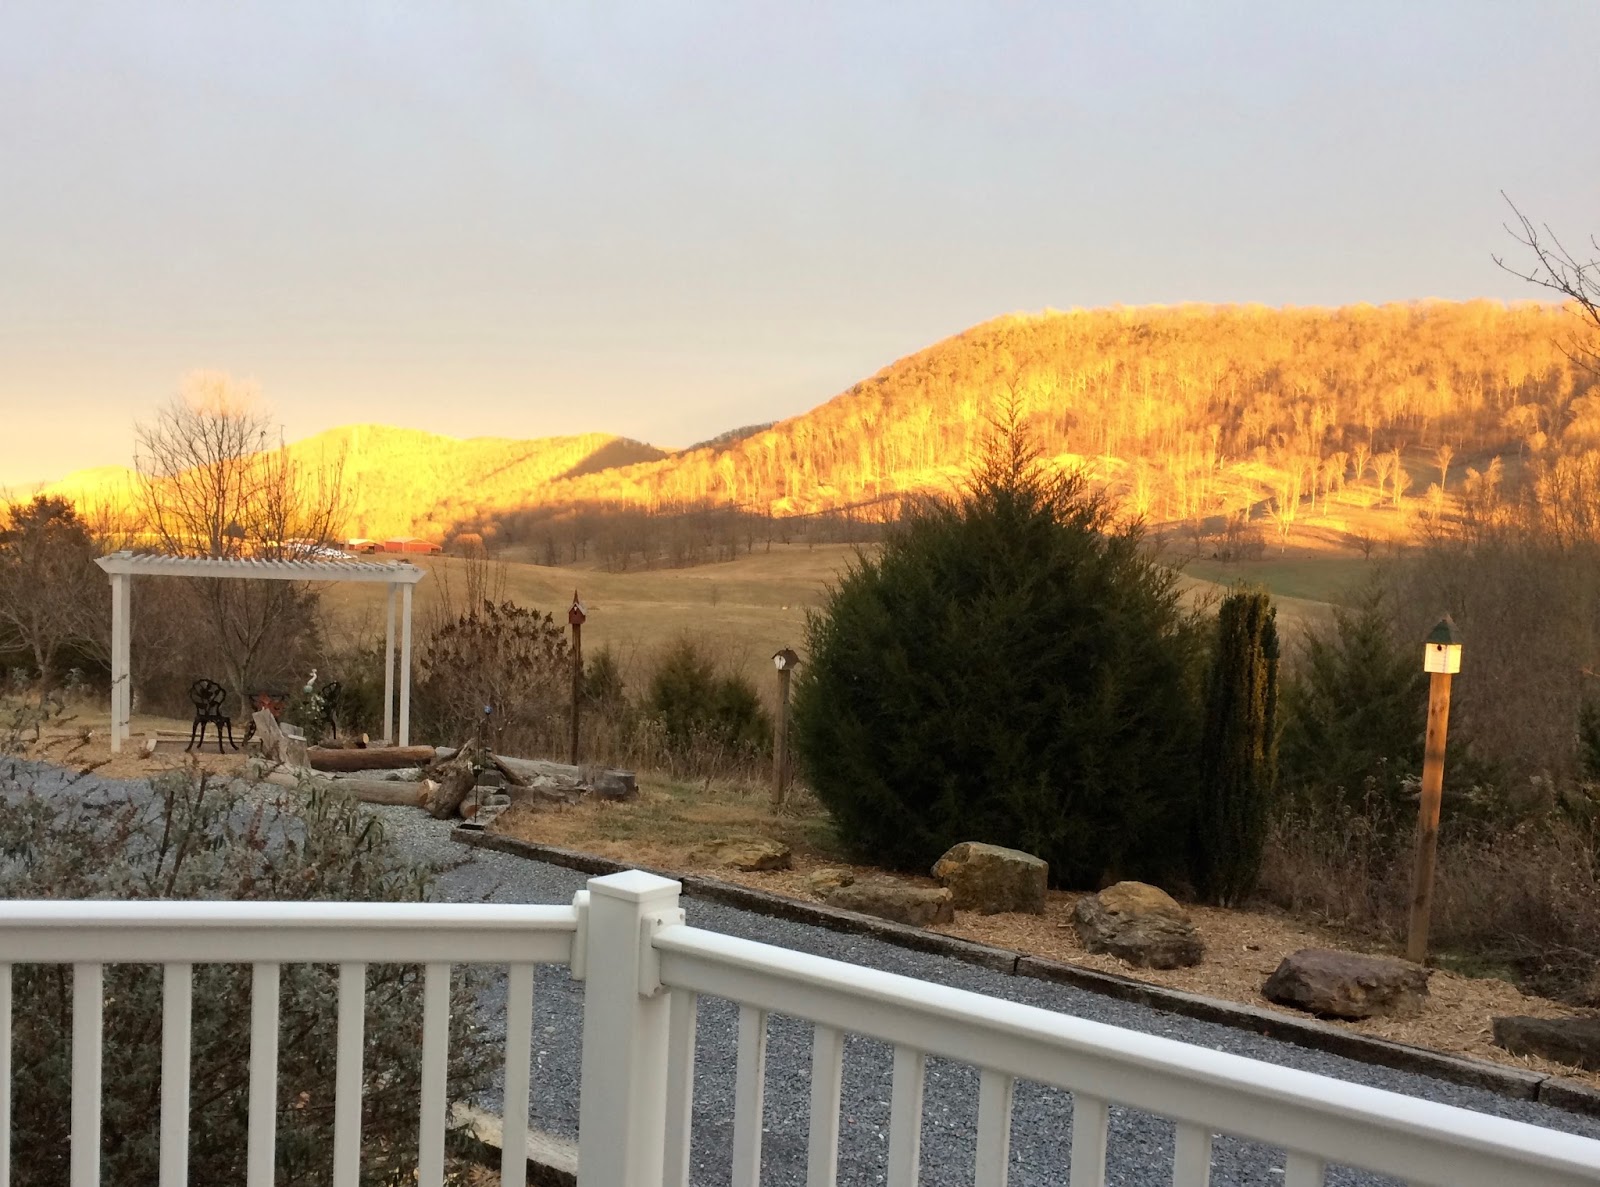
The light on the hills behind the house was so golden, you might not realize that we are freezing here!


But step outside and you will be instantly reminded.  Brrrr!