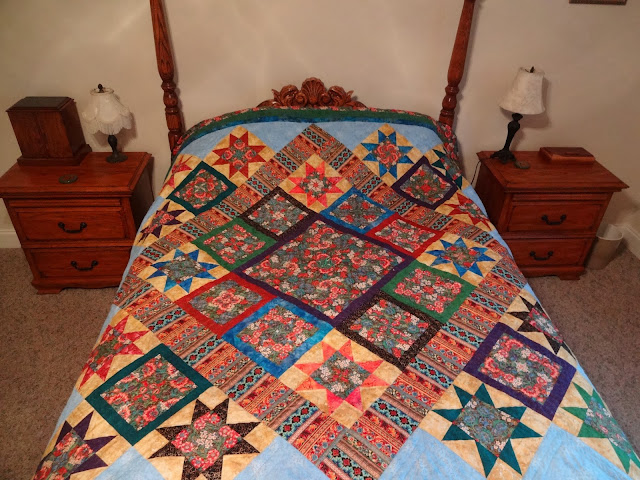
I woke up this morning at 3:00 and couldn't sleep. No reason. Just couldn't. I finally got up about 4 and finished the quilt. That's right. Finished. This quilt took more time than the other two I made. Partly because it is the biggest. I made a queen size quilt for the first and last time. They are just too unwieldy to try and sew on the middle of such a big quilt. And I want to be able to do it all. I don't do it particularly great, yet, but I am getting there. The other reason is that we have so many things going on here, that sewing has taken a backseat.
The last week or so I have been sewing every day after I do a bit of brush clearing and a bit of furniture refinishing. That means I spend a LOOONG time washing hands before I start.

I used a template to sew in the widest border at the edge of the quilt.

The template is 6inches wide and the border is 8 inches wide so I cut a piece of cardboard to run along the seam side to keep the chalk lines even for stitching.

Cats, no matter what they think, are not helpful in this process.

I will not use this template again, because when I stitch the curving lines, the quilt tends to pull, even with the walking foot on the machine. I am sure I am the problem, but it made for some tearing out of stitches and some puckered places. I am taking a class at the Trinity Quilt Shop next month on free motion quilting and I hope to be able to use that technique on my next quilt. Not everywhere. Just in the spots where there are no obvious lines to follow.
After I finished the border, it was time to do the last bit. The binding. There are two different instructions, depending on which book or web site you read. Some say to sew the binding on the front and then trim the quilt to finish it. I like to cut it first.

Some sites say to cut the binding 2 inches wide and I did that. I wish I had cut them 2 1/2 inches wide, suggested in other places. There were some corners where it was a struggle to get the edges to fit properly and a bit more room would have been nice. I must have done 2 1/2 inches on my other quilts. I need to keep a journal or something. Still, I think it looks nice.

After you cut enough strips to go around the whole quilt, plus a foot or two extra, you have to sew all the strips together. Place the strips at right angles with the right side together and sew across.

Then trim off the extra and iron them seams open. You will have a lot of fabric for the binding of a queen size quilt.

While doing that, press them with the raw edges together with the right side out. This makes a double thickness and it is supposed to make them last longer. But what do I know? This is only my third quilt. My problem isn't hoping they will last. It is trying to keep the cat hair off the quilt!
Start sewing in the middle of one side. Instructions tell you to leave 8 inches unsewn. I suggest leaving a bit more than the suggested 8 inches. At least I had to undo some stitches.
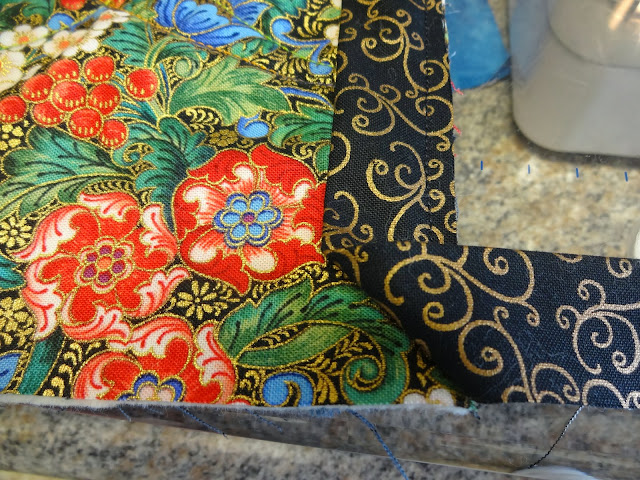
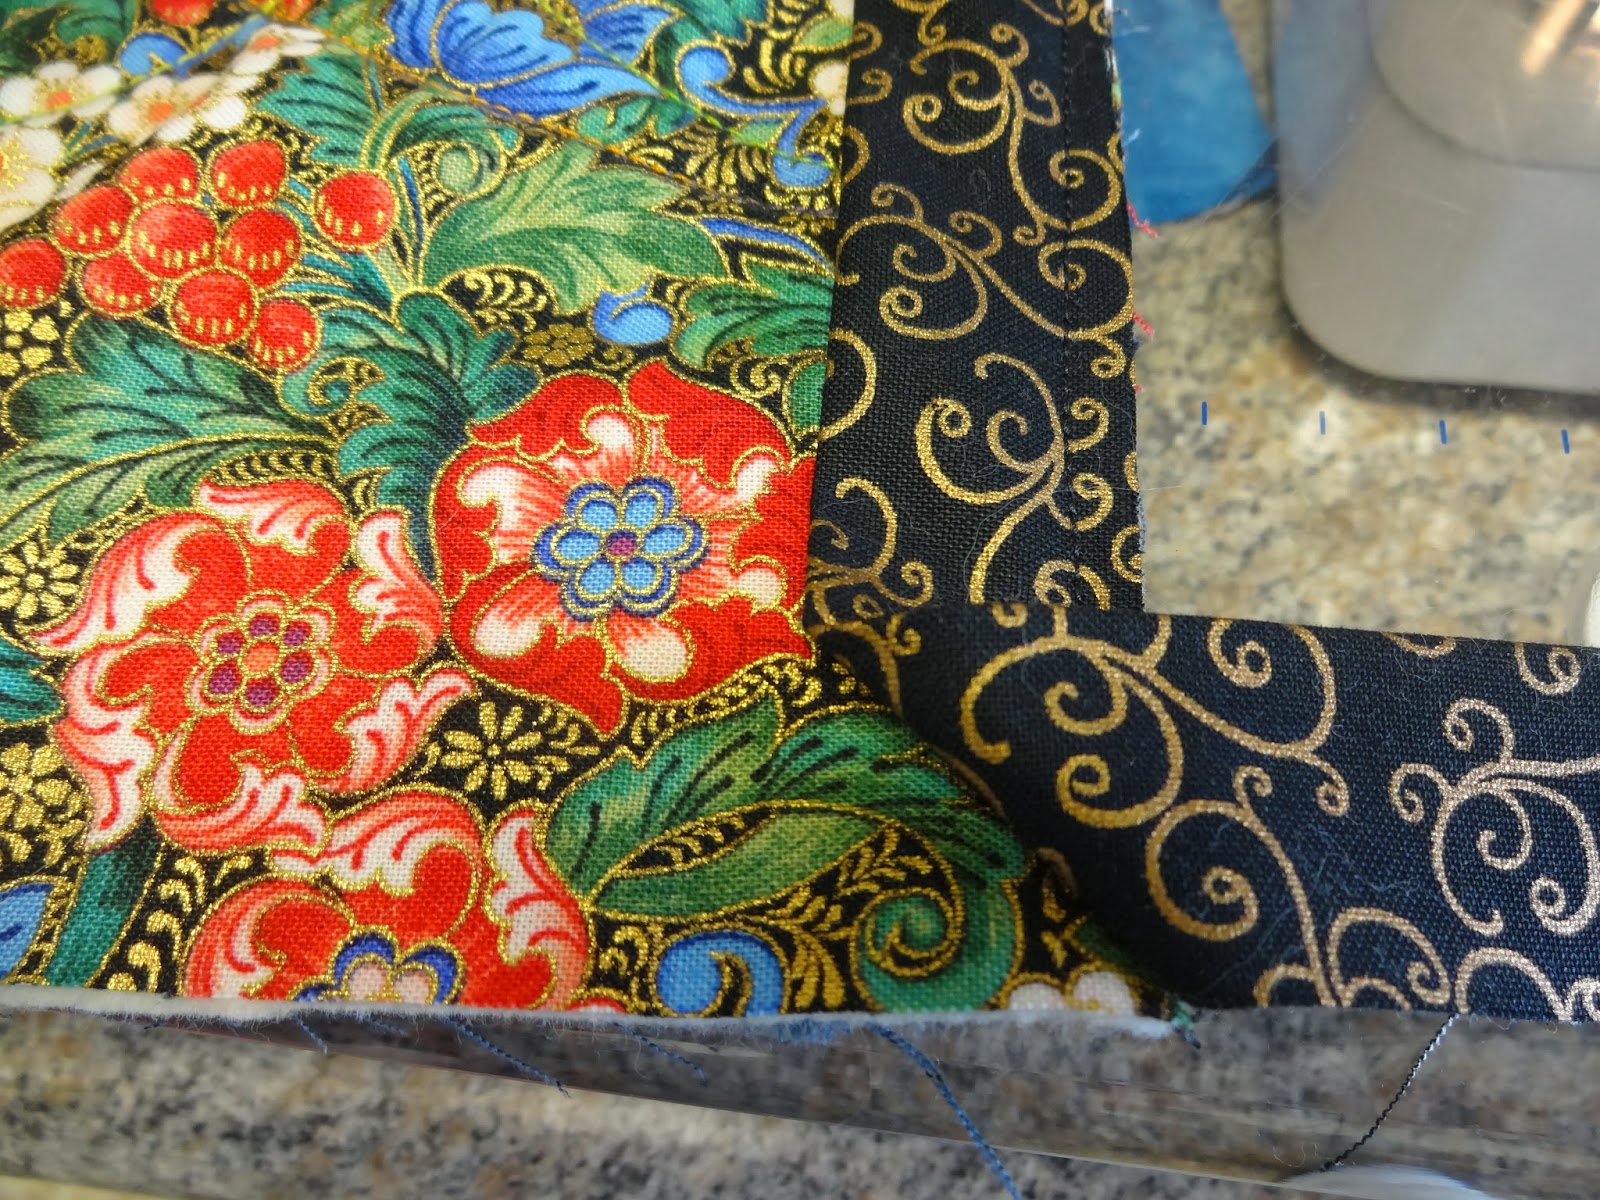
When you approach a corner, stop 1/4 inch from the end. Stop and cut the thread. Fold the binding up at a 90 degree angle and then back down on top of itself. make sure the edges line up and then start sewing in the new direction. The fabric will be thick and you may need to help your machine get through it.

When you have it mostly sewn, open the folded binding and lay one piece going down in a 90 degree angle and one going up at a 90 degree angle. Use your fingers to crease the edges.

Then place the creased edges, with the right sides facing, together. It helps to mark the creased line and then sew along it. Make sure it fits and then cut off the excess. MAKE SURE IT FITS. Iron the seam open and then finish sewing. It should be perfect!

Now comes the tedious (for me) hand sewing. Fold the binding over and make sure it covers the seam you just sewed. Do a blind hem stitch.

When you get to a corner, sew all the way to the end. Try to keep the needle from piercing your thumb. Try harder.

Then fold it back to miter the corner and take a few stitches to keep it flat.

Oh, my gosh. Are you done? No. you have to get up at 4 AM (!) and sew a few more places where you didn't get enough quilting done to suit you. THEN you are done.

Now go clear more brush and put another coat of Tung Oil on the table. Then go work on the stocking you never finished.
Then take a nap.