Showing posts with label Steam a Seam. Show all posts

Tuesday, August 1, 2023

Barnyard Animal Quilt

 When I was looking on Etsy for a transportation themed quilt for my grandson, I ran across this quilt. It is called Sleepy Acres.  It is a bunch of silly barnyard animals in a bed. It was so cute I had to buy the pattern, even though I didn't have an idea of where it was going to end up.


This is an appliqué quilt. I cut out squares of the black fabric. I traced the pieces for each animal and all the embellishments on Steam A Seam.  Next I cut roughly around the shapes and ironed each one on the back side of the appropriate fabric and cut on the lines. These pieces were then placed appropriately and ironed on each square.

The white fabric for the bed allowed too much of the black to show through, so the pattern suggested making two of each shape, doubling them up.  This was a lot of ironing, cutting and more ironing.  

Rather than doing a blanket stitch around each appliquéd piece as the pattern instructed, I chose to wait and do a straight stitch around each shape when I got to the quilting phase. This saved a lot of work but ended up making the quilt look a little more rustic where there was a bit of fraying.  I'm not sure how I feel about that. But I am going to do another appliqué quilt and I'll try the blanket stitch and then a straight stitch when quilting and see which I like best.      

There was a bit of embroidery that I did before I put the squares together.  The creases in the rabbit ears, a bit of satin stitching on the cookies to indicate chocolate chips, and the numbers on the sheep to show counting, etc.

Isn't this the perfect back? It is flannel for softness and has a bunch of barnyard animals!  It wasn't wide enough, so I bought extra and made it double wide. Now I have a bunch of left over fabric.  I may make a pillow or something with it.

After I put all squares together with the sashing and borders, I quilted around all the pieces to attach them and sewed the border.

I washed the quilt to see if the areas with triple layers of fabric and glue would soften up a little.  They did.  But then I found places that were fraying too much and added some more stitches. 

The pattern called for buttons and beads for the eyes.  If I had to do it again I would embroider them before quilting. If they pose a problem, I will remove them and add the embroidery.

I really like the quilt and hope the eventual recipient will like it too!


Wednesday, March 9, 2022

Top Of The Transportation Quilt

 I used a pattern for first six construction vehicles on the transportation quilt I'm making for my grandson. I cut out shapes on my Cricut to use as a template for the next three vehicles.  I found designs for a train, a school bus and a fire truck.  I played around with them a bit to make them a bit more simple so they would fit in with the first six.

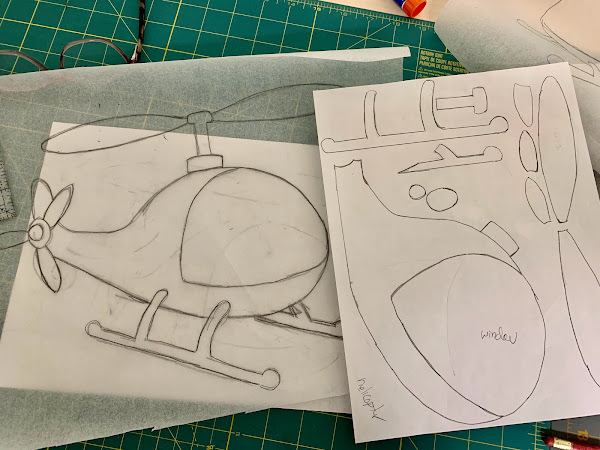
I wanted to add three more shapes.  I didn't find three that I liked in the Cricut catalog, so I looked at online free images.  I picked out the ones I wanted.  I tried to trace them from my iPad. My iPad screen is not big enough. I enlarged the design so that the whole thing didn't fit on the screen. I taped tracing paper on my counter and tried very hard not to touch the screen with anything but my pencil, because caused the whole thing to move. Then I shifted the design on the screen to get the whole thing traced. I managed to get the designs I wanted in the size I wanted after a LOT of crumbled up tracing paper.

I used the tracings to make a page of shapes to trace on Steam A Seam.  I ironed it on the back side of the fabric, then appliquéd them on the precut white squares.

I made a garbage truck using two different designs for inspiration.  Getting the recycling design drawn and appliquéd was a bit tricky, but fun.

The helicopter I traced and appliquéd as I found it.  It fit in really well with the flavor of the original designs, kind of cartoonish.


Airplanes are a favorite of Wesley's. He stops what he is doing and runs to the window to try and find one when he hears one flying by.  

This is the shape I chose.

When I cut out the final shape, it was too big to go horizontal, so I angled it down, like a strafing run.  I didn't really want to have it horizontal as it would fill more of the square rising or falling. I sent a text of the picture to my daughters.  Trista asked why the plane was crashing.

Oh. That was not the impression I wanted to convey.  So I used the same design and aimed it up as though it was climbing. After all, the plane has windows, so it must be a passenger plane.  They don't do strafing runs!

I saved the diving plane and I may use it as a pillow to go with the quilt.

The top is finished and I'm waiting for the fabric for the back to be delivered.

Tuesday, February 15, 2022

Adding To The Transportation Quilt

 After I made all the designs for a construction quilt, I thought that the six shapes were insufficient.  I found this pattern on Etsy,

so I looked there for more shapes. 

I changed the sizes and did some minor tweaks to suit me

There were other patterns on Etsy that I liked, but they included things like covered wagons and bicycles. I didn't want to do that.  

It was important to match the simplistic style of the previous patterns. The biggest obstacle to adding designs is my absolute inability to draw any recognizable shape.  My stick figures are pretty sad, too. 

I wanted to add a school bus, train and fire engine.  These are all things that Wesley finds fascinating. 

I found some simple designs on my Cricut Design Space. I also Googled some cartoon images. These are the ones I used to make a ladder truck/fire engine.

I cut out the shapes from Cricut and then played with the shapes until I was happy with the finished shapes.

Once again I traced the designs on a sheet of Steam A Seam.  I roughly cut out the shapes and ironed them onto the back side of the chosen fabric.  Then I cut out the shapes and assembled them to finish the design.  

Along the way I made small artistic changes. And when I say artistic, I do not in any way claim to be an artist.  I don't even identify as an artist.  But I do seem to be able to play around with someone else's design to suit my ideas. But you can decide how successful I am.

The train is a bit smaller than the other designs and less cartoon like.But I wanted to get the second car included.  After all, is an engine alone a train??  It may not match the feeling of the other designs, but I'm happy with it.

Now, my problem is that I think I may want to add some more designs. After all, our grandson, Wesley, really likes garbage trucks.  He also loves airplanes and helicopters.  I'm not sure when this madness will end. 


Sunday, February 13, 2022

Transportation Quilt

Our 18 month old grandson loves trucks and other large construction equipment.  Is it because he is a boy, or are we unconsciously leading him in that direction?  Who knows?  But he loves all large vehicles

I looked online to find a pattern to make him a quilt. I found a few good ones on Etsy. I started making projects using Steam A Seam to appliqué shapes on fabric as part of the design. I used it extensively for the horse quilt I wrote about previously. This pattern uses a lot of appliqué. 

The one I bought had six different designs. But they were two different sizes. Three of each size. I didn't want to do that. I discovered that if I used my copier and reduced the larger designs (the three on the left) to 75%, they would be similar sizes.

I made some minor changes. Then I traced the patterns on the Steam a Seam, cut out roughly around the tracing and then ironed onto the back of the chosen fabric.  Using the pictures, I assembled the vehicle and ironed them in place. 

After I made the six designs, I laid them out to see how the quilt would look.  Now I think I need to make it a bit bigger. 

I need to decide which three vehicles to add.  My current plan is a train, a fire engine and a yellow school bus, because the wheels go round and round. 

Sunday, December 5, 2021

Horse Quilt

 I wanted to make a quilt for a grandchild. The problem is, I have already made at least one quilt for each grandchild I current have. But what if I die and then there is another grandchild?  They might feel unloved by me!  So I decided to make a horse quilt for a yet to be named grandchild.  On the other hand one of my currently existing grandchildren may become horse crazy and they can have the quilt. Anyway, I made a horse quilt.

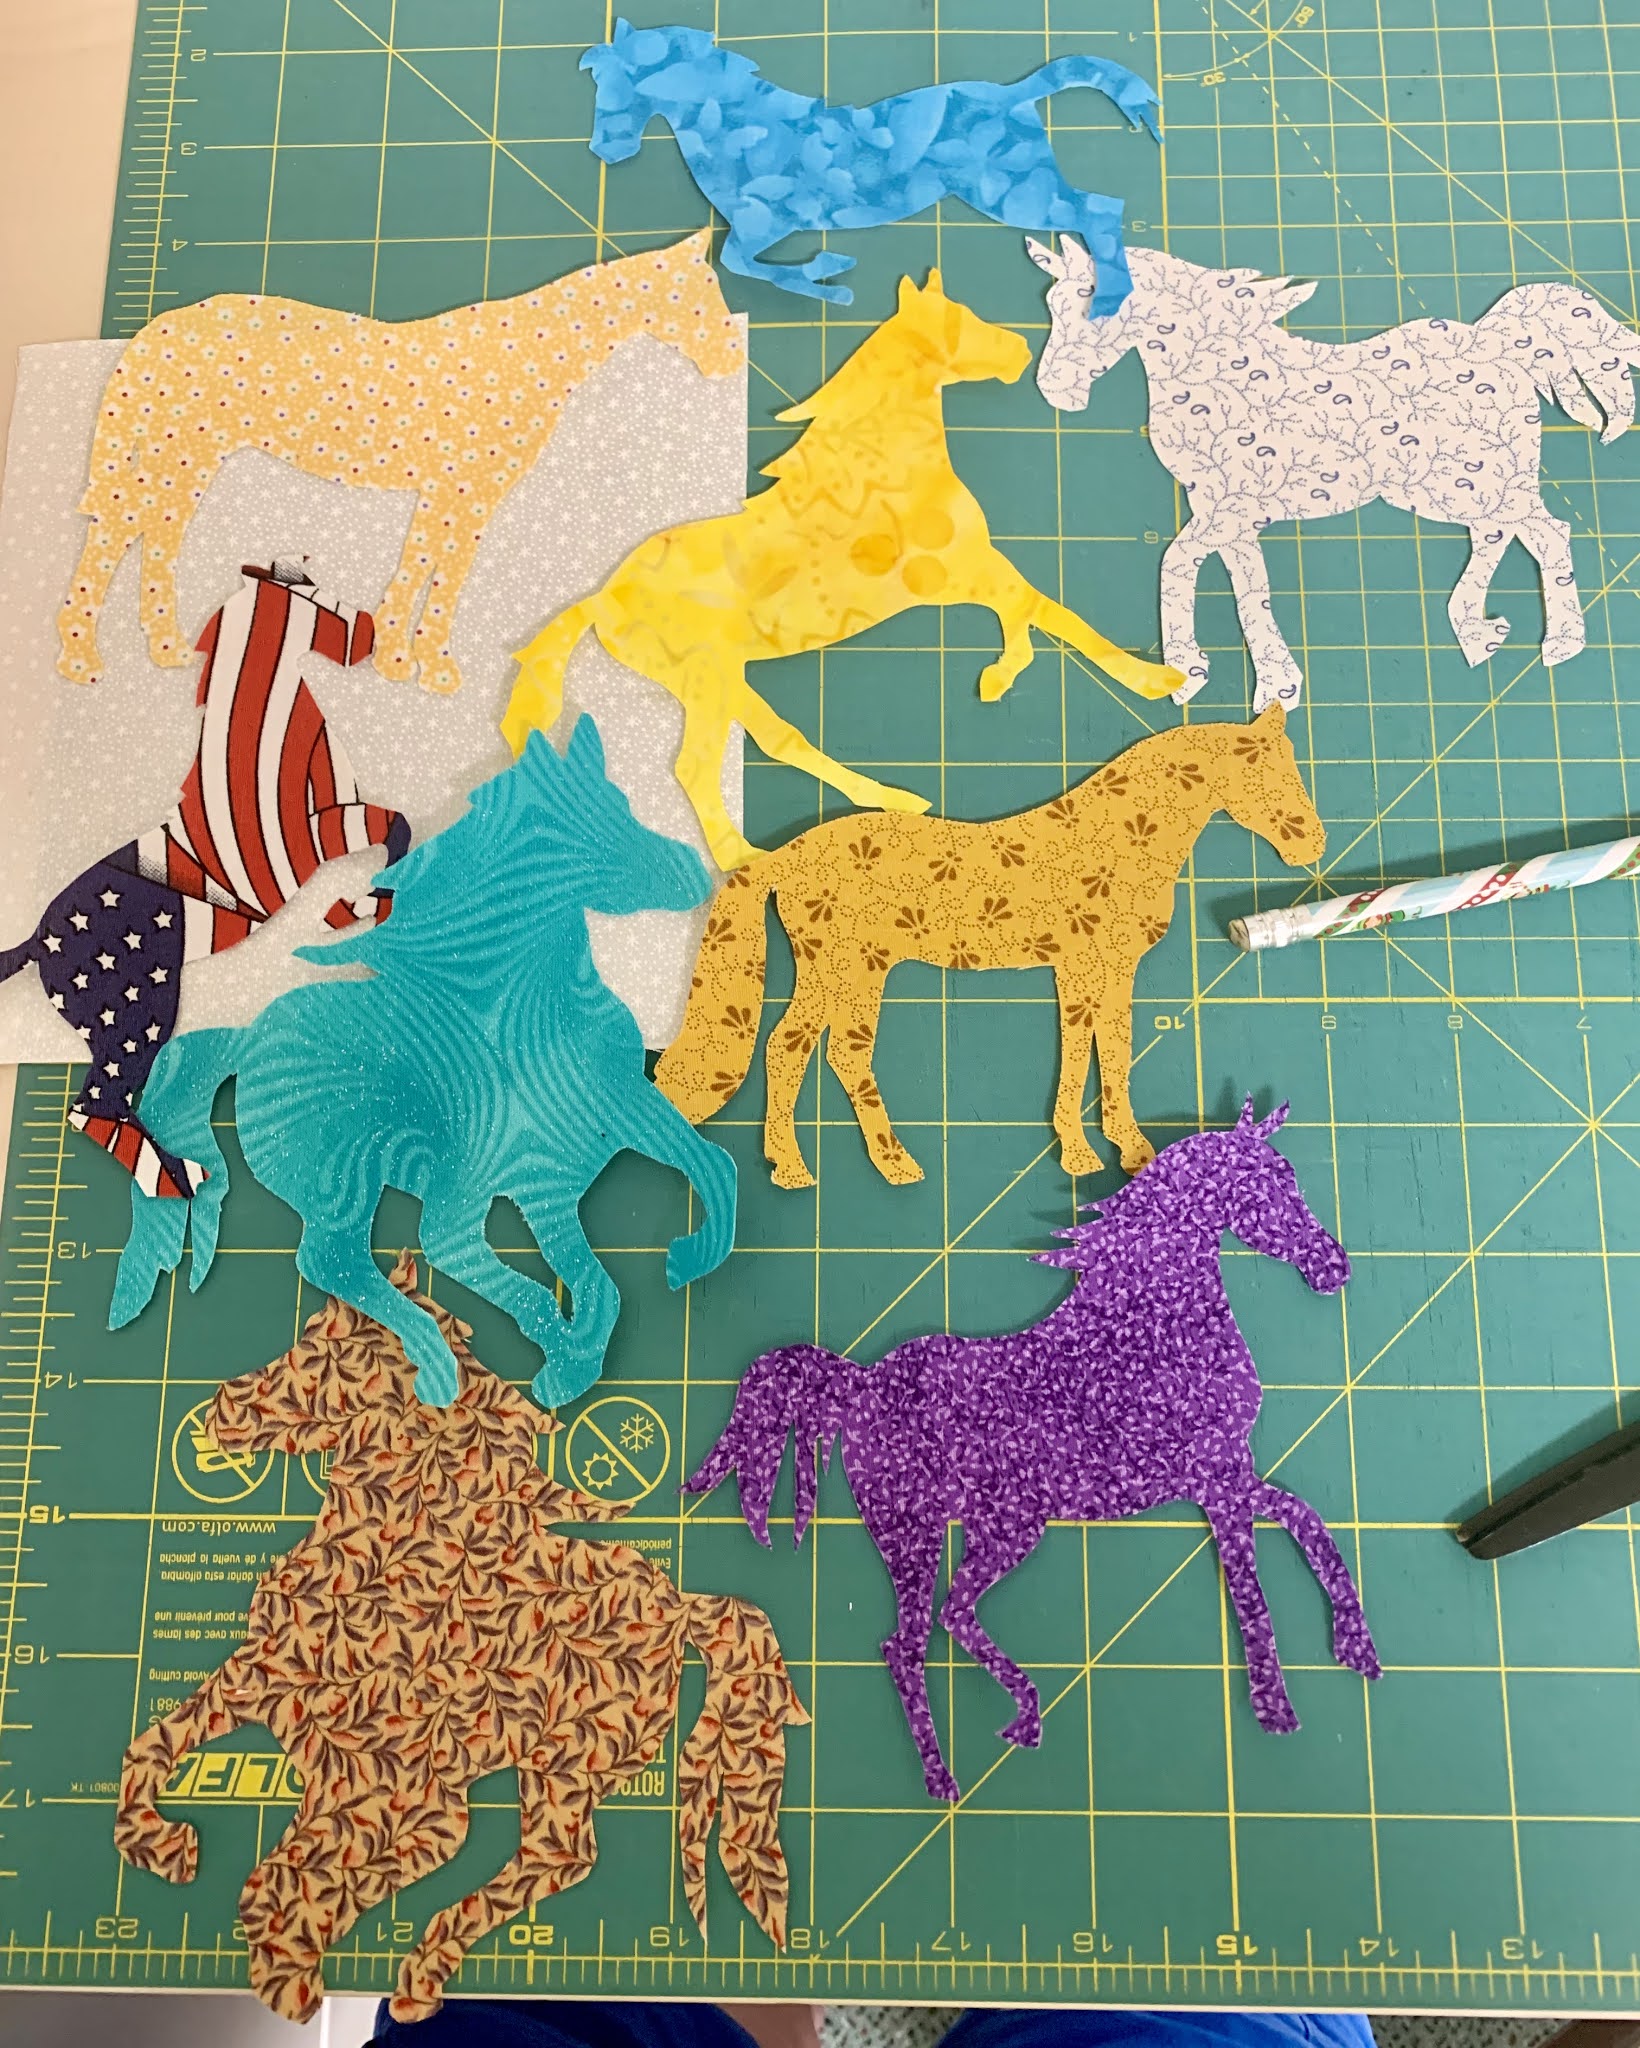
I have a Cricut.  This is a machine that cuts out shapes. There is a huge catalog of shapes that you can download to an iPad and then it will cut out paper, card stock, fabric and other thin items. I downloaded a bunch of horse shapes, sized them to fit on a 6 1/2 inch square and cut them out on card stock.

There is a product called Steam A Seam. It is fabric glue pressed between two sheets of paper. I used the templates of horse shapes to draw the designs on the Steam a Seam.  You have to be careful to draw on the proper side!

I cut roughly around the shapes and ironed them on to the backside of the fabric I wanted to use. Then I cut out the shapes, peeled off the paper and ironed them onto a white 6 1/2 inch square.  

I had some fabric with horses on it that I also cut out and appliquéd to white squares.

I had enough fabric for the horse silhouettes but wanted to look for fabric for the rest of the quilt.  I found a quilt shop in Winchester that actually allowed people in to shop.  COVID has closed many stores or made them closed to in-person shopping.  It is hard to find the right colors on a computer screen. I wanted to go in and found a very cute and helpful store.

I did a small quilt as it is so much easier to quilt them in my sewing machine. I like to do the whole thing myself. 

They even had some fabric with horses all over for the backing!

So now it is finished and waiting for the first kid that wants a horse!