Showing posts with label KitchenAid. Show all posts

Thursday, August 30, 2012

Snickerdoodles


Isn't that a great name for a cookie?  I have no idea where it came from but it is a perfect name for a childhood favorite.  One of my best friends from way back in the day used to make them.  Sometimes, if I was lucky, Katy would bring some by.  There had to be plenty because I had two brothers and two sisters and cookies did not last long at our place.  Better to take two right off the bat.  It wasn't as good of a deal if she invited me over to eat some at her house.  Over there I would have to be polite.

I have some company coming over for a bit tonight.  I asked Lee what kind of cookie I should make.  "Snickerdoodles",  was his long winded remark.  Sometimes it's hard to get a word in edgewise.  I don't know if he thought the kids would like them or he just wanted them for himself, but I made them and I'll keep some for him.

Snickerdoodles

1 cup butter, softened (2 sticks)
1 1/2 cups sugar, divided use
2 eggs
1 teaspoon vanilla
2 1/2 cups flour
2 teaspoons cinnamon, divided use
1 teaspoon cream of tartar
1 teaspoon baking powder
1/4 teaspoon salt

Preheat the oven to 375.  Get out the cookie sheets and silpats, or lightly grease the sheets.

I use a KitchenAid mixer.  This can be done by hand, I am sure Katy didn't have a stand mixer!  The reason I am sure is because I had never heard of a stand mixer back then. Cream the butter and 1 1/4 cups of the sugar.  While you still have the sugar out, put the other 1/4 cup in a small bowl and set aside.


Add the eggs and the vanilla.  Beat until smooth.  It will tend to stick on the sides, so stop and scrape down occasionally. Yes, I know the mixer is supposed to keep you from having to work.  It's just a bit of scraping.  You can do it.


All recipes tell you to put the dry ingredients in a separate bowl to mix them and then to add to the mixer.  I rarely do this.  I don't know if it is laziness or frugality...an extra dish to wash will use more water or soap or something.  I'll just go with frugality.  You can use an extra bowl if you like.

I put one cup of flour in the mixer.  Then I added 1 teaspoon of cinnamon.  The rest of the cinnamon (1 teaspoon) should go with the sugar in the small bowl. stir it until mixed.  Then add the rest of the dry ingredients on top of the flour.


Under no circumstances should you leave out the cream of tartar.  You may have never heard of it, but it is necessary for these cookies.  This is what gives them the lift and the soft insides.  You gotta do it.  They sell it right with the spices.  You can't miss it. I even have two, because the last time I used it it looked close to empty so I bought more.

 Mix the spices into the flour gently with a spoon or knife.  Turn on the mixer, slowly,  to finish mixing. Add the other cup and 1/2 of flour and mix that in.

You can shape the dough into one inch balls or you can use the small cookie scoop.  They do not have to be round.  When they cook they will spread out into a nice round shape.  The scoop is faster and less messy than the hand method, but I don't think Katy had a scoop, so you don't need one either.


Set up an assembly line.  Cookie dough, bowl with sugar and cinnamon, cookie sheet, wet rag to wipe your hand.  Scoop up a few balls of cookie dough and put them in the sugar.  Turn them with a spoon to coat them. Using your fingers, now, pick them up and arrange them on the cookie sheet.  Leave room for them to spread out.  Wipe your sticky little fingers and do a few more.

When the cookie sheet is full cook for 6 to 8 minutes or until bottoms are lightly browned.  I did it for 7 minutes.

When you take the cookies out of the oven they will be puffy and look great.  Then as they cool they will fall a bit and get crinkly.  This is good.  They will be all crispy on the outside and chewy and wonderful on the inside.  When they have cooled for a few minutes, transfer to a wire rack to finish cooling.


Don't put the cinnamon and the sugar away until all the cookies are in the oven. Sometis there is just not enough to coat all the cookies and you will need to add more.  Don't worry too much about measuring.  Just add 1 Tablespoon sugar and 1/2 teaspoon of cinnamon.  You can't use it for anything else if there is leftovers.  It will have cookie bits in it.  Wait...Cookie Dough Coffee.  Nah.  It has raw eggs in it.  Maybe another recipe, though!  You'll have to toss it.

Make sure you try at least one when it is still a bit warm.  If you never had a Snickerdoodle before, this will be a special treat for you.  Even with my vast experience in cookie eating, it happens every time with my first bite. The edges of my tongue tighten up and I know I would be gleeking if I was chewing with my mouth open. They are that good.  Thanks for the memories, Katy.


Tuesday, August 7, 2012

Chocolate Cupcakes


I wanted to make some chocolate cupcakes for the company I was expecting.  It turns out I have cousins from Ghana!  How cool is that?  I have a chocolate cake recipe I am thinking of making but it seemed a little rich for kids and I was expecting about 14, plus 6 adults.  A cake would be hard to cut for that many people.  Plus cupcakes are easier for little hands to deal with.

I looked at a lot of recipes, but ended up at the Hershey Chocolate site.  Who would know chocolate better than Hershey? The recipe says it makes 30 cupcakes, but I just overfilled 24 paper cupcake liners and it worked for me.

Chocolate Cupcakes

2 cups sugar
1 3/4 cups flour
3/4 cup cocoa powder, HERSHEY'S, of course
1 1/2 teaspoons baking powder
1 1/2 teaspoons baking soda
1 teaspoon salt
2 eggs
1 cup milk
1/2 cup vegetable oil
2 teaspoons vanilla extract
1 cup boiling water

Heat oven to 350.  Line 2 muffin pans with paper liners.  This recipe will also make sheet cake and layer cakes.  Check the Hershey site for baking times for them.


I use a KitchenAid stand mixer.  Dump...I mean gently place...the flour, sugar, cocoa, baking powder, baking soda and salt in the mixing bowl.  Mix at low speed until well mixed.


Add the eggs, milk, oil  and vanilla.  Mix until all the flour is moist.  You may have to stop and scrape down the sides.

While you are mixing put the 1 cup of water in the microwave for two minutes.  When it dings you will have mixed the batter long enough.  With the mixer on slow, add the boiling water to the batter.  It is going to get very thin and you are going to think you did something wrong.  I don't know what the boiling water does, but I saw it on other recipes, so just go with it!

Because I overfilled the cups, the tops tried very hard to stick to the top of the muffin tin.  So I suggest you spray it with Pam before you fill the paper cups.

I use a ice cream scoop to fill the cups.  It hold about 1/2 cup and it a good way to get a mostly even amount in each cup.  Like I said, I came back and over filled them to use up the batter and to have big cupcakes.


When I filled the cups, I held the tin up and close to the mixing bowl.  I let the scoop drip in the outside cup and then moved it to the inside cup to fill it.  This made MOST of the drips fall into the paper cupcake liners.  Before I put the pan in the oven I carefully wiped the drips between the cups with a damp cloth.

Both pans did not fit in my oven on the same shelf.  I baked for 15 minutes with one on the top shelf and one on the bottom shelf.  I switched them around and baked for 15 minutes more.  After 30 minutes I tested one cupcake in each pan.  The toothpick came out clean, so I took them out to cool.  If it comes out covered in batter, cook for 5 more minutes.

Let them cool for 10 minutes, then remove to a wire rack.  This is where I noticed that I should have sprayed the top of the muffin pan with Pam.  They stuck a bit and I had to be careful to remove them with out tearing the tops off.

Chocolate Frosting

We never had frosted cakes when I was little.  I don't know if this is because my parents didn't believe in too much sugar or because my mom couldn't be bothered.  I think it was a bit of both.  Mom says nothing lasted long enough to be frosted, but I know we never ate between meals and she is just try to justify her unreasonable behavior!!  So FROST these cupcakes and this is how!

Whew!  It seems that not frosting cupcakes for children can lead to life long emotional issues!

1/2 cup melted butter (1 stick)
2/3 cup Hershey's cocoa
(yes, it is still their recipe)
3 cups powdered sugar
1/3 cup milk
1 teaspoon vanilla

I washed the mixing bowl and switched from the paddle to the whip attachment.  Remember to wait until the cupcakes are completely cool or the frosting will melt and slide off.


Scrape the melted butter into the mixing bowl.  Add the cocoa and stir.  Then add one cup of sugar and part of the milk until all of it is mixed in.  If it is too thick to spread well, add a bit more milk.  Only a a teaspoon at a time.  It is easy to over add.  If it is too thin, add more sugar. 

Stir in the vanilla.

I took a Wilton class a long time ago.  I get obsessive and bought a lot of the tips and made flowers and fondant and lots of cakes.  Our old computer died and ate all the glorious pictures, so you will just have to trust me.  Then I had no more children at home to eat my experiments, so I rarely make cakes.  This means I am not very good, but enthusiastic!


You can just take a knife or a spatula and spread on the frosting.


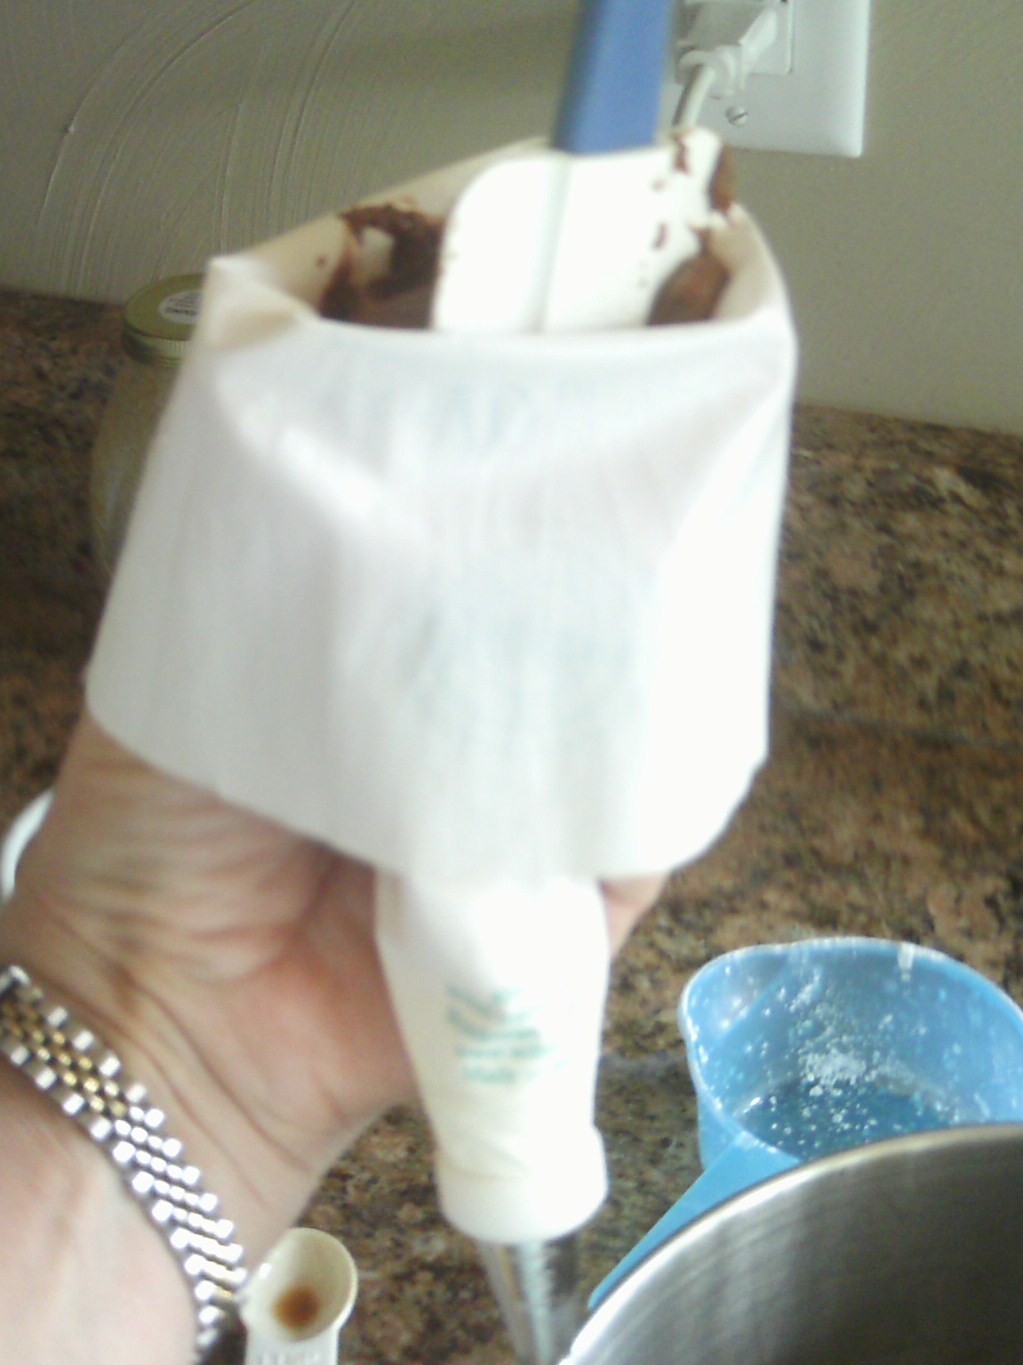
 I filled a frosting bag and tried different tips.  I finally settled on some swirled around and some spritzed through a serrated tip.  Neither of them were particularly beautiful, but on the other hand I was feeding chocolate to children, so how picky can they be?


Monday, August 6, 2012

Soft Pumpkin Cookies

We have company coming tomorrow and they will be bringing a bunch of kids.  This means I will have some guinea pigs...I mean taste testers!  It also means I won't end up with a bunch of cookies that I will have to eat all by myself.  These are kids who are super polite, so they might not actually tell me what they think, but the littlest ones might leave cookie halves behind and that will be my clue.  I'll come back to this post and let you know if this is a fail!

Once again I am making a kid friendly food that uses squash.  It is not a trend.  I like healthy food as much as the next person, but it is not a calling. Next I am going to make chocolate cupcakes and unless you consider cocoa beans a vegetable, they will be decadent and not at all healthy!


Soft Pumpkin Cookies

2 cups flour
2 teaspoons cinnamon
2 teaspoons baking powder
1 teaspoon baking soda
1/2 teaspoon salt
1/2 teaspoon ginger
1/4 teaspoon nutmeg
1/8 teaspoon cloves
3/4 cup brown sugar
3/4 cup granulated sugar
1/2 cup butter (1 stick) softened
1 15 oz. can pumpkin
1 egg
1 teaspoon vanilla

Preheat oven to 350.  Get out cookie sheets and line with parchment or use Silpats.


In a large bowl, place the flour and the next six ingredients.  Stir them around with a fork to mix well. 


I used a micro plane to grind the nutmeg, so the amount I used is approximate.


Put the softened butter in a stand mixer.  I use a KitchenAid.  My butter was not soft enough, so I put it in the microwave for 5 seconds.  Using the paddle, whip it until the butter is all spread out.  Then add the 2 sugars.  Stir until well blended.


Add the egg and the vanilla and keep mixing.  Add the pumpkin puree. 


When everything is incorporated, add the flour mixture one cup at a time.  Be sure to start slowly with each addition or you will be wearing the flour.

I have three sizes of scoops.  The large one is for filling cupcakes.  The small one is for little cookies.  I used the medium one for these cookies.  I thought the little one would make the cookie less soft...more cooked surface and less interior area.  I wanted soft, cake-like cookies.


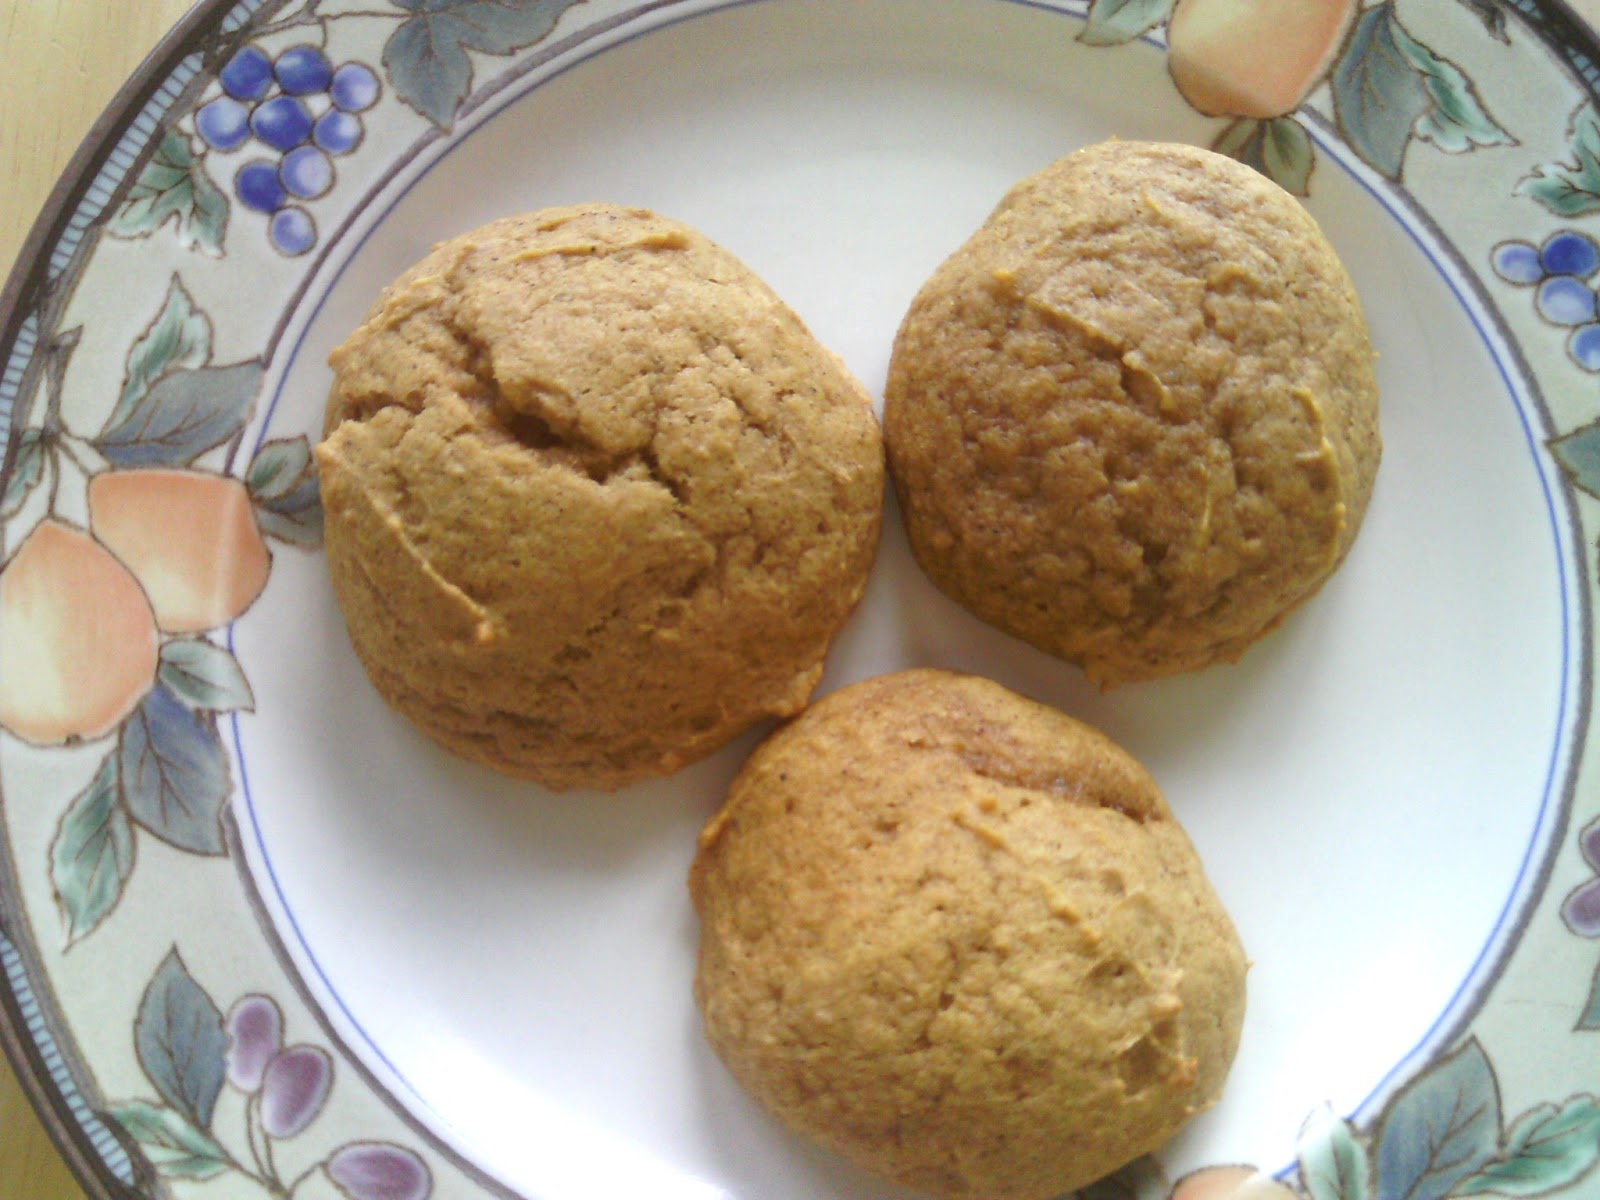
Place the cookies, which will be soft and airy, on the lined cookie sheets and bake for 12 to 14 minutes.  I combined several recipes and they suggested 10 to 12 minutes.  This was not long enough for mine.  They were still a wee bit raw in the middle.  Use a toothpick to test and see if they are done.  If the toothpick comes out clean, they are ready.  Don't overcook as the whole soft cookie thing will become a hard hockey puck.  Test each batch.  Mine were best at 13 minutes.  If your cookies will be small, start testing at 10 minutes.

These get over soft when not eaten the first day.  I just put them back on a cookie sheet for 5 minutes at 350.  I put about 2 dozen on each cookie sheet because they didn't spread out at all.  They were still soft and delicious.

Friday, August 3, 2012

Lemon Lavender Cookies


I have a wonderful lavender plant and I wanted to bake something from it.  I know I have a lavender cookie and a lavender bread recipe.  I can't find either one.  When I told a friend what I was thinking of making, she made a face.  The thought of eating something made of lavender made her think of the times her mother washed her mouth out with soap.  Who uses lavender soap to punish kids?  Anyway, the point is I made them and FORCED her to eat one.  She said the lavender was mild and they didn't remind her of soap or punishments.  That sounds like damning with faint praise, but I like them and this will have to do until I organize my recipes.  Oh, and this uses dried lavender so I really do have to find the fresh recipe version.

Lemon Lavender Cookies

3/4 cup sugar
2 Tablespoon lemon zest
2 Tablespoon lemon juice
2 teaspoon dried lavender flowers
1 3/4 cup flour
1/4 teaspoon baking powder
1/4 teaspoon salt
1 1/2 sticks butter, cold, cut into cubes
1 egg yolk
1/2 teaspoon vanilla


I usually use my KitchenAid stand mixer.  This recipe called for a food processor and it makes sense.  The dried lavender flowers are rather large and the processor makes them way smaller and less noticeable. I looked for my mortar and pestle.  I thought I could smash up the dried lavender flowers and THEN use the stand mixer, but I don't remember where I put it 5 years ago when we moved here, so I got out the huge heavy food processor and it worked great.

I have some dried lavender flowers from a tea shop that I sometimes use for baking.  I don't see why you can't dry your own.  Wash them and hang them upside down in bunches to dry.  Then take off the flowers, she said, having never done it herself.  Or go online and order yourself some.  You can make cookies and bread with it...and sachets!


Put the dried flowers, the sugar and the zest in the processor.  I didn't get 2 full Tablespoons from my pretty big lemon. 


So it will probably take two lemons to get the full amount of zest.  I got 2 Tablespoons juice from the one lemon.  I only had one and it was fine.  But you can never have too much lemon zest!  Run it until the sugar looks damp.  This took about 30 seconds.  When you take the top off, you will really smell the lemon and the lavender.

Add the flour, baking powder and salt.  Mix it by using the pulse option about 10 times.


When it is all mixed, cut the butter up.  Leave it in the fridge until you are ready to cut it, so it stays cold.  Cut the stick in half lengthwise and then each one of those in  half. 


Cut it into small chunks and scatter it over the flour/sugar mixture. Pulse it about 15 times for one second.


In a measuring cup, stir the yolk, lemon juice and the vanilla with a fork.  With the processor running drizzle the liquid into the dough.  Here is when I remind you to remove the cylinder that is blocking the hole.  I didn't do it, so I know it is possible you might forget, also.


Continue processing until the dough forms a ball.  Place a piece of cling wrap on the counter and dump the dough and any unincorporated bits on top.  Form the dough into a cylinder about 12 inches long.  Roll it tightly with the cling wrap like a burrito.  Bring the ends in first and square up the ends with the palm of your hand or a spatula.  Bring the cling up and fold it over the log. Make everything tight and continue to roll until it is a nice solid log.  Try to get it as round as you can.  The cookies will end up being whatever shape this log is.  Place it in the refrigerator for 2 hours.


Preheat the oven to 375.  I use silpats, but parchment paper is fine to line the cookie sheets.

Unroll the cookie dough.  Slice it into 1/4 inch rounds with a sharp knife, just like you used to do with the store bought dough from the store!


  Place them about 1 inch apart and bake for 10 to 12 minutes. 


My 10 minutes were a little light and my 12 were too dark.,  It should just start to brown on the edges.


Cool on the cookie sheets for at least 2 minutes and remove to a wire rack to finish cooling.


Saturday, July 14, 2012

Chocolate Zucchini Nut Bread

When you grow your own zucchini you have to remember to check for new ones every day.  I found three when we got back from vacation, but one was the size of my forearm and I didn't plan on eating it my usual way.  I mostly just slice them up and saute them with a bit of olive oil and some onions.  That is for the smallish ones.  When I have big ones I usually make some kids of baked zucchini, like the zucchini squares I made the other day.  This time I decided to make something different.

I have a recipe for zucchini bread that is light and lemony, but I was out of lemony things ( like lemons) and the store is 30 minutes away.  So I toddled off to the computer and came upon some chocolate zucchini bread recipes.  Ooo!  Right up my alley.  Vegetables that taste like chocolate.  Cool.

I mixed and matched a few recipes and made what I think is an ideal one.  Lee even said it tasted like brownies.  ( He also said they would be good with ice cream, but I am having a hard time trying to think of something that does NOT go good with ice cream.)  Veggies that taste like brownies is a child's dream.  So feed this to your kids that hate green food.  I even traded out some of the oil for apple sauce so it is reasonably low in fat!


Chocolate Zucchini Nut Bread

4 cups grated zucchini
2 1/2 cups flour
1/2 cup unsweetened cocoa
1 teaspoon baking soda
1 teaspoon baking powder
1/2 teaspoon salt
1 teaspoon cinnamon
1 1/2 cups sugar
2 eggs
1/2 cup vegetable oil
1/2 cup apple sauce
1/2 teaspoon instant coffee
1/2 teaspoon almond extract
1 cup of chopped nuts (optional)  I used walnuts. 

Pre-heat the oven to 350.  Spray 2 bread pans with Pam.


Yes, I DID mean FOUR cups of zucchini.  You have plenty ...or your neighbors do.  This took one whole medium sized one and most of my giant one.  After you grate it, place it in a strainer to drip out the excess moisture.

In a medium sized bowl, mix together the flour, cocoa, baking soda and powder, salt and cinnamon until there are no lumps.

I used the KitchenAid mixer for the rest.  Beat the sugar and the eggs together until they are nice and smooth.  Add the oil and apple sauce.  I halved the amount of oil called for in the recipe to lower the fat content and replaced it with the applesauce.  If you don't have applesauce, use a full cup of oil.  I used canola oil.


Then mix in the instant coffee and the almond extract.


Add the grated zucchini to the egg mixture and mix that.  My shreds were kind of long and they kind of gooped up the paddle of the mixer.  Don't worry about it.  They will disappear in the baking.


Using a 1 cup measure, add the flour to the zucchini, one cup at a time.  Mix SLOWLY with each addition or you will be sorry.  I was sorry.


Once you have everything mixed together, including the nuts that you will add now if you want them, divide the batter among the two pans.  Bake for 50 to 55 minutes at 350.  Test for doneness with a toothpick.  Mine took 55 minutes.

Remove the pans from the oven and cool on a rack for 5 or 10 minutes.  I like to use a plastic knife to avoid scratching my non-stick pans.  Run the knife around the edges of the pans and then turn them out on the cooling rack.  Cool completely before slicing.  Or just a wee bit warm.  That's when it is the best.

When you substitute applesauce for oil in baked goods, they can become less wonderful the next day, kind of gluey.   It is for this reason that I was FORCED to try them for breakfast this morning.  I couldn't in all good conscience recommend this recipe without a morning trial.  And because breakfast is the most important meal of the day, I had to have TWO slices.  Otherwise I might become hungry before lunch and eat something inappropriate...like chocolate, for instance.


I will tell you that they were a bit better last night.  So I had to put some soft, creamy butter on the second slice.  Thereby negating the whole less fat thing.  But they still tasted a bit like brownies and I can recommend them highly!