Tuesday, December 21, 2021

Butter Mints

When I was a child my parents used to have butter mints in a dish for parties.  If I was lucky there would be some left over afterwards and I could have a few.  So when the recipe popped up on Facebook, I thought it would be fun to make some. 

It was pretty easy and they are delicious.  Strangely the mint is peppermint and I hadn't remembered that as the flavor.  I had forgotten that Lee sneezed when he ate mint of any kind.  So I gave some away and froze some for a future date. I have been popping them in my mouth when I pass the Rubbermaid container on the counter.

Butter Mints


1 Stick butter (1/2 cup)

4 cups powdered sugar, plus a bit more

1/4 teaspoon peppermint extract

1 teaspoon vanilla 

1 Tablespoon half and half

pinch of salt

gel food coloring (optional)


Place the butter in a mixer. I use Kitchen Aid. Beat the butter for several minutes.  Add 2 cups of butter and mix slowly until moist and then increase until incorporated. 

Add the next 2 cups and mix well.  Add the peppermint extract, half and half and salt. Beat until smooth.

Lightly dust a clean surface with powdered sugar. 

Divide the dough into five and wrap each with cling film.  If you want to color them different colors use gloves and knead in the food coloring until well blended. I only wanted to add a bit of yellow food coloring. so I added it with the other liquids. 


Take one lump of dough and pull off a section. Roll out into a rope about 1/2 inch thick. I used a bench scraper to cut the ropes into 1/2 inch sections.  Then I used the bench scraper to transfer the cut pieces to a parchment or wax paper covered baking sheet.  
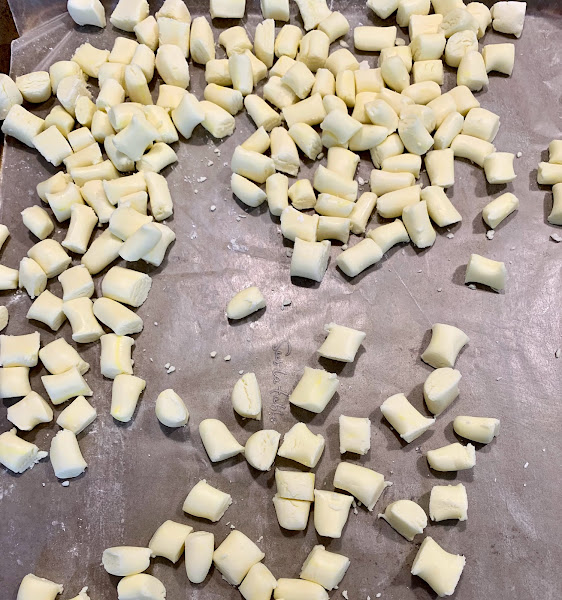
Let dry uncovered for at least 12 hours. I put them in Rubbermaid containers. I also put about 1/3 in the freezer.  I hope they don't get moist and ruined. But that's better than eating them all this week!

Sunday, December 5, 2021

Horse Quilt

 I wanted to make a quilt for a grandchild. The problem is, I have already made at least one quilt for each grandchild I current have. But what if I die and then there is another grandchild?  They might feel unloved by me!  So I decided to make a horse quilt for a yet to be named grandchild.  On the other hand one of my currently existing grandchildren may become horse crazy and they can have the quilt. Anyway, I made a horse quilt.
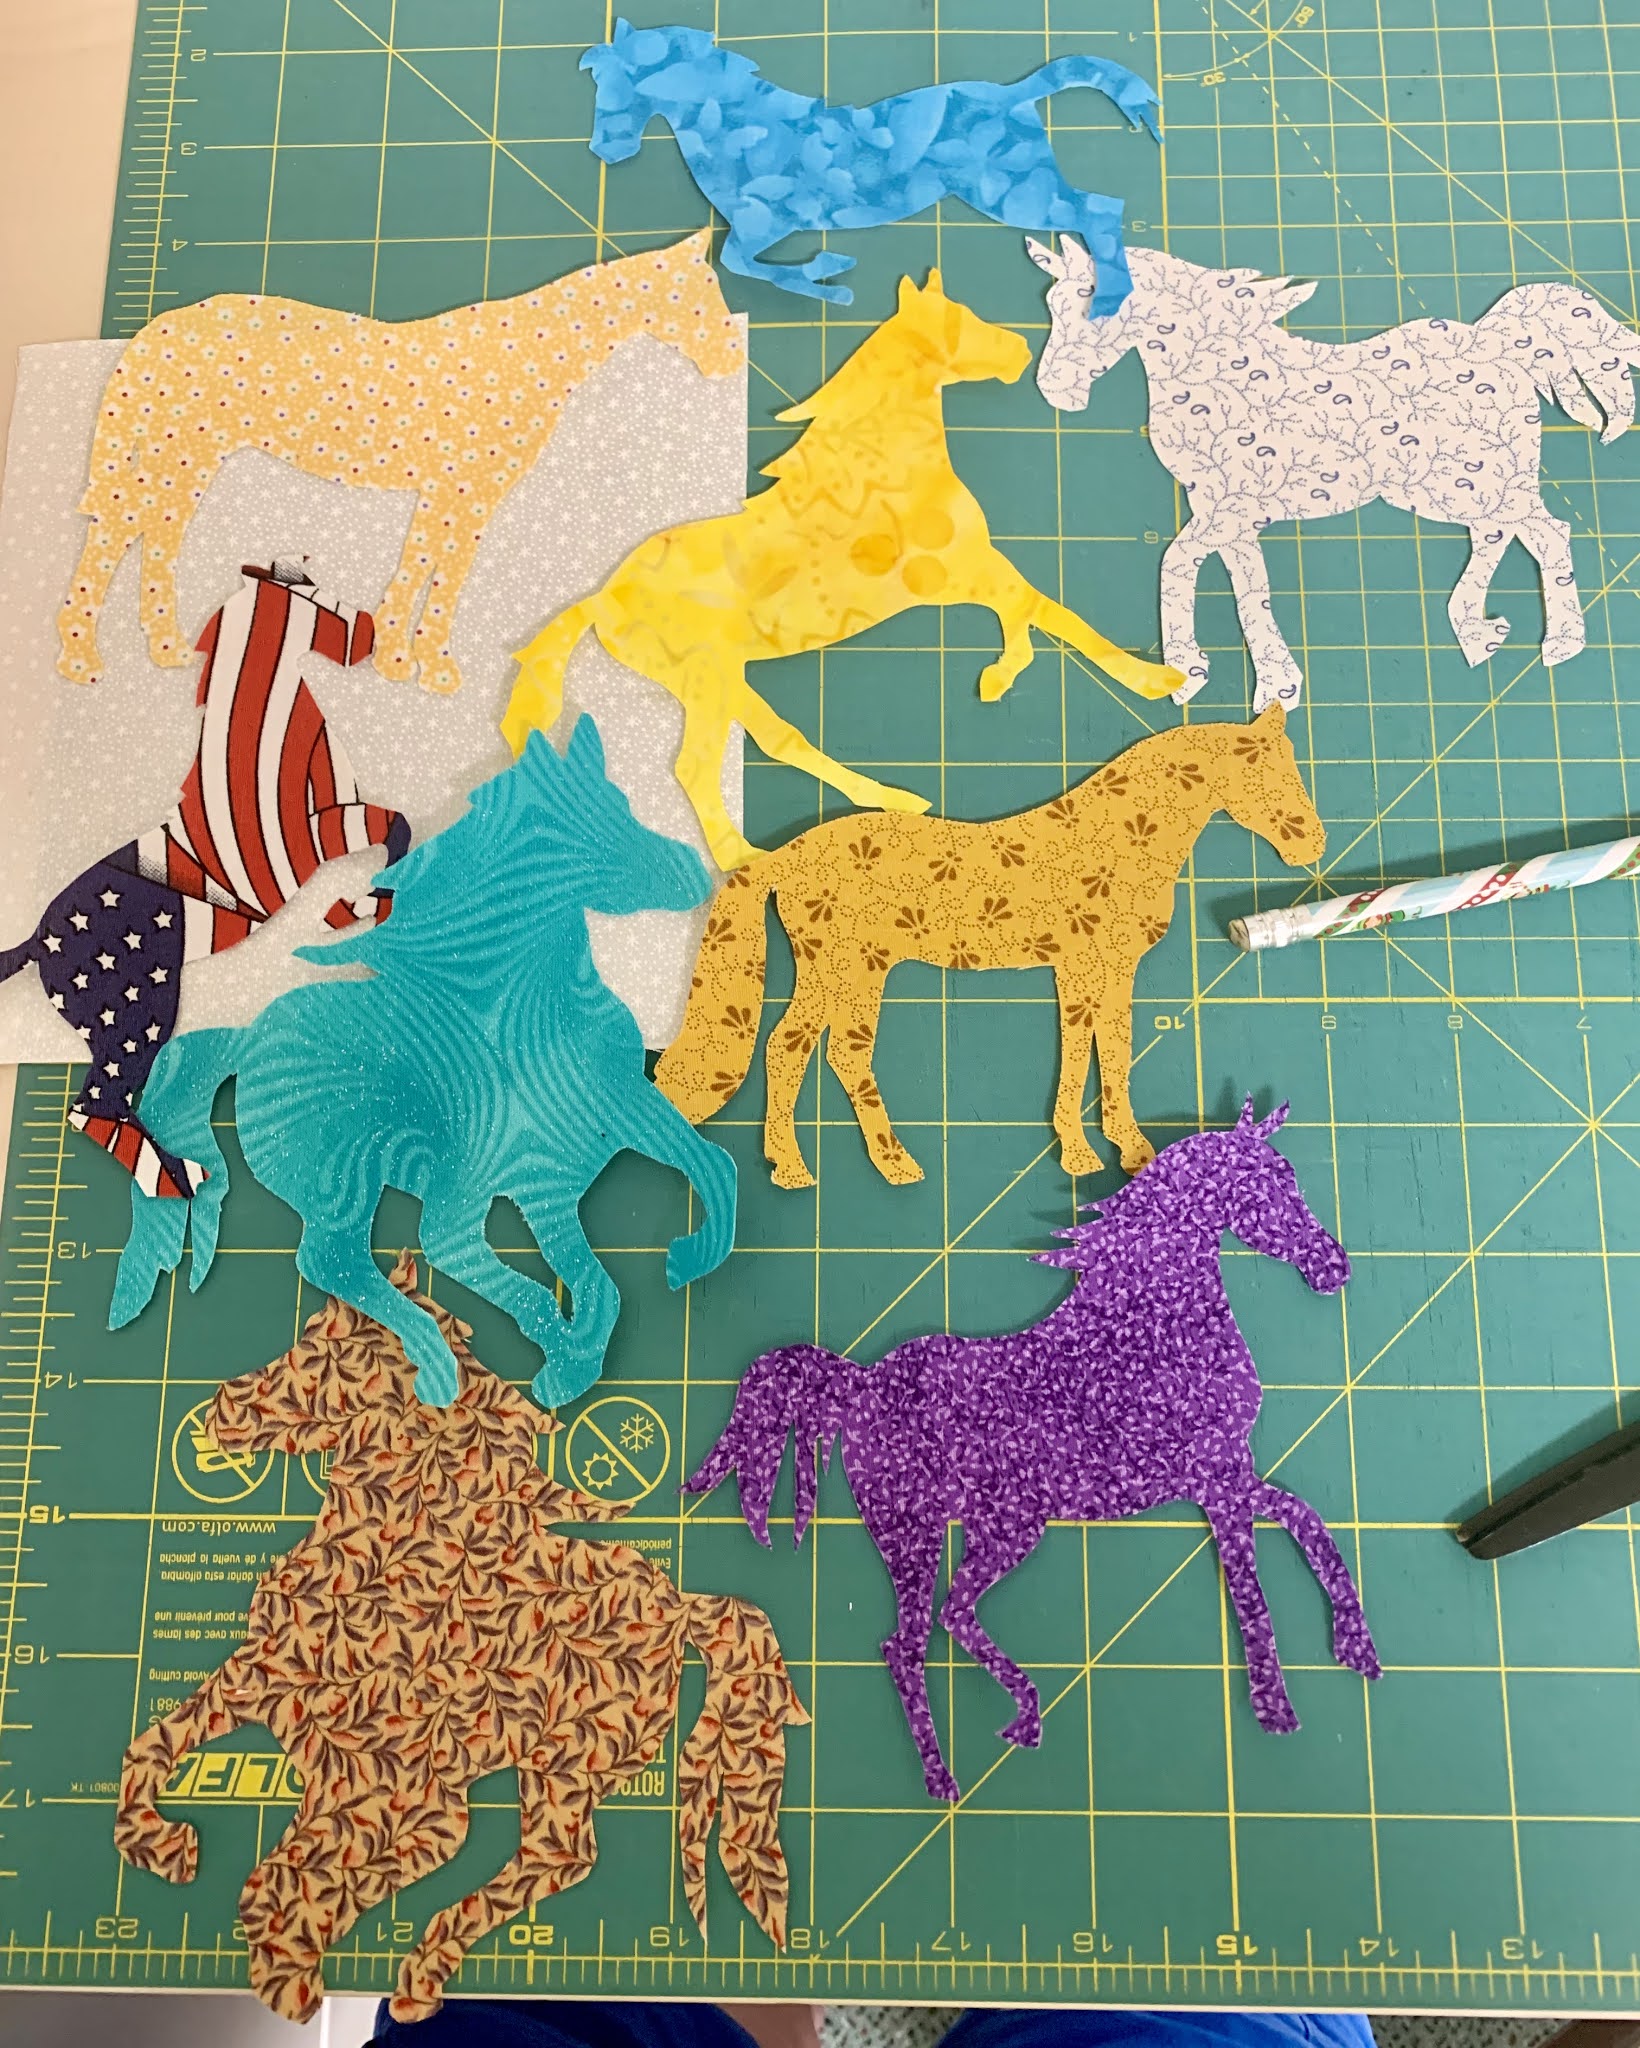
I have a Cricut.  This is a machine that cuts out shapes. There is a huge catalog of shapes that you can download to an iPad and then it will cut out paper, card stock, fabric and other thin items. I downloaded a bunch of horse shapes, sized them to fit on a 6 1/2 inch square and cut them out on card stock.

There is a product called Steam A Seam. It is fabric glue pressed between two sheets of paper. I used the templates of horse shapes to draw the designs on the Steam a Seam.  You have to be careful to draw on the proper side!

I cut roughly around the shapes and ironed them on to the backside of the fabric I wanted to use. Then I cut out the shapes, peeled off the paper and ironed them onto a white 6 1/2 inch square.  

I had some fabric with horses on it that I also cut out and appliquéd to white squares.

I had enough fabric for the horse silhouettes but wanted to look for fabric for the rest of the quilt.  I found a quilt shop in Winchester that actually allowed people in to shop.  COVID has closed many stores or made them closed to in-person shopping.  It is hard to find the right colors on a computer screen. I wanted to go in and found a very cute and helpful store.

I did a small quilt as it is so much easier to quilt them in my sewing machine. I like to do the whole thing myself. 

They even had some fabric with horses all over for the backing!

So now it is finished and waiting for the first kid that wants a horse!

Monday, October 4, 2021

Bee Rug

I just finished my favorite Mug Rug so far. I have a mug rug pattern using bees and I also have some really cool yellow fabric with bees buzzing all over it.


I've made this pattern before with a different center to the star block. This time it's all about the bee's!  

I did some fussy cutting of just the bees and scattered them about the beehive.

I assembled the three different bee designs.

Then I quilted with a meandering pattern that, in my mind, replicates the dance that bees do for each other to direct them to the best flowers.  I finished with a coordinating green with tiny flowers.

And I love it!

Wednesday, June 2, 2021

Lemon Ricotta Almond Muffins

When I am reading and a character eats something that sounds interesting, I go online and look up recipes.  If I find one that looks like something I would like, I make it.  I started looking around for a lemon ricotta muffin mix.  This recipe I found on giadzy.com.  It is a Giada De Laurentiis site.  It makes for a light and fluffy muffin that is lemony and delicious with a hint of almond.  Give it a try!

Lemon Ricotta Almond Muffins egg


2 cups flour

1/2 teaspoon baking powder

1/2 teaspoon baking soda

1/2 teaspoon salt

1 cup plus 1 Tablespoon sugar. Or more as needed for sprinkling

1/2 cup (1 stick) butter, room temperature

1 Tablespoon finely grated lemon zest from 2 lemons

1 cup ricotta cheese

1 egg

1 Tablespoon fresh lemon juice

1/2 teaspoon almond extract

1/3 cup thinly sliced almonds


Preheat the oven to 350°.  Place paper cupcake liners in a muffin pan.  

Unwrap the butter and place it in a stand mixer. You will need to mix for at least 5 minutes, so a stand mixer is really helpful.  

Zest the lemons and add that to the mixer.  Add 1 cup sugar and scrape down the butter.  Keep mixing and scraping the butter until it is much lighter and fluffy.

While the mixer is running, place the flour, baking powder, baking soda, and salt in a medium bowl and mix with a whisk or fork.  

Add the flour mixture to the mixer.  Start it up slowly and mix until just blended. You don't want to mix out all the fluffiness you just mixed in!

Divide the mixture into the muffin cups.  I used a large scoop to mostly fill the muffin cups.  But I didn't fill the scoop completely.  I tried to scoop up about 3/4 of a full scoop.  They got a bit over filled, so feel free to place a few muffin cups in another muffin pan and make smaller muffins.

Sprinkle the almond slices on the muffins and then sprinkle the reserved sugar over the tops.  Bake for about 20 minutes, or until the tops become a pale golden brown.  Cool for 5 minutes and then remove to a cooling rack.  

These muffins are great for breakfast, but also as a side dish to a large fruit salad.  They are so light and lemony delicious and I have already made them twice.

Sunday, May 2, 2021

Aunt Rugs

 I was bemoaning to my friend , Doris, the fact that I can't get out to fabric stores to get what I want and ordering online has been less than wonderful.  She gathered up a BUNCH of fabric quarters and just sent them to me!  She has been quilting for a long time and has a huge stash of fabric.  But STILL!  All these fabrics that she loved and bought, she just packed them up and sent them!

So I sat down and made her a mug rug to thank her for such generosity.  This is what I sent.  

I spoke to my mother's little sister the other day.  She has seen some of the mug rugs I have posted here.  She mentioned how much she liked them.  So she gets a mug rug, too!  

She used to belong to the Red Hat Society, a group of ladies 50 and beyond that do lunch and wear outrageous red outfits and matching hats.  It was perfect for my flamboyant and beautiful Aunt Suzy.  

I found some dramatic black and red fabric with gold accents. I added lace for femininity and then appliquéd my Aunt's initials. 

I think it suits her.

After I finished these mug rugs, I was at a loss for what to do next.  I still feel that I want to try new things with this tiny quilt journey.  But wait!  I have another aunt on my mother's side. I called my Aunt Donna to see if she would like one.  I don't know if she REALLY does or if she was being polite, but we ended up deciding on flowers and horses.  She is a Kentuckian after all! So we had to include the horses.

This is what I made for her.  I put the horse with the paddle block and then the flowers within the courthouse step block. Here is the mug rug for her.

After I made the mug rugs for my maternal aunts, I couldn't leave out my father's sister  She lives in California.  I haven't seen that side of my family in a long time. They live in Southern California and our granddaughters live in Northern California. Thats a long flight from Virginia, where we now live, so I have only gone to see the girls in recent times.

I chose purple for my Aunt Janet. Once again I added a bit of lace. I found a purple ribbon that fit and tried that, too.  I liked this new quilt square and mailed it off. 

I wonder what my next project will be?

Saturday, April 3, 2021

French Toast a la Jacques Pepin

 Jacques Pepin is a famous chef from before the days of Food Network.  Somehow his videos popped up on my Facebook and I have been loving them. He posted a French Toast recipe that sounded FABULOUS.  So I had to try it.

French Toast is made with bread, eggs and milk. So he took a short cut and used melted French Vanilla ICE CREAM!  French Vanilla ice cream is made with cream and eggs, so that seemed good to M. Pepin. Who am I to argue with a Master Chef?

French Toast


1 1/2 cups of ice cream, room temperature 

6 slices bread

butter

One of the tricks to this is to use low heat.  I have an electric griddle and set it at 250 ˚ My usual temperature for French Toast is 350˚. 

Melt the butter in whatever pan you are using.  Place the bread in the melted ice cream and coat both sides. 

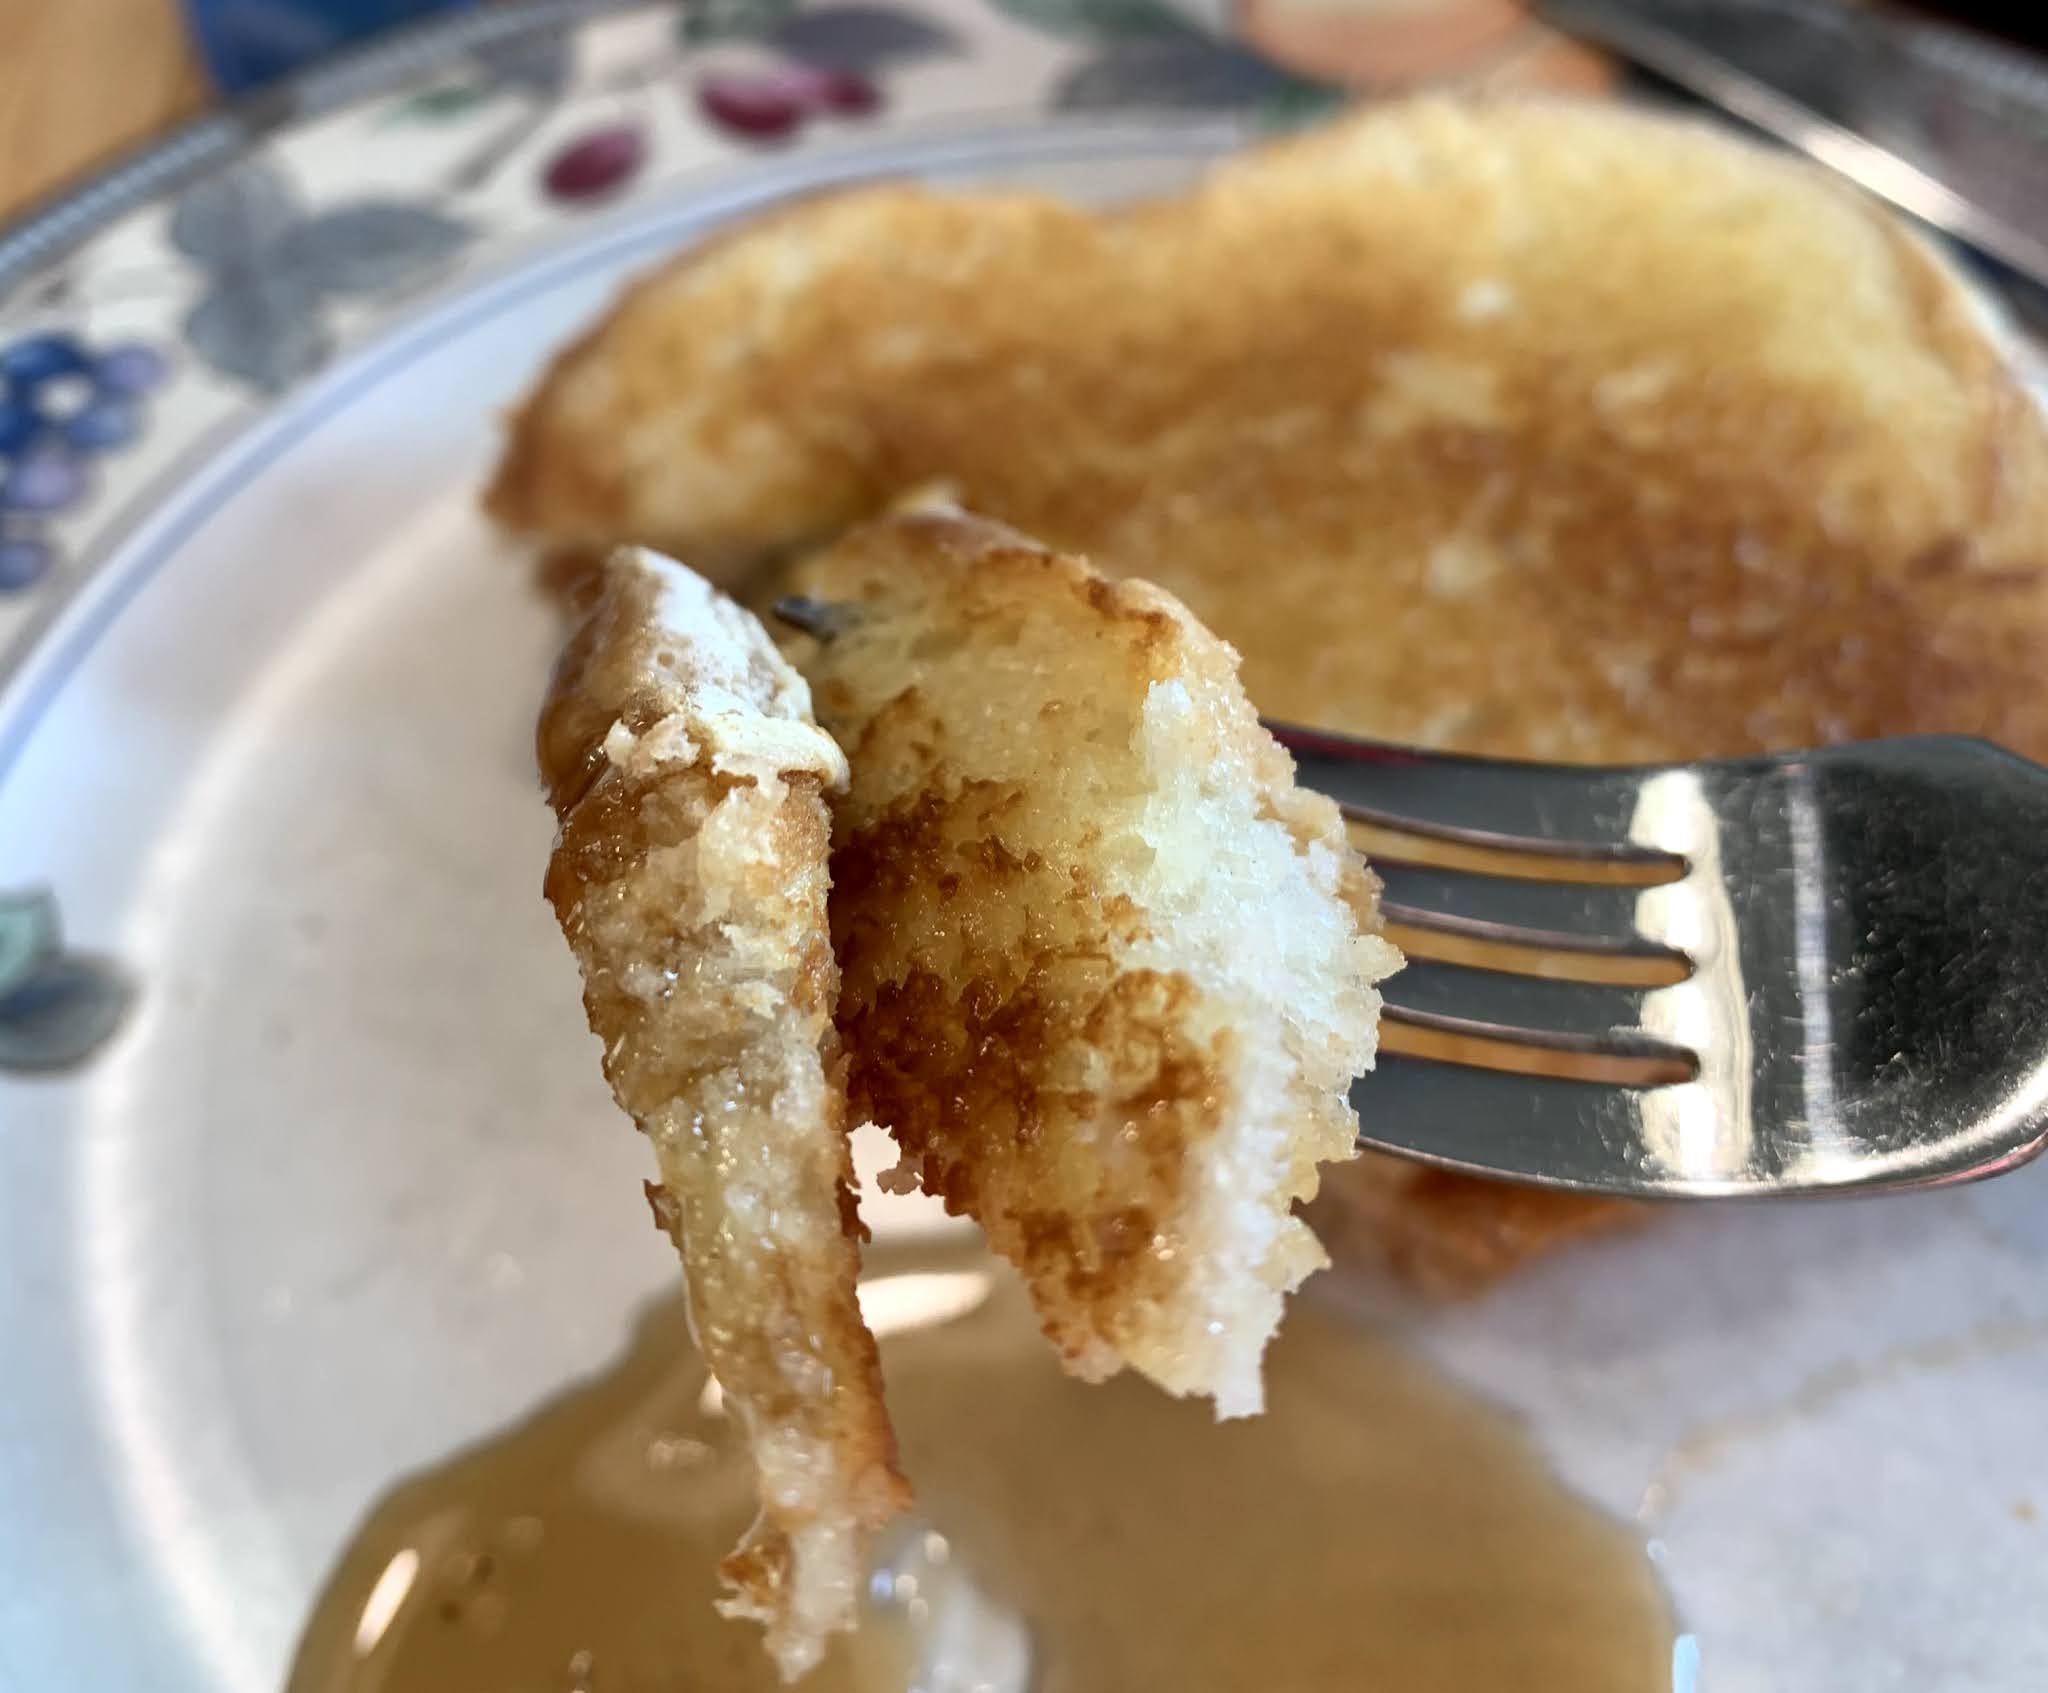
Cook slowly in the melted butter, checking until the edges start to brown.  

I placed a new pat of butter on the griddle and flipped the French toast into it.  

Cook until both sides are brown and serve warm.  

I chose to use a small bit of maple syrup, because that is how I serve French Toast!

It was really good!  I probably won't make it this way every time, but I will definitely make this for guests.  Once we go back to having guests. And I can't wait for that day.

Monday, March 1, 2021

Loving the Mug Rugs

 I'm really liking making mug rugs.  

Maybe it is because it is like making a tiny quilt and I like quilting.  

It is very satisfying to finish a project in a day or so.  

I can try different fabrics and designs and then move on and try something else.  

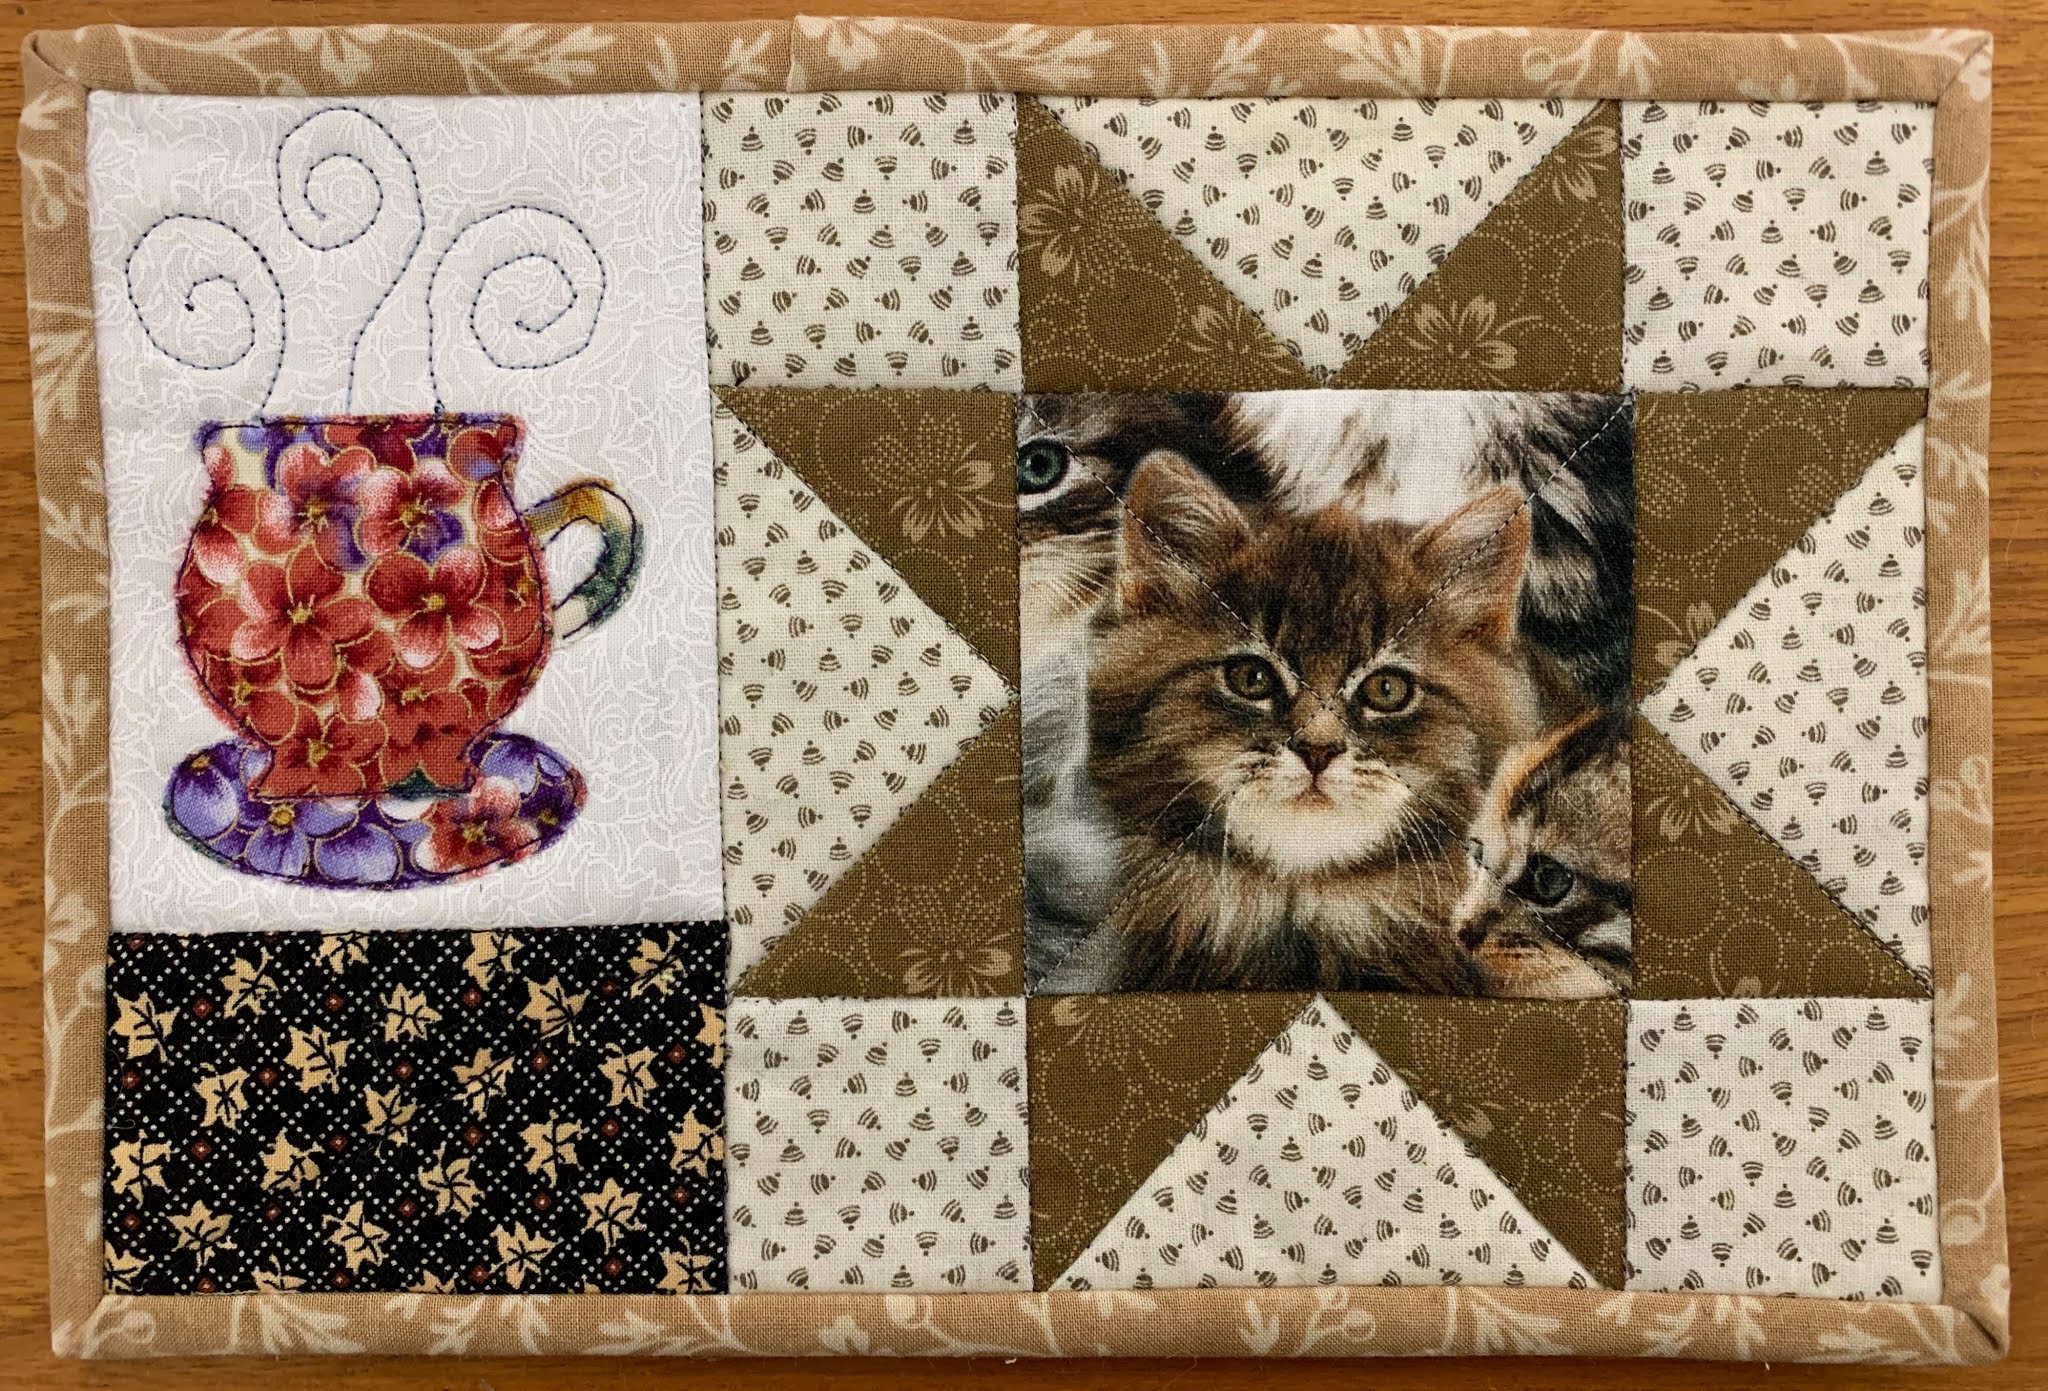
I've used some horse and cat fabric I bought for masks. Now I am going to try other ideas.  I don't know what, yet.  But I am going to get in the craft room and go through my books to find my next project.  I may even keep one for me! 

I am going to try new and different designs and I will document them here.