Showing posts with label Smitten Kitchen. Show all posts

Friday, November 22, 2013

Pear, Cranberry and Gingersnap Crumble

My daughters love the recipe site, Smitten Kitchen http://smittenkitchen.com/ .  They sometimes send me links to recipes and ask (demand) that I fix them THAT.  And then sometimes I peruse the site and just find something that I like and want to make for ME.  Which is how I came to make the following:


Pear Cranberry and Gingersnap Crumble

Crumble

1 cup flour
1/4 cup sugar
3 Tablespoon brown sugar
1 cup Gingersnap cookie crumbs (It took 20 Nabisco Gingersnap cookies to make a cup of crumbs)
1/8 teaspoon ground ginger
1/8 teaspoon salt
pinch of white pepper (or black, if you don't have any) to add snap to the ginger.
1/2 cup ( 1 stick) butter, melted and cooled

Filling

2 pounds ripe pears, peeled cored and sliced  SK suggested Anjou, but I ended up with Bartlett
1 1/2 cups fresh cranberries
1 Tablespoon lemon juice
1/2 teaspoon lemon zest, finely grated
1/2 teaspoon vanilla
1/2 cup sugar
2 Tablespoon cornstarch


Preheat the oven to 350°. 
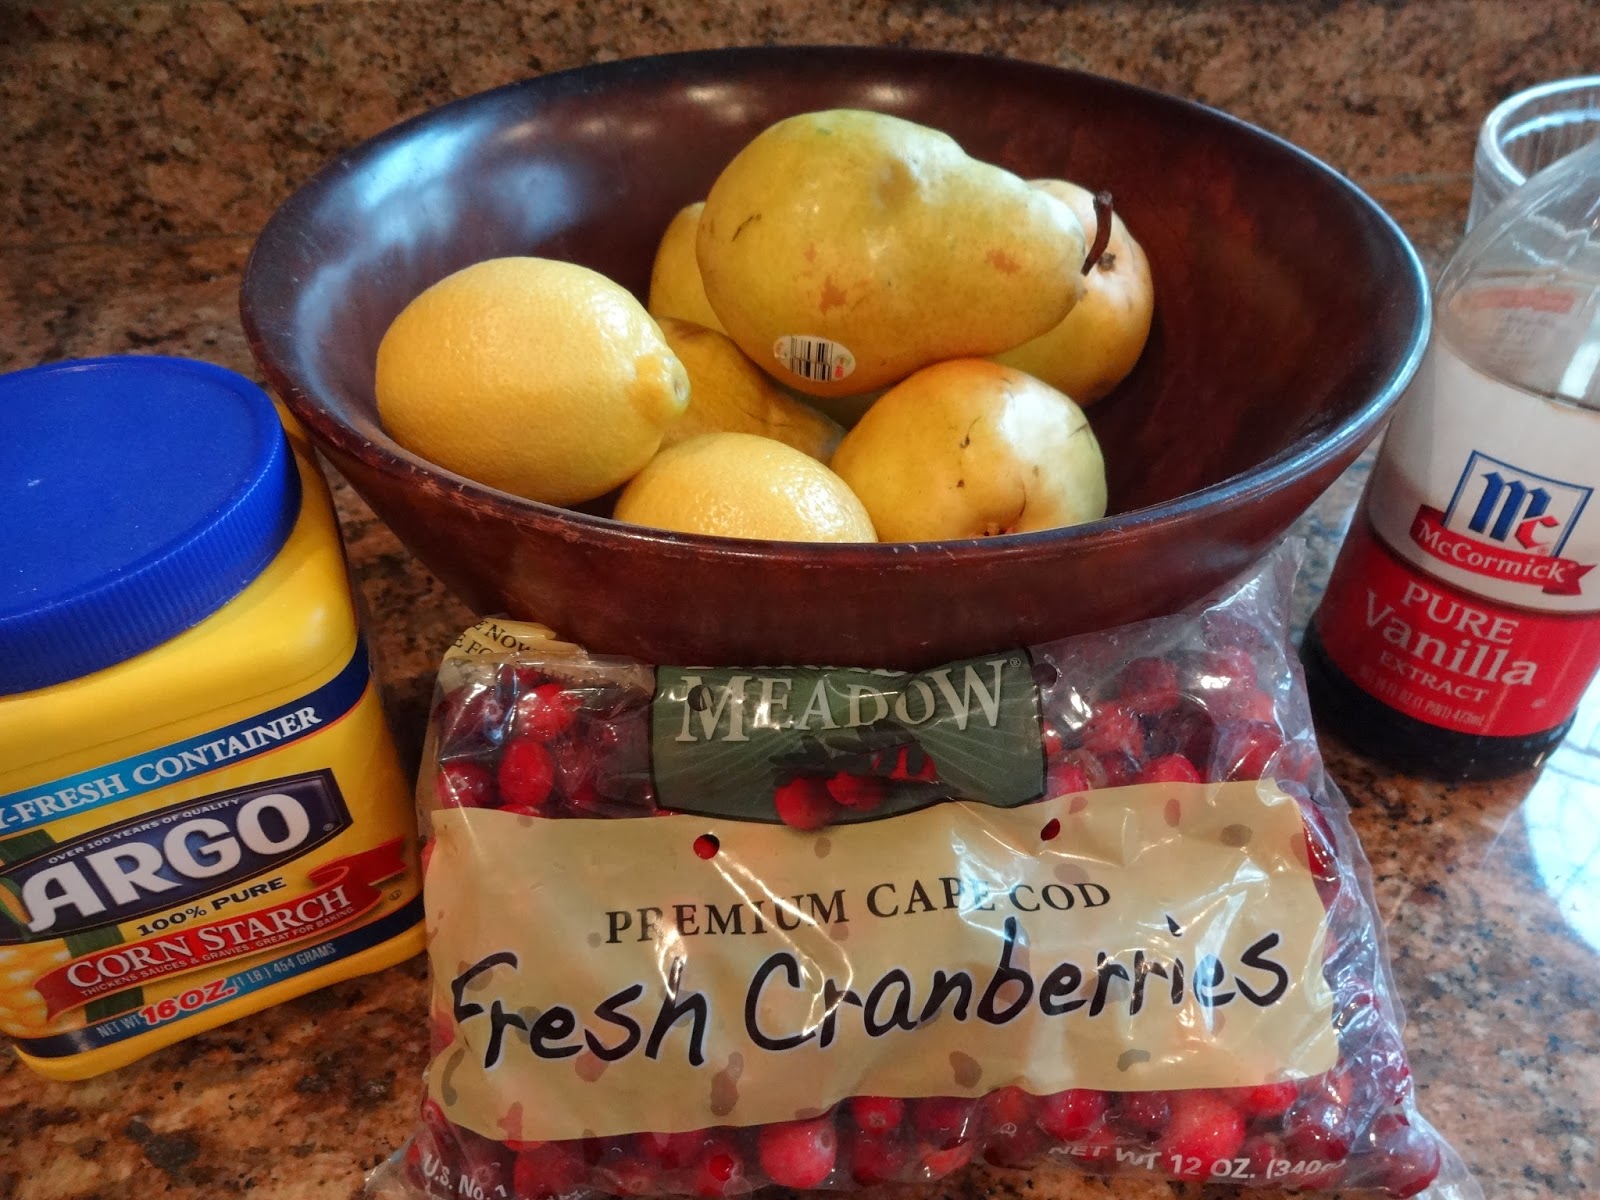
 

I could have used a food processor to crunch up the cookies into crumbs.  Instead I used a Ziploc bag and a rolling pin.  They got pretty finely crushed and I was happy until I got to the next part.


Sift together the flour, sugar, brown sugar, gingersnap crumbs, ginger, salt and pepper.  I tried that and there were still quite a bit of brown sugar and cookie crumbs in the sifter.  My solution was to dump out the rest on top of the sifted mix, stir it all up and keep going.  Low stress cooking is my favorite.  Pour the melted butter on top and stir until moistened.  Set aside.


Zest one lemon and cut it in half across the middle of the lemon.


The quickest way I know to peel, core and slice is to cut the clean pears in half from the stem.  Then cut each half in half through the core.  You have now quartered the pears.  Then a quick slice to take off the core and another couple to remove the peel.  Slice each quarter into about 1/4 inch pieces and place then in a 2 quart baking dish. 

This will take a bit of time and pears tend to brown when the cut portions are exposed to the air.  Because you will be putting lemon juice in later, you might as well do it a bit as you go.  Cut two pears, squeeze half the lemon over them and give them a bit of a stir with a rubber spatula so you don't damage the pear slices.  Make sure you don't get a lemon seed in the bowl by squeezing over your other hand.  Allow the juice to flow into the dish through your fingers and trap the seeds. 

Continue peeling and slicing and then squeeze the other lemon half.  Is this the Tablespoon called for in the recipe?  Of course it is.  An exact amount.  Then put in the lemon zest.  Is this 1/2 teaspoon zest like I am supposed to use?  I am sure it is.  Well, actually it is a bit more, but who's counting?  And besides, lemon zest is lovely.  Remember the low stress portion of this dish.  Use the zest and juice from one lemon.  Or worry about it and measure it all out.

I used four large pears.


Add the cranberries and vanilla.  Give another gentle stir.  Mix the sugar and the cornstarch in a small bowl and mix that into the pears.  Gently.


 Spread the crumble mixture on top of the pear mixture.  Bake for about 45 minutes.  The crumble will darken and the pink tinged juices will bubble up through the crumbs.  And it will smell really good.


Let cool a bit and serve warm.  If you have vanilla ice cream, this would be a good place for you to put it.  If you don't, you could add Cool Whip.  Save some for tomorrow because that is too much dessert for two people to eat.  Next time invite someone over, or better yet, make it for Christmas when the whole famdamly is around.  It's that good.


Tuesday, February 5, 2013

Sour Cream Pancakes


I have been craving sourdough pancakes.  Not just any ones, but the thin and very sour ones made with a sourdough starter that has been souring for years.  I used to keep a sourdough starter for pancakes and it was pretty good.  But they are a lot of work if you don't use them often.  You have to take some out and add fresh ingredients every week or so.  I thought about making a starter and trying out sourdough bread.  The real sourdough bread, like you get in San Francisco.  But we don't eat that much bread any more and so I gave that idea up.

I was wondering if Greek yogurt would make a good sour pancake and started checking the Internet for recipe ideas.  It seems EVERYBODY is raving about the Pioneer Woman's version of sour cream pancakes.  (In case you don't know her and her blog, they all refer to her with the initials of PW and she is wonderful.)  It was even on Smitten Kitchen, another favorite foodie blog.  I decided I needed to try it out.  I have the Pioneer Woman cookbook and yet I have never made the pancakes. No time like the present.  These are named after PW's grandmother-in-law, Edna Mae, who gave her the recipe.

Edna Mae's Sour Cream Pancakes

1 cup sour cream
2 large eggs
1/2 teaspoon vanilla extract
7 Tablespoons flour (yes, that is accurate, just 7 Tablespoons)
1 Tablespoon sugar
1 teaspoon baking soda
1/2 teaspoon salt
butter


Heat up a griddle or cast iron pan over medium low heat. 


Put the eggs and vanilla in a bowl and whisk together.  Add the cup of sour cream and whisk again.  Remove the whisk and stick it in the sink.  Get a spoon.


Add the flour, sugar, baking powder and salt to the sour cream mixture.  Stir together gently.  It is not necessary or even desirable to get all the lumps out.  Just make sure the flour is moistened.


Melt a bit of butter in the pan or griddle and pour about 1/4 cup of the batter on top of it.  Now you are back to every pancake recipe you ever made. 


Just make sure the top has made and then popped some air bubbles before you try to turn the pancake over. Then cook the other side until browned and serve immediately with the syrup of choice.


I don't like to drown pancakes in puddles of syrup.  I like a pancake to retain a modicum of texture.  No gloppy pancakes for me.  My preferred pancake eating style is with a bit of syrup on the side.  I call it a dipping puddle.  Cut a bite, dip and consume.


Feel free to eat your pancakes your way.

These pancakes are truly worth the hype.  They are easy to make with ingredients on hand and made just the right amount for two people.  They are light and have a delicious sour bite to them.  I recommend them highly.  Next time I may try them with Greek yogurt and maybe strawberries on top.


Friday, November 2, 2012

Apple Tart With Salted Caramel


One of my favorite food blogs is Smitten Kitchen.  She has wonderful recipes with marvelous photographs. We had recently been to a local orchard and picked up quite a few apples.  I have some of the fruit trees they sell growing in our own wee orchard, so maybe someday I won't have to travel over the winding roads to see them.  In the meantime, I needed a recipe for the apples.


Off to smittenkitchen.com  She is selling a recipe book.  I may just have to get me one of those!  OOH!  Apple Mosaic Tart made with a frozen pastry.  Salted caramel?  I'm in.  I have a frozen puff pastry in my freezer calling my name!  I don't call my tart "Mosaic" as I am not the food artist she is.  But mine turned out darn good if I say so.  If I can do this so can you.

Apple Tart with Salted Caramel

1 frozen puff pastry, thawed overnight in the refrigerator
3 or 4 large apples.  I used 3 1/2 Granny Smiths.  They are nice and tart and hold together for baking. I scarfed down the other half while cooking!
2 Tablespoon sugar
2 Tablespoon butter, cut into tiny pieces.

For the Glaze

1/4 cup sugar
2 Tablespoons butter
1/4 teaspoons flaky sea salt  (I didn't have any so I used table salt.  Use about 1/8 teaspoon.
2 Tablespoons heavy cream

Heat oven to 400.  Place some parchment on a large jelly roll pan.  Learn from my mistake and don't use your Silpat for this.  The parchment makes it easy to pick up the finished tart and transfer to a cutting board.  You don't want to cut on your expensive Silpat!  I was very careful and didn't cut it, but still!  I forgot and put it on the Silpat and then had to transfer it to the parchment.  A big pain, so  do what I say, not what I do.


There are two pastry pieces in the package.  Overlap them a bit and press them together. SK rolled hers out to fit the pan, but I left them as I found them!  It will be a bit long to fit in the 16 inch jelly roll pan. 


I had to trim a bit of the tart to make it fit.  I took SK's advise and sprinkled the bits with sugar and cinnamon and baked them along with the tart.


Peel the apples and then cut them in half,  down through the stem.  I used a melon baller to cut out the core.  I have a mandoline so I used that to slice the apples thinly and evenly.  If they are different thicknesses, they won't all cook evenly. 


Remember to fix the mandoline so that you don't cut the apples in matchsticks!  Or do that and then eat them like I did.  You want them cut about 1/16 inch.  Then fan the slices out around the edge.  Start in one corner and overlap them all the way around.  Then do the next circle inside and overlapping the last.  Do something artful and fabulous when you get to the center.  Or just do as I did and pile them neatly.

Sprinkle the apples with the sugar and dot them with the butter.


Bake for 30 minutes or until the edges start to brown.    Sometimes the puff pastry will, well, puff.  Poke it with the point of a paring knife and it will deflate. 

Set the timer for 20 minutes and then start the glaze.  Then reset the timer for the next 10 minutes the tart has to cook.  In a small saucepan over medium high heat melt the 1/4 cup of sugar.  Mine started to burn on the bottom before it was all melted.  You don't want to stir it, so swirl it to get the melted part on top of the white sugar so it will all melt and then turn a golden brown.  This takes about 4 minutes.

Take it off the heat and add the salt and the butter.  Mix it well and then add the cream.  Cook on medium heat until the cream is all mixed in.  Don't cook for more than a couple of minutes.  Set it aside.  You may have to reheat it a bit if it starts to set up.

After the tart is done, remove it to a cooling rack.  Don't turn off the oven.  It will go back in for a bit.


Gently brush the caramel over all the apples and around the edges of the pastry.  The apples will be soft, so you have to take care not to disturb them.  I flipped one over and used a fork to replace it.  If there is a bit left in the pan, you can use it on the bit of apple you have left.   All this work makes one hungry. 


Return the tart to the oven for 5 to 10 minutes, until the glaze bubbles.  Let it cool on the rack.  Then lift the edges of the parchment paper and move it to a large cutting board.  Cut into squares.  Serve plain or with ice cream.  I was going to use ice cream, but the cat ate it and forgot to put it on the list.  So I used Cool Whip.

Thursday, August 9, 2012

Pinky Lemonade Bars


Our younger daughter is visiting.  She doesn't get here as often as she used to.  It is a three hour drive and she does have a job.  So we are grateful when she comes.

My girls frequently call me when they are coming and ask me to make something they read on a blog.  Not MY blog you understand, but someone ELSE'S blog.  Often they choose something from Smitten Kitchen.  In addition to recipes she has cute baby pictures.  I guess that would trump my country living blog...

We decided to make the pink lemonade bars. Because my sister's nickname was Pinky, I decided to alter the name to Pinky Lemonade Bars.  I did not change the recipe and it is as follows.

Pinky Lemonade Bars

The bottom layer:

1/4 cup sugar
1/4 teaspoon lemon zest
1/8 teaspoon salt
1/2 cup ( 1 stick), butter, cut into chunks
1 cup flour


For the lemonade layer:

1 cup raspberries ( We just used the small flat container from the market.)
2 large eggs
3/4 cup sugar
1/4 cup lemon juice (about 2 lemons)
1/3 cup flour
Powdered sugar

Preheat the oven to 350.  Line an 8X8 baking pan with parchment.  Cut it along two sides and leave the other sides long so they extend up the sides.  You will use this to remove the bars later so give yourself a bit of room to grab them, but not so long they touch anything in the oven.

Spray the inside and around the edges of the pan and set aside.


I used a micro plane to zest a large lemon.  I used almost the whole lemon and it made more than the 1/4 teaspoon called for in the recipe.  I didn't measure and used all I "zested".


Place the sugar, zest and salt in a food processor.  Pulse about 10 times for one second each.  Add the cubed butter and pulse until even distributed. 


Add the flour and once again, pulse until the mixture is crumbly, about 10 times.


Press the dough into the prepared pan.  Bake for 15 minutes until lightly browned at the edges.  Let it cool on a rack while you make the filling.  Don't turn off the oven.  You will need it at 350 to finish the bars.


While the "cookie" part is baking, start on the filling.

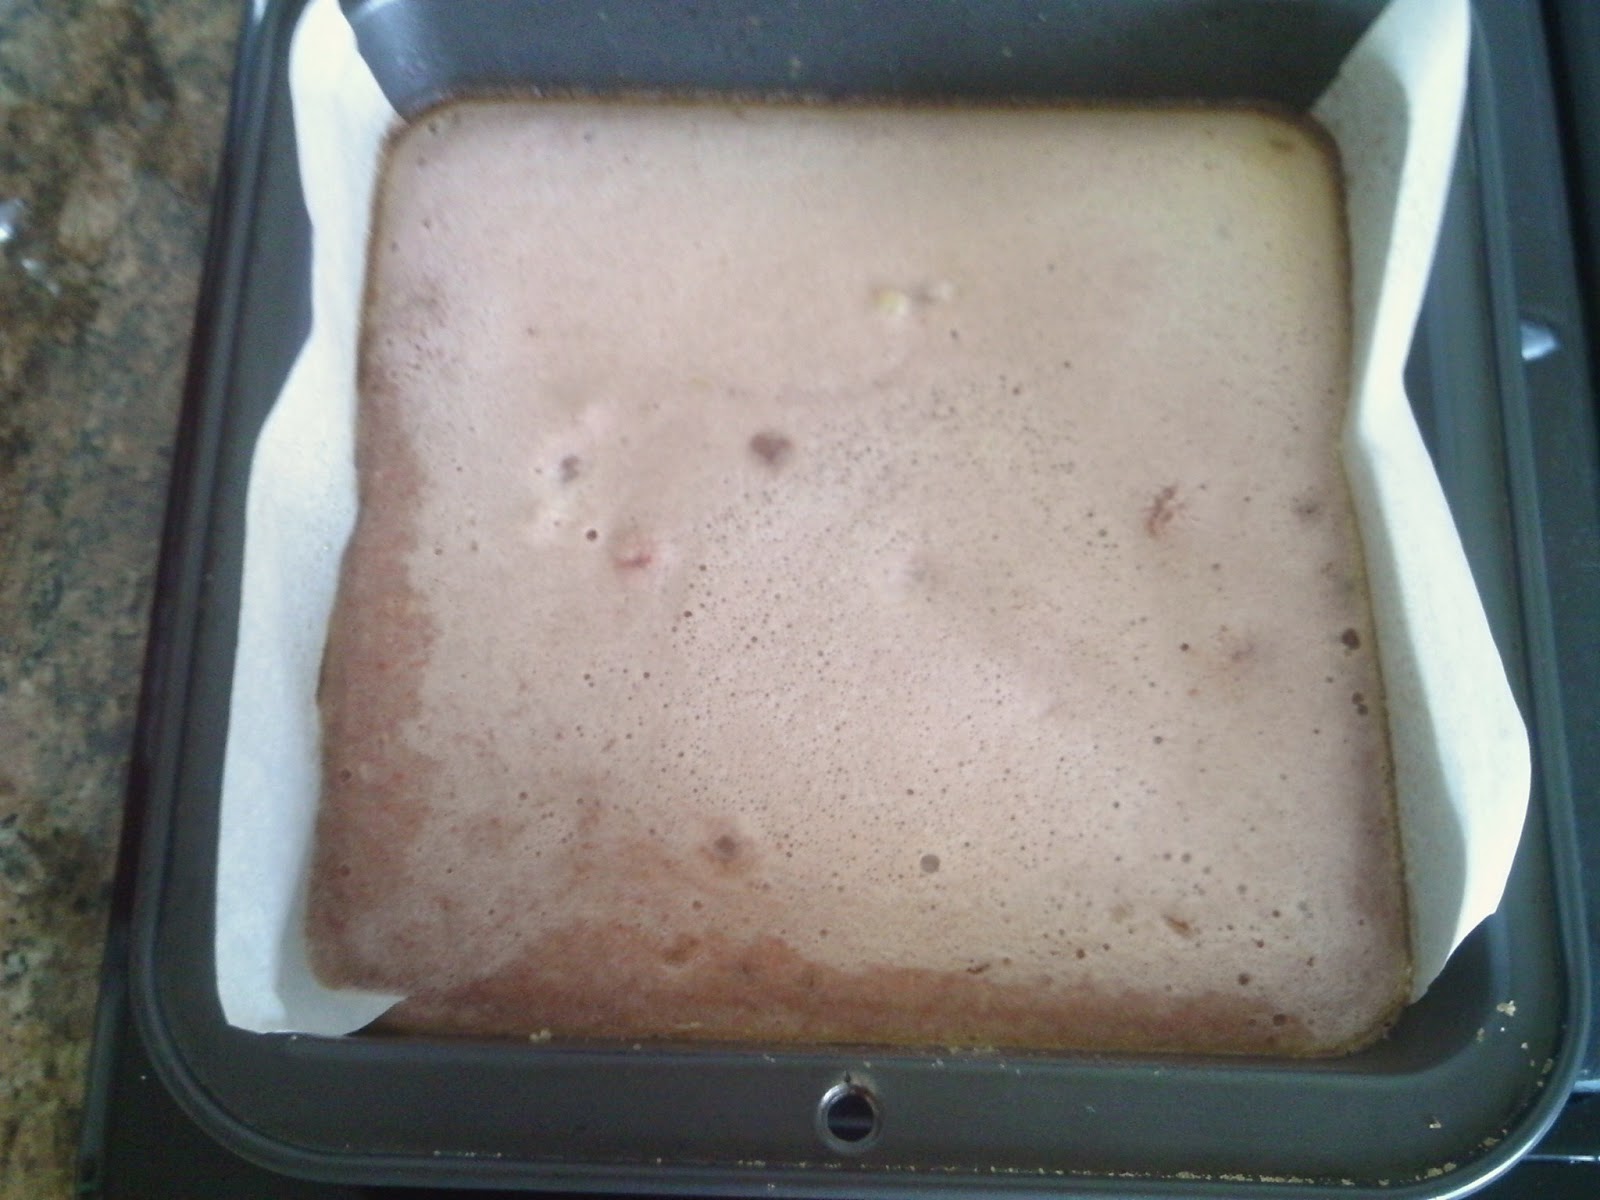
Puree the raspberries in the food processor.  We followed the part of the recipe where we are told NOT to bother cleaning it first.  Love those time saving hints!  Run the processor until the raspberries are liquefied. 


Pour it into a strainer that is held over a bowl.  Make sure you can't tip it over.  You don't have enough berries to start over!  Press the berries through the strainer.  You will end up with a bunch of seeds on top and some raspberry puree on the bottom.

In a large bowl, whisk the eggs and the sugar together.  Ordinarily I would be using my KitchenAid mixer for this, but there is only so much room on my counter...and so many large appliances I am willing to clean for one dish!  When they are a creamy yellow, add in the lemon juice.


Add in 3 Tablespoons of the puree.  We had more than that, so we put in 4 Tablespoons.  The recipe warned us about too much liquid,  and suggested we keep the lemon juice and the raspberry puree to 7 Tablespoons in total.  I had already added the lemon juice when I realized I had a lot of puree.  I went with the 4 Tablespoons of puree and it was fine.  Don't do more than that though!


Stir in the flour.  Pour the mixture in the cooling crust.  Return the bars to the oven and bake for 25 to 30 minutes.  Once again the sides of the bars will just start to turn a golden brown.  Cool completely.


I have a plastic knife that I use to cut in my coated pans.  I gently pressed it on the edges with out the parchment paper.  When I could feel that it was loose, I lifted the whole thing with the long sides of the parchment paper and placed it on a cutting board.  Tara used the long knife to release the bars from the paper and slid it out.  We cut it into squares.  Using the same strainer, sprinkle some powdered sugar over the top.  Unfortunately, THIS time you will have to wash and dry between steps!


I plated the bars for a picture.  My artistic attempt had me placing one bar on the other so that the lemon layer would show.  Tara cut a slice of the lemon we didn't use and added a few raspberries.  I think I need a full time food stylist!  And sous chef!