Saturday, November 17, 2018

Pumpkin Pecan Bread with Maple Frosting

It is pumpkin spice everything time.  I'm not a big fan of pumpkin spice coffee.  But pumpkin bread, now that is a nice fall treat.

I chose to put a maple frosting on this pumpkin bread, but it is a nice moist treat and not necessary.  I also put some pecans in this bread.  Not necessary, but, come on...pecans!

1 cup canned pumpkin
1/2 cup milk
2 eggs
2 teaspoons vanilla
1/2 cup softened butter
2 cups flour
1 cup packed brown sugar
1 Tablespoon baking powder
1/2 teaspoon baking soda
1/2 teaspoon salt
2 teaspoons cinnamon
1/4 teaspoon nutmeg
1/4 teaspoon ground ginger
1/8 teaspoon ground cloves
1/2-1 cup chopped pecans, optional


Preheat the oven to 350ยบ.  Spray a loaf pan with Pam.


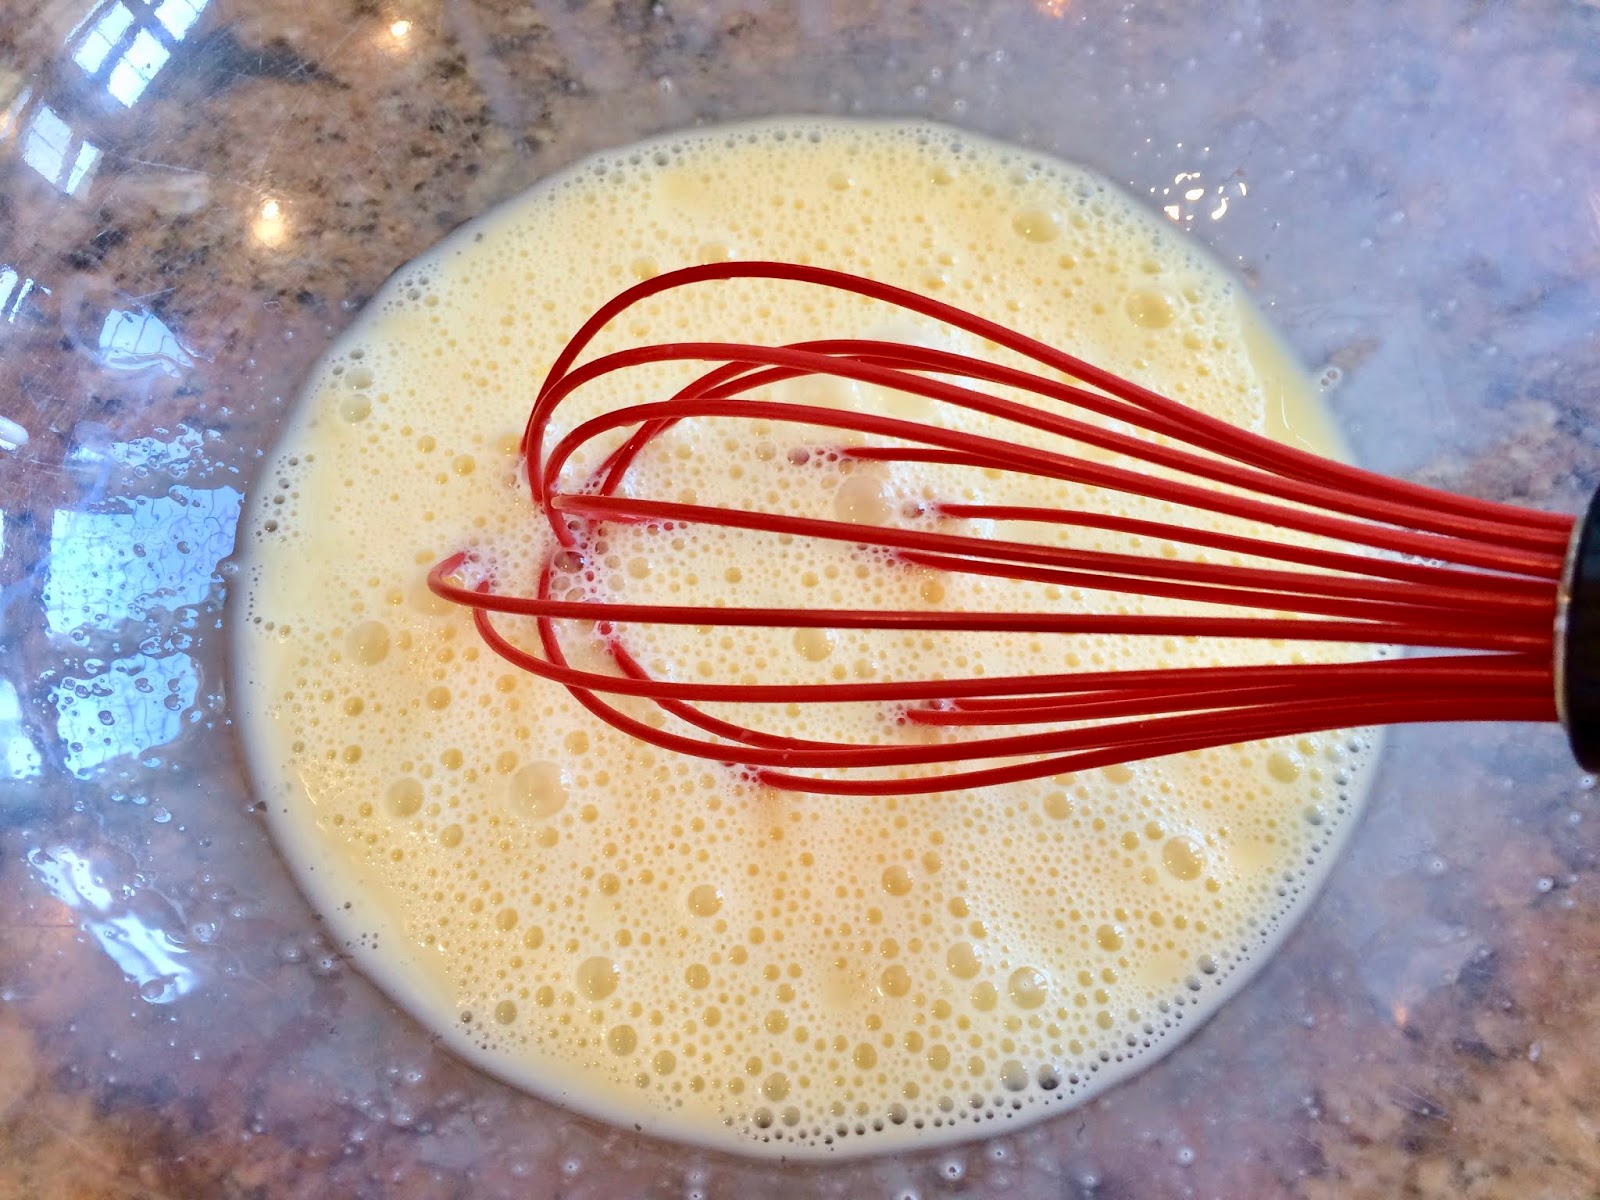
Whisk the milk and eggs in a large bowl.  Whisk in the vanilla, softened butter and 1 cup of the pumpkin.


Put the rest of the can in a ziplock bag and freeze it for a future use.


Add the flour, brown sugar, baking powder, baking soda, salt, cinnamon, nutmeg, ginger, and cloves.  Mix.


Fold in the chopped nuts.


Place the batter in the prepared pan.


Bake for 50-60 minutes.


When a cake tester comes out clean, remove the bread and place on a cooling rack.  After about 10 minutes use a wooden or plastic knife to loosen the sides of the bread from the pan  Turn out onto the cooling rack.

When the bread is cool, you may choose to frost it.  This is how I did it.

Maple Frosting

1 Tablespoon butter
2 Tablespoons maple syrup, the real stuff
1 Tablespoon half and half
2 cups powdered sugar


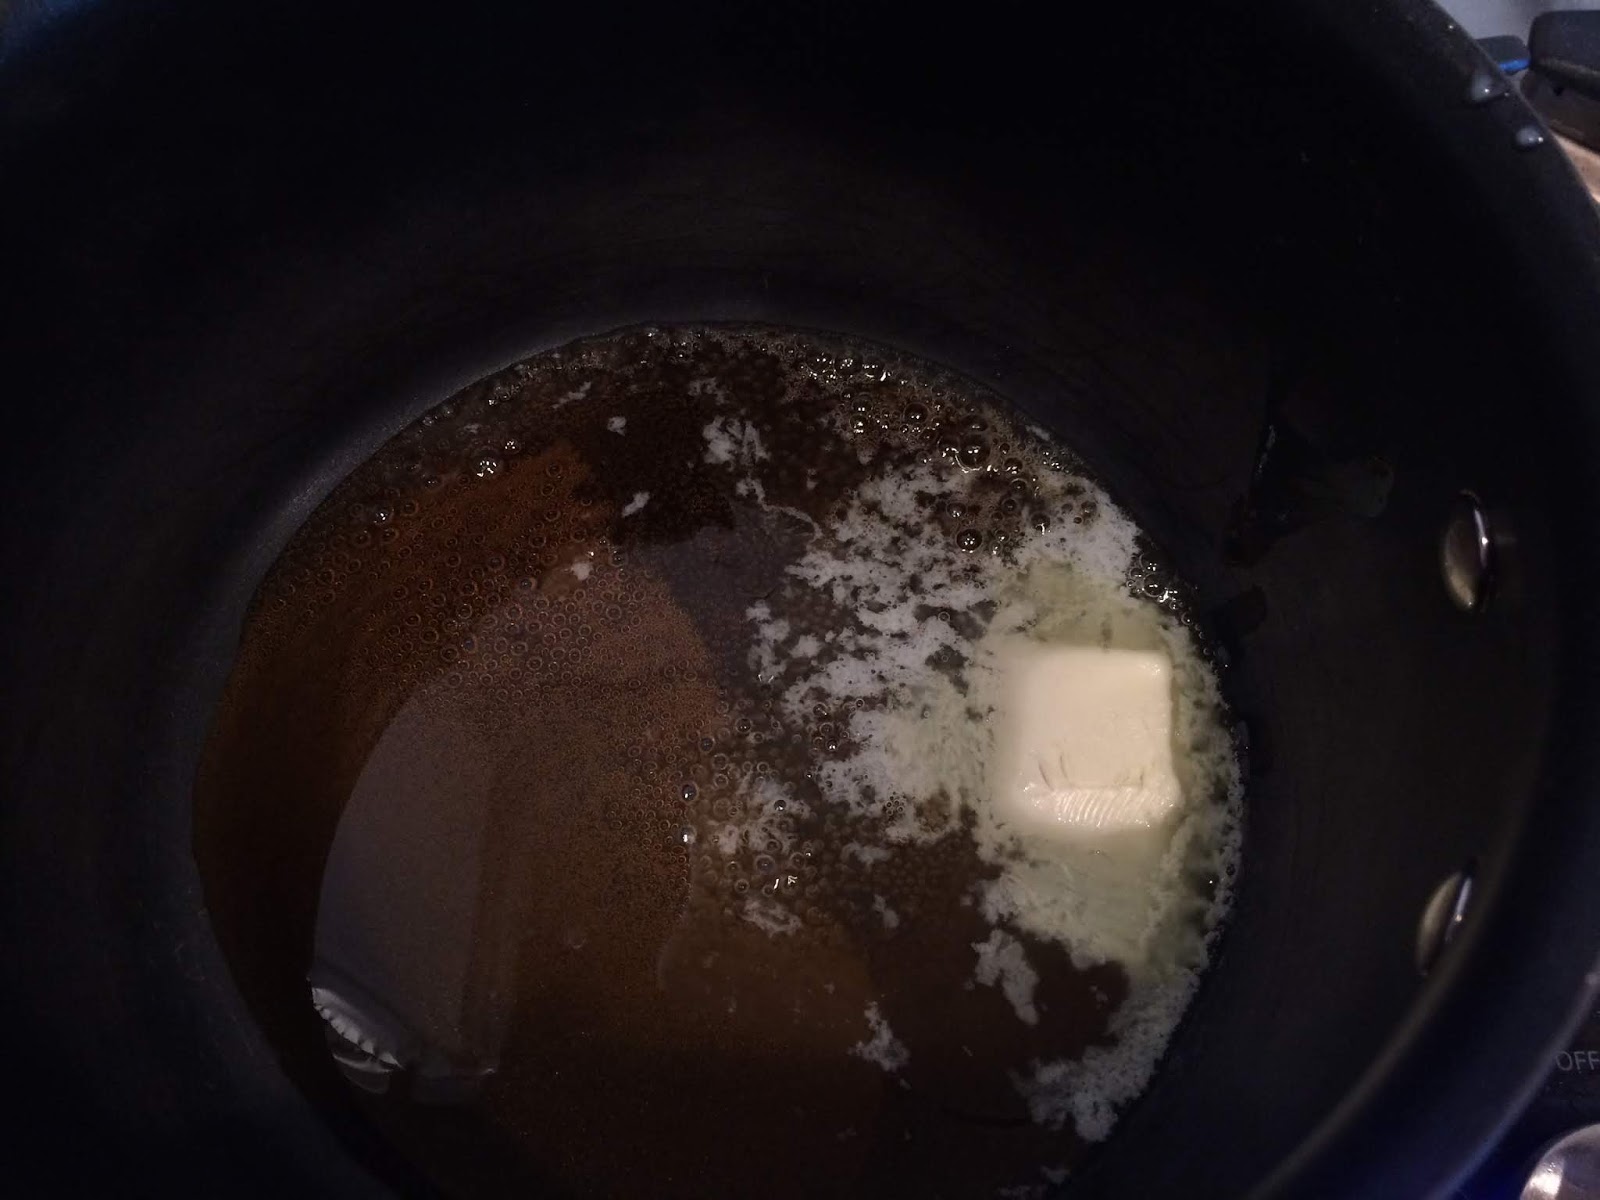
Melt the butter in a medium saucepan under low heat  Add the cream and maple syrup.  Stir to mix.  Add the powdered sugar and mix in.  Stir until it is well blended.  You may need to add more cream or powdered sugar to reach the desired consistency.  Remove from heat.


The frosting should not be runny.  Gently spoon it on top of the loaf and swirl to the edges.  Let cool.


This bread is best eaten the second day.


It takes time for all the flavors to meld together and for it to become the best it can be.  It was still good the first day.  But it was better and more moist the second day.

I kept the loaf in a cake keeper.

Sunday, November 11, 2018

No More Etsy

After much contemplation, I decided to close my Etsy shop, SgfCreations.  Before I do, I have to thank my brother Randy and sister-in-law Jeanne for supporting me and buying my first basket.  My daughters helped with getting some beautiful photos for the site.  But there was just not enough traffic to make it a worthwhile adventure.  On Etsy you have to pay a monthly fee for each item you have for sale, so there was a cost to just have the site.

I was approached at a craft fair to place my baskets at a Roanoke Parks and Recreation location along the Blue Ridge Parkway. It is called Explore Park.  They are really expanding the operations there and have a thriving gift shop for local artisans.  I was asked to represent the fiber arts.

Up until now, I have had baskets for sale in both locations.  Sadly, I have only sold a few baskets on the Etsy site and many more are being sold at Explore Park.

This coming week I will be taking some replacement baskets up there.  Maybe some people will find some beautiful Christmas presents in the form of my baskets.  Think hostess gifts!


Tuesday, November 6, 2018

Baby Quilt 2

We recently heard that our son and daughter-in-law will be expecting our second grandchild.  This puts them several lengths ahead in the favorite child race! Our daughters don't seem interested in this important competition.  We still love them very much.

I made a Rubber Ducky Quilt for our first grandchild. You can see it here.   Now that we are getting a new baby, I have to make a new quilt.  You can't just make one for one grand baby and then not make one for the other!!!

I found a pattern I liked in a quilt book from the library.  I went looking for the fabric to reproduce it. That's when I discovered that fabric has an expiration date. They make new fabric every year and then discontinue the old.  So I couldn't reproduce the exact quilt.


The main reason I liked the quilt in the book, was the sailboats. I used to live on a sailboat and my son built a sailboat, so I looked for other fabric with sailboats. I didn't want realistic sailboats, but simple, almost cartoon sailboats.  I think I found them with this fabric.


In addition to sailboats, it has tugboats and a whale.  I liked all of them and decided to showcase them in the middle of the squares.  I had to fussy cut out the boats and the whale and start building the squares.


I have never used prairie points on a quilt.  I kept rechecking the instructions to see where I sewed them flat to the quilt.  I finally looked them up on the internet.  (How did we learn stuff before Google?).


It seems prairie points are triangles connected to the quilt along the base of the triangle with the rest of it is unattached. This seems like a cool thing for baby fingers to play with.  I love it and didn't even know I was choosing a cool thing for babies!


Next I sew the sashing.


Saturday, November 3, 2018

First Bowl


On my last post I wrote about making a sweater and that my next project was learning to turn a wooden bowl on a lathe.  I signed up for and took a class on bowl turning.  It was given at Woodcraft in Roanoke.


I didn't know that you shaped it with a holder screwed into the face of the bowl.  Then I had to build a shelf on the bottom to hold a chuck that was tightened to that shelf.  The holder that had been screwed on the face was removed, the bowl was flipped  and the chuck was placed on the turning spindle of the lathe.


Then I began to hollow it out.


After you finish with shaping your bowl, sanding is pretty easy and fast.  You simply hold strips of varying grits of sandpaper against the bowl as it is turning on the lathe.

The more wood I removed, the more I loved the Maple Ambrosia I had chosen for my bowl.  It has swirls of browns and and black worm holes and I'm intrigued by all the different colors.

The instructor told us that most people make a bowl with sloped sides that looks like a flower pot or with straight sides. I decided to make mine to have rounded sides with an inward swoop up to a flared rim.  I got close to that shape and I like it for my first bowl.


The instructor helped to remove the bowl from the chuck. If you do it wrong you may fling your bowl across the room and ruin it.  I want to try one more class where I do everything from start to finish with no help.

Then I can do it on my own.


I need a few more things to make a bowl on my own.  We have a Shopsmith that includes a lathe and some basic chisels. I can't wait for the first one I make on my own equipment.  Or maybe the tenth on my own equipment. That one is bound to be better than the first.