Showing posts with label Bisquick. Show all posts

Tuesday, January 14, 2014

Bisquick Coffee Cake


I know, I KNOW.  I'm supposed to start my diet and lose the weight I gained over the holidays.  But I can't face it just yet.  And then I was reading a book and they mentioned a Bisquick coffee cake.  I like coffee cake.  Lee REALLY likes coffee cake.  I have Bisquick.....you can see where I'm going here, can't you?

It seems that not only am I susceptible to advertising I am susceptible to subliminal messages via novels.  I hope I read a book about a really cool car, because mine has a funny odor due to leaking something that then burns on the engine.  But it still runs and is comfortable.  And I'm cheap.  So instead I will go eat some coffee cake.  Hey, I used the Heart Smart version, so I am sort of not as bad as I could be!

I changed the recipe a bit.  I doubled the amount for the streusel topping so I could put a swirl in the middle.  And I added vanilla, because I like vanilla..  If you want the original recipe make half the amount of topping and put it all on top of the batter.  And leave out the vanilla.


Bisquick Coffee Cake

Streusel Topping and Swirl

2/3 cup brown sugar
2/3 cup Bisquick
1 teaspoon cinnamon
4 Tablespoons butter, cut up


Cake Batter

2 cups Bisquick
2 Tablespoons sugar
2/3 cup milk
1 egg
1 teaspoon vanilla, optional


Heat the oven to 375°. 


Spray a 9 inch round cake pan with Pam and set aside.


Place all the ingredients for the streusel in a medium bowl. 


Use a pastry blender, or two knives or your very clean fingers to work the butter into the other ingredients.  Keep going until the butter chunks are smaller than a pea.  Set aside.


Place all the cake ingredients in large bowl. I used a whisk to mix it up until smooth.  Put a little less than half the cake batter in the prepared pan.


Take half the streusel topping and cover the batter.


 Scrape the rest of the batter on top.  I used a spatula to try to cover everything but I didn't try to get it to the edges.  It does puff up almost double.

Layer the last of the streusel over the last of the batter and place the cake pan in the preheated oven.

So easy, right?  No wonder your mom (or grandmother) used this a s a stand by for a last minute treat for guests.


Bake for 18 to 22 minutes.  Mine took the whole 22 minutes.  Test it with a toothpick.  Let it rest for about 15 minutes and serve warm.


I even had a piece for breakfast this morning.   I warmed it up for 15 seconds in the microwave.  I love a recipe that is still good the next day.

Monday, February 25, 2013

Edna Mae Pancakes My Way


Earlier I posted a recipe from the Pioneer Woman Cooks cookbook.  In it she has a recipe for sour cream pancakes from her husband's grandmother, Edna Mae.  It only has a bit of flour and they are very good with a bit of a sour bite.  Just delicious.


Back when the kids were little (and even now when they visit) I would make banana pancakes by smashing up a ripe banana or two into the Bisquick batter.  An easy and delicious breakfast.  Especially if you make faces in the pancakes with chocolate chips!  I wondered whether bananas would taste good in Edna Mae's recipe for sour cream pancakes.

You can scroll down to find the earlier directions for the original recipe.  I will repeat the ingredients here and add fruit so I can pretend I am eating healthily.


Sour Cream Pancakes with Bananas...oh, and Strawberries!

1 cup sour cream
7 (yes, only 7) Tablespoons flour
1 Tablespoon sugar
1 teaspoon baking soda
1/2 teaspoon salt
2 large eggs
1/2 teaspoon vanilla extract
1 mashed banana
1 cup sliced strawberries
butter
syrup

Heat a griddle over medium low heat.

Slice the strawberries and set aside in a small bowl.


Use a fork and smash a ripe banana in a large bowl until kind of mushy.  Add the eggs and whip them around with the same fork.  Add the sour cream and vanilla and mix it in.  Keep using the fork.

Just dump all the dry ingredients ( flour, sugar, baking soda and salt) on top of the mixture and give them a good mix. You made need a bigger spoon at this point.  It is okay to have lumps.  Don't over mix.


Place a pat of butter on the griddle and when it is melted pour about 1/4 cup of the batter on top of the melted butter.  When the top starts to turn dry around the edges, about 1 1/2 minutes, flip it over.  Cook the other side and prepare to plate.  I like the griddle because you can cook enough for one person at a time.  Serve with a sprinkling of sliced strawberries and the syrup of your choice.

This recipe made enough for 3 people.  I left out the chocolate chip faces, no kids to spoil, but feel free to indulge!

Saturday, January 19, 2013

Beef And Cheese Foldover


On my last post I mentioned liking snow days.  I'd like to amend that.  I like snow days when I still have power.  Dark, cold snow days are not as much fun.  Having something in the oven that you are taking careful pictures of so that you can blog about it in the morning, when the power goes out, is not fun.  Finding a way to finish the meal and staying warm until the power gets back on makes one feel intrepid and strong...hear me roar?...Loving the poor, power line folk for getting the job done before morning makes me feel blessed.

While I was writing that last sentence my power went out for another 8 hours.  I am completely rethinking my snow day philosophy.  I was just glad when we no longer had to schlep through the snow to feed horses.  Schlepping through the snow to WalMart to get water because the well doesn't work without power isn't fun. 

Whew!  It felt good to vent.  And here is how you make a Beef and Cheese Foldover.  It was a recipe idea using things on hand.  I suppose that's true if you keep ground beef on hand.  I don't, so off to the store.

Beef and Cheese Foldover.

1 lb. ground beef
1 medium onion, diced
1 cup corn
green chiles
1/2 cup BBQ sauce
Top that off with some ketchup and mustard
2 cups Bisquick
1/2 cup milk
1 cup mixed cheeses, shredded  I used cheddar and jack.

Heat the oven to 375.


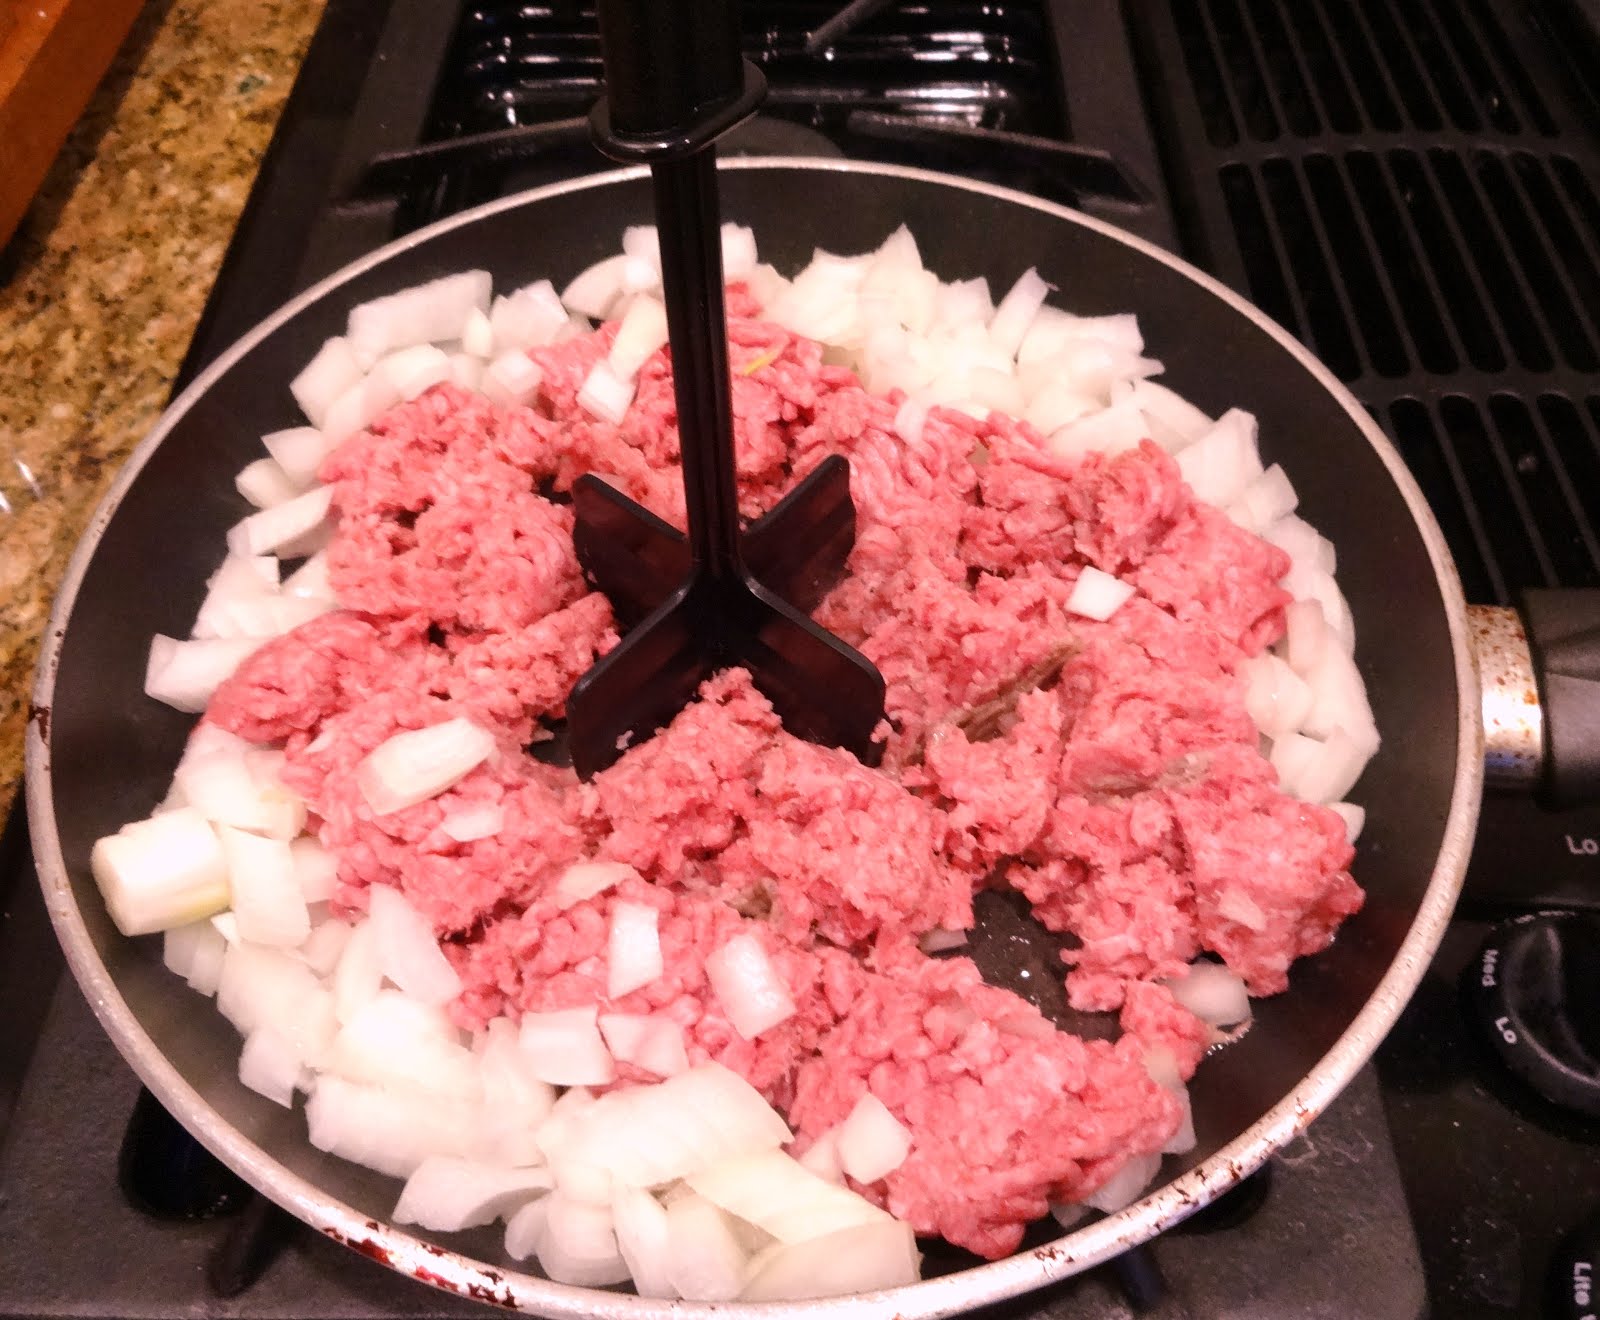
Brown the meat with the onions in a large skillet.  I got a handy dandy meat chopper upper for Christmas and it works better than the side of the spoon or a spatula, so run right out and get yourself one. 


Add the corn and the chiles.  I used half of a small can of green chiles, but a whole can would have worked. 


The recipe called for ketchup and A1 sauce.  I don't have A1, but I do have BBQ sauce.  And I like that better.  I filled a 1/2 measure with BBQ sauce and added some ketchup on top.  Then I put a wee bit of mustard as I didn't want this to be too sweet. Feel free to change the amounts to suit your taste.


Set the meat aside and start on the biscuit dough.  Add the milk to the baking mix in a medium bowl.  mix it all together.  If it is too sticky add a bit more dough, too dry a bit more milk.


Put some of the Bisquick on very clean counter and dump the dough on top.  Knead the dough 4 or 5 times.  Then roll it out to about 12 inches.


Place some parchment paper on a cookie sheet.  Fold the dough in half and then again.  Gently lift it and place it on the parchment and open it out.  You folded it so it wouldn't tear while moving it.  If it tore anyway, press the tear back together.

Scrape the meat mixture in the middle of the dough and spread it out to within 2 inches of the edges.  Fold the edges over the meat leaving the middle exposed.


Bake for 20 minutes.  Then remove the pan and add the cheeses. I like to shred cheese over a paper towel.  It makes it easy to move and clean.  A package of shredded cheese from the store is also easy and clean!  Bake for 5 more minutes.

Or you can do like I did.  Bake for 15 minutes and then have the power go out.  Leave it in the hot, but cooling, oven for 10 more minutes and add the cheese.  Return it to the oven for 5 minutes and figure that is good enough because you can't tell how brown the crust or melty the cheese is in the light of the lantern. 


Take a picture in the dark and hope the flash is good enough.  Eat it and think, Not bad!


Sunday, July 22, 2012

Chicken Chili Cobbler


I had a Bisquick recipe book that had some main dish cobbler ideas.  I had never thought of that.  I have made some dumpling recipes when the bread topping was basically steamed on top of the meal, but this was new.  I don't really love the texture of a dumpling.  It's kind of doughy.  So baking it on top seemed like a winner.

One again I am making this on the fly, so there are things I would do differently and things I loved about this dish.  I'll write what I did and at the end I'll tell you what I would do differently.  You can decide how to proceed!

Chicken Chili Cobbler

1 box Jiffy corn bread mix
1 egg
1/3 cup milk
2 Tablespoons vegetable oil
1 cup diced onions, divided use
1 small can green chilis
3 cups cut up cooked chicken.  I used a big slice of chicken breast from the deli at the market.
1 can black beans, rinsed and drained
1 can corn, divided use
1 can diced tomatoes
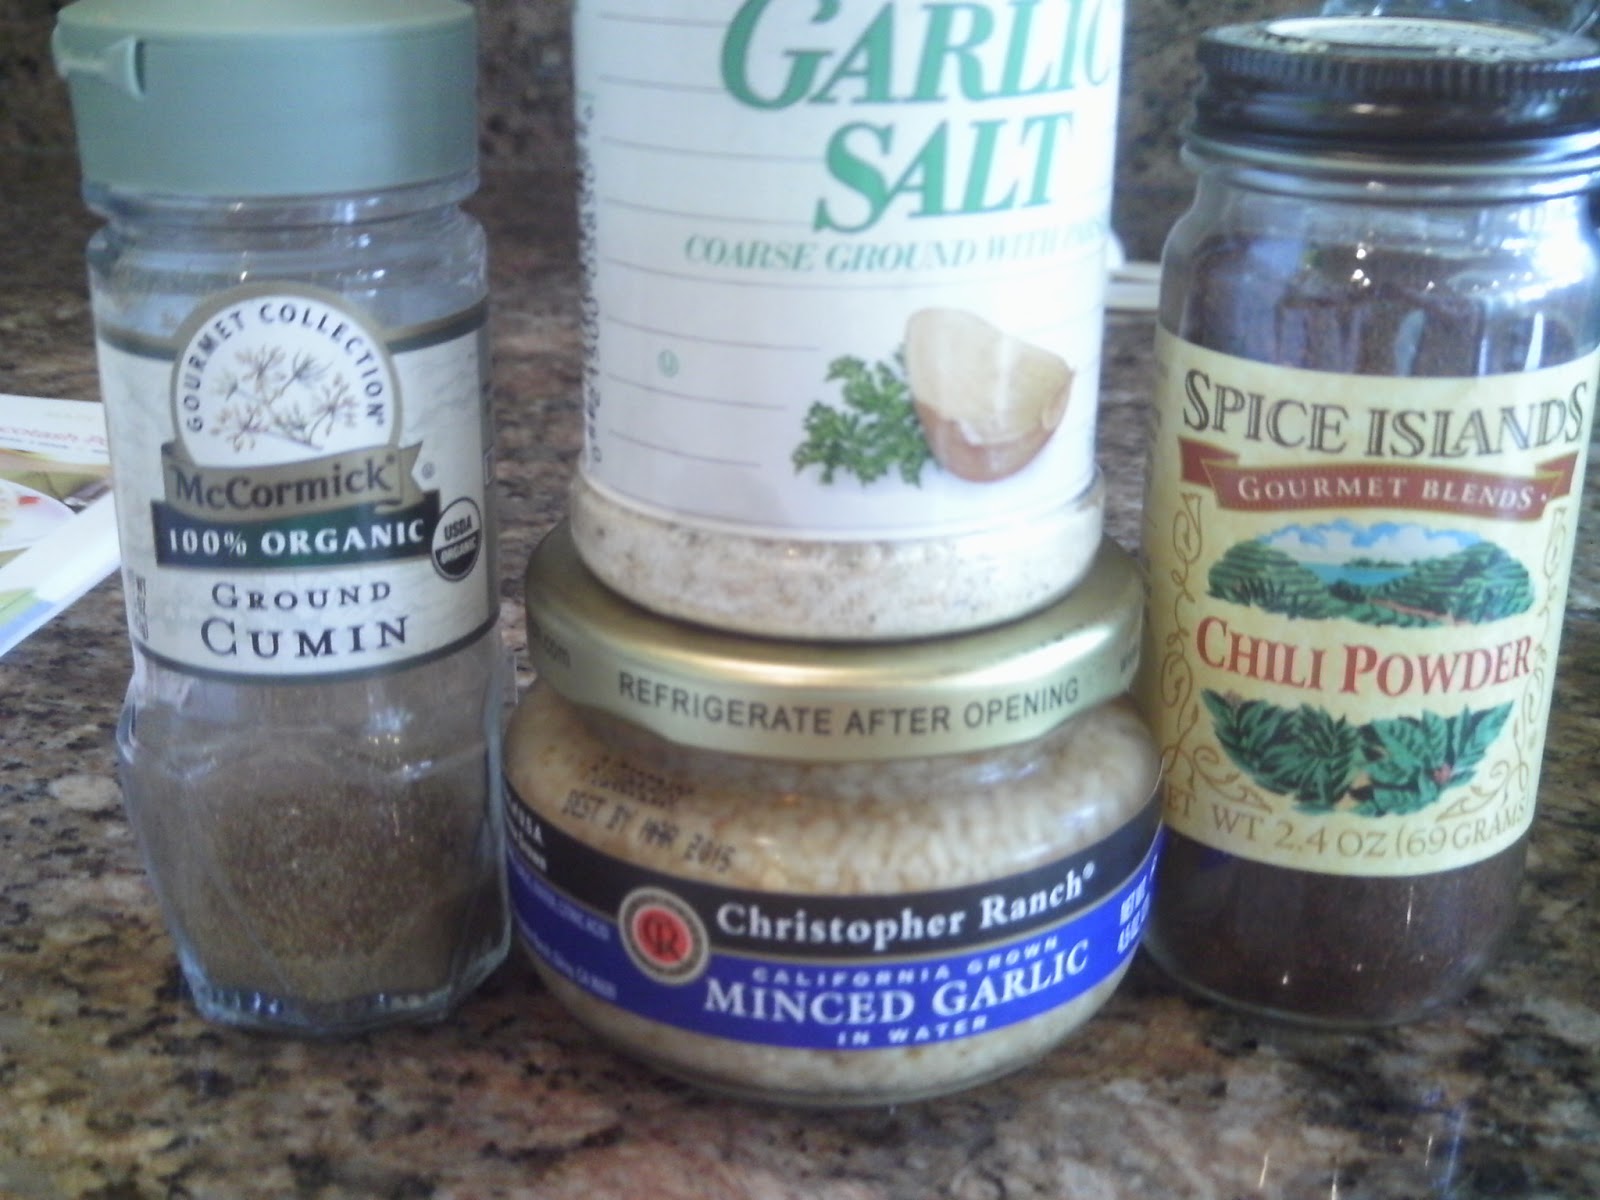
1 teaspoon cumin
1 teaspoon chili powder
1/2 teaspoon garlic salt
pepper
1 teaspoon chopped garlic
1/4 teaspoon dried oregano
1 lime
2 Tablespoons chopped cilantro, divided use
1 cup shredded Cheddar cheese, divided use
1 cup sour cream

Pre-heat oven to 400.

Heat a large cast iron pan with the oil.  Add the diced onions and cook until softened, stirring occasionally.  Add the can of chilis and stir.  Cook for a minute or two, then take about 1/4 cup of the mixture and place it in a medium mixing bowl.


While the onions are heating, dice up the chicken and drain the black beans.  Add the chicken, corn, beans and the undrained can of tomatoes to the pan.  Add the cumin, chili powder, garlic salt, pepper, garlic, and oregano.  Squeeze the lime over everything, making sure you don't drop in a seed!Gently stir.


While the chili is cooking it is time to start the topping.  You already have the onion mixture in a bowl.  Add the Jiffy mix and the egg and milk.  Divide up the chopped cilantro, putting half in the chili mixture, which might need a stir by now.  The other half goes in the corn bread mix, along with 1/2 of the grated cheese.  Mix the corn bread just until moist and then let it set for a bit.  It will start to rise if you let it rest, making for a lighter corn bread.


When the chili is heated through and the oven has reached 400, place drops of the corn bread all over the top.  Place everything in the oven for about 20 minutes.  The top should be nicely browned.


Serve with a dollop of sour cream and a sprinkling of Cheddar cheese.

OK.  Here is where I critique the dish.  It was really good.  I don't like super spicy chili and this was just enough spice to be flavorful and not so much to be hot. It was a bit dry, however.  If I made this again, I would add a can of tomato sauce for a bit more moisture.  There was even room to add another can of black beans if you wanted to serve more than four people. 


Maybe the corn bread absorbed some of the liquid, but as a topping/cobbler it was wonderful.  I served it with a slice of watermelon and it was a great meal.  It helped that we had some wonderful company and Jackie was nice enough to say she liked it just the way it was.

Thursday, July 12, 2012

Zucchini Squares

The best thing about cooking is that I am inside with air conditioning and I am still being productive.  I an even watch TV while working.  The second best thing is eating what I made, assuming it is edible.  I do like to experiment with recipes

After finding some great zucchini and basil in the garden, I decided to use them for dinner.  I just bought a Bisquick All-Time Best Recipe book at the grocery store.  I have a rule of thumb for purchasing those small paper cover/magazine recipe books at the grocery check out.  If I can find at least five things I want to make, then I get it.  This one had more than that, so now it is mine.

                      
Notice all the paper strips that indicate a recipe I want to try.

As usual, I don't have or want to use everything in the recipe, so I change it to suit me.  Accordingly I renamed it to fit my rendition.

Zucchini Squares.

1 medium sized zucchini, about 1 1/2 cups thinly sliced
1/2 cup Heart Smart Bisquick
1/2 onion cup onion, diced
1/4 cup grated Parmesan Cheese
2 Tablespoons basil,  thinly sliced
2 eggs
1 teaspoon chopped garlic
1/4 teaspoon Fines Herbes or use Italian Seasonings
2 Tablespoons vegetable oil
salt and pepper

Pre-heat the oven to 350.  Use Pam to spray a 2 quart casserole dish.  Set aside.

I got a mandoline slicer for Christmas, so I had to use it to slice the zucchini.  Feel free to just thinly slice it by hand.


Place the onions and the zucchini in a medium bowl.  I added the eggs whole on one side and then whipped them around with a fork in the same dish. 


There is a technique called chiffonade for cutting up herbs.  First wash the basil and dry it with a paper towel.  Gently tear off the leaves and stack them up, one on top of the other.  Roll the stack into a long tube, like a cigarette.  Then thinly slice across the tube.  This is chiffonade and will give you thin slices of the herb you need.  In this case, the basil.


Add the basil and everything else to the mixing bowl and make sure it is fully mixed.  Scrape everything into the prepared casserole and bake for 25 minutes or until it starts to brown.  Cut into squares and serve.


If I had more than just the two of us to feed, I would have used this as a side dish and made a salad or some sort of meat.  Maybe pork chops or chicken breast.  This was just fine for the two of us. 


I did make some fruit to go along with it.  I sliced up strawberries and fresh peaches from the Bryant Orchards, where we buy all our peaches in the summer.  I would have sprinkled lemon juice on the peaches to keep them from browning, but I neglected to buy new lemon juice after our power outage, so I just hoped they wouldn't turn colors.  I like to sprinkle a bit of Splenda on the strawberries on the theory that shipping them from where ever they grow them means they were picked too soon.  They are never as sweet as when they are locally grown, hence the Splenda.


I served the fruit in a glass dish with a bit of Cool Whip, but a dollop of vanilla yogurt would have been great, also.

There are leftovers for tomorrow when I WILL make a salad.