Wednesday, March 16, 2016

Sweet and Salty Bacon Bars

I found this recipe while waiting in line at the grocery store.  It came in the Better Homes and Garden Fall Baking magazine.  The bacon sold me on it.

It is super rich and delicious.   I was meeting a new friend so I wanted something special.  Now I have these decadent bars in my refrigerator.  Whispering to me. (eat me

I think I will take them to the library and donate them to my library friends.  I will save a few for me.  Well, maybe more than a few....  They are really good...and salty...with a nice bacon flavor.


Sweet and Salty Bacon Bars

1/2 cup butter,
1 1/2 cups finely crushed kettle cooked potato chips, not the flavored kind. (about 6 oz.)
2 cups semi sweet chocolate chips
12 slices bacon, cooked crisp and crumbled.  I used two packages of the precooked kind to make it easy on myself.
1 cup butterscotch pieces
1 cup shredded coconut
1  cup chopped almonds
1 14 oz. can sweetened condensed milk


Pre heat the oven to 350°.  Line a 13x9 inch baking pan with foil.  Fold it over the sides of the pan.


Place the pan in the oven and bake for 5 minutes, or until the butter melts.  I used this time to put the potato chips in a gallon size Ziploc bag and crush them with a rolling pin.  Squeeze the air out first.  I also cooked the bacon it the microwave. 


Remove the pan from the oven and sprinkle the crushed potato chips even over the butter. 


Then evenly distribute the chocolate chips, crumbled bacon, butterscotch chips, coconut and chopped almonds. 


Drizzle the sweetened condensed milk over everything.

Bake for 25 to 30 minutes or until the edges are light brown.  Cool the pan on a wire rack.  Use the foil to lift the uncut bars out of the baking pan.


You can't cut these until quite cool.  Almost cold.  So I carefully peeled the foil off the edges of the bars and placed the whole thing on a paper towel in the refrigerator to chill.  I used the paper towel because it was really buttery and I didn't want to have to clean the shelf.

Cut into bars.  Because these have bacon in them, you have to store them covered in the refrigerator.


I served these bars with stuffed, dipped strawberries and cucumber sandwiches. Yum.

Tuesday, March 15, 2016

Lee's Newest Old Car


This is Lee's newest car.  Newest OLD car.  It is a 1967 Pontiac Lemans.  This is the basic car that the GTOs were made from.  Basically, the GTOs have a high performance package that the LeMans did not. 

Lee found this car on eBay and won the bid.  It was in Connecticut.  That is a long drive from southwest Virginia.  He rented a car trailer and took off.  He was a bit nervous because the guy wanted cash and Lee had never seen the car in person.  He reminded me that this was not craigslist when I expressed concern. 

The seller had been on eBay for quite sometime and has 100% positive reviews.  Lee spoke to him and found he had been in the Navy about the same time Lee was. That seemed to be the kicker to trust this guy.


Because GTOs are a LOT more expensive than the LeMans, many people have been buying the LeMans and putting in all the high performance things, engines, etc.  Then they sell it as a GTO clone and they are getting almost as much as the original GTOs  Now the straight LeMans are becoming pretty rare.

At one point it seemed like Lee was going to do that, too.  But after he saw the car, which he had only seen on eBay, he is now planning to keep it original.  This car has less that 100,000 miles.  It has the original paint, which is mostly good, with a few dings and scratches.  It has what looks like the original upholstery.  Next he will look for the build sheet.   According to the sales history, the car has been driven less than 6,000 miles in the last 22 years.  It has been garage kept.


Lee is pretty stoked at getting this survivor car.  He will pretty it up some and make sure everything runs perfectly, although it is pretty good now, and then he might take it to some car shows.  He may even take it on a trailer to keep the mileage down.  They call cars that people haul everywhere to keep the miles down trailer queens.


So Lee will put this queen in our shop for now.  Hopefully he will still have some enthusiasm for finishing the Corvair ramp side pickup that has been languishing in the shop all winter.

Well, would you like to touch metal parts in below freezing weather? Neither does Lee.

Sunday, March 13, 2016

Chicken Puff Pastry Swirls

I found a version of this posted on Facebook.  I didn't write anything down and no longer know what the exact recipe, so I winged it.  It turned out really good.  Even Lee liked it!  It is fast and easy f you have some leftover chicken and puff pastry.  I didn't have the chicken and bought some grilled breast strips form the sliced meat and cheese section.  It went together really quickly and the longest time was waiting for them to cook.


Chicken Puff Pastry Swirls

One sheet of puff pastry, thawed
BBQ sauce
1 cup grilled chicken, shredded
1/4 cup chopped cilantro
1/4 cup thinly sliced green onions, including the green part
1/2 cup shredded Cheddar cheese
1/2 cup shredded mozzarella cheese
1 egg


Preheat the oven to 365°.  Prepare a baking sheet with parchment paper or a Silpat to prevent sticking.


Sprinkle some flour on a very clean counter top.  Unfold the puff pastry and use a rolling pin until the fold lines get smooshed a bit.  Lift it and replace it to make sure it isn't going to stick to the counter.  Drizzle just enough barbeque sauce of your choice on top ( about 1/4 cup) and spread it evenly over the puff pastry.


I put the chicken breast strips on a cutting board and used two forks to shred them.  Distribute them evenly over the BBQ sauce.  Then do the same with the cilantro, onions and the two cheeses. 


Carefully roll up the puff pastry into a log.  Try to get it tight.  Cut the log in half and then each half into four pieces so you have eight even slices.  The ends may be a little under filled, but they are still good!


Place the circles on the prepared baking pan.  Whisk the egg with a fork and then brush on the sides and top of the circles.


Bake for about 35 minutes or until the pastry is golden brown.


These were crispy and delicious.  I served them with a salad and they made a perfect meal.  And then another one the next night!  They heated up great in the toaster oven.

Thursday, March 10, 2016

Tile Backsplash

When we bought our house, it had a four inch slab of granite as a backsplash.  I have wanted to put in a tile backsplash, but other things had priority and we never got around to it.  Recently we bought a new fabulous cooktop.  It was a 30 inch cook top and so was the old one.  But the cutout in the granite was different.


We had the granite backsplash removed.  Fortunately it was only installed with dollops of adhesive And came off in one piece.  I patched the holes made during the removal.  We used the granite to cut sections to fix the too large cut out.  Now we really had to tile the back splash. 


We picked the tile and waited for it to come in.  I have done small bits of tile, but vertical tile it hard to do and we were doing a lot.  I didn't want to have a fabulous kitchen and a sorry backsplash.


I picked some natural stone to pick up the colors of the cabinets.  Then I chose some accents of natural stone that picked up the colors in the granite and the cabinets to tie it all together.  I put in a stripe of the accent tile and then had a rectangular "picture" of the accent over the cooktop.


I really liked the way it turned out.  If you don't, please don't tell me.  I'm not taking it out and starting over.  So I LOVE it.

Wednesday, March 9, 2016

Beef and Barley Soup

It has been cold and rainy.  And sometimes snowy.  That is soup weather!  I had been craving bread and made some the other day.  Homemade bread calls for soup, right.  So I made some soup to go with the Oatmeal Molasses Bread.  It was rich and delicious.  Just right for a chilly night.


Beef and Barley Soup

About 1 pound of beef cubed.  I used London Broil.
1 medium onion, diced
2 Tablespoons Olive Oil
2 teaspoons minced garlic
6 cups beef broth
+/- 1 teaspoon beef base,  optional
1 can (14.5 oz.) diced tomatoes
1 1/2 cup diced carrots
1 cup diced celery, about 2 stalks
1/2 cup pearl barley

 
I apologize for this picture.  I didn't notice it was blurry until I sat down to write this blog.


Heat the oil in a Dutch oven and brown the beef cubes in two batches. 


Set aside and add the onions to the pan.  You may need a bit more olive oil.


When the onions turn translucent, add the garlic and cook for one more minute.  Return the meat to the Dutch oven.  Pour in the beef broth, the tomatoes and add the beef base.  I had some beef base in the refrigerator and decided it would add a richness to the broth, but that is optional.  Bring to soup to a boil and reduce to simmer.  Cover and let it cook for 1 1/2 hours, stirring occasionally. 


Add the carrots and celery to the soup and start the barley cooking.  I cooked the barley in a separate pan, according to the directions.  Sometimes I add it to the soup and then have to wait past the time the soup is fully cooked for the barley to soften.  I brought 1 1/2 cups of water to a boil and added the 1/2 cup of barley, after rinsing.   Reduce to a simmer.  Cook it for about 45 minutes until softened, but still chewy.  Don't put the lid on.  It will boil over.  It might be best not to ask how I know this.


When the barley is done, add it to the soup.  Don't worry if there is a bit of water that has not absorbed.  Just pour everything in and cook for fifteen minutes more so the barley can absorb all the flavors of the soup and so the veggies can finish cooking.


Serve with homemade bread.  Or any rolls you like.  Or no bread.  But dipping the bread in the rich broth and then slurping it down was divine!

Friday, March 4, 2016

Last Gasp Of Winter


We got a bit of snow last night.  Not enough to get out the plow  In fact it is already melting.


It was warm enough that the cat wanted to go outside.  And then he didn't.  And then he did.  The whole Door Into Summer that Heinlein wrote about.


It is currently 39° and Rhett has a fur coat so I finally just shut the door behind him and finished my coffee.

I DON'T have a fur coat.

Wednesday, March 2, 2016

Norwegian Oatmeal Molasses Bread

I have been craving homemade bread.  I like to make bread and would make some every week, except for the whole don't-eat-carbs thing.  Lee is supposed to be on a high fiber diet, so I looked around for a good bread recipe.  I found this one on Taste of Home and made a few minor changes.

Lee is part Norwegian, so eating this is part of his Scandinavian heritage.  I decided it was important to accompany him on this journey.

Norwegian Oatmeal Molasses Bread

2 cups boiling water
1 cup oatmeal
1/2 cup warm water
1 package active dry yeast
1/2 teaspoon sugar (optional)
1/2 cup molasses
1 Tablespoon canola oil
1 teaspoon salt
6 to 6 1/2 cups flour

1 teaspoon melted butter


Place the oats in a medium, heatproof bowl and pour the boiling water over them.  Stir and set aside to cool.


Stir occasionally.


I like to proof the yeast before I do anything else.  Put the yeast in a cereal bowl and add the warm water.  I just use warm tap water.  If the water is too hot it will kill the yeast.  I like to add 1/2 teaspoon of sugar to the yeast.  I figure it likes a bit of sugar when you wake it up.  Give the yeast a stir to dissolve and get out the rest of your ingredients.


Check the bloom on the yeast.  It should have puffed up a bit and look foamy.  It's ALIVE!  ( If you say this out loud, try to sound like Gene Wilder in Young Frankenstein.)  If it doesn't do anything, then your yeast is dead, the bread won't rise and you will have no bread today.  Go buy some new yeast and start over.


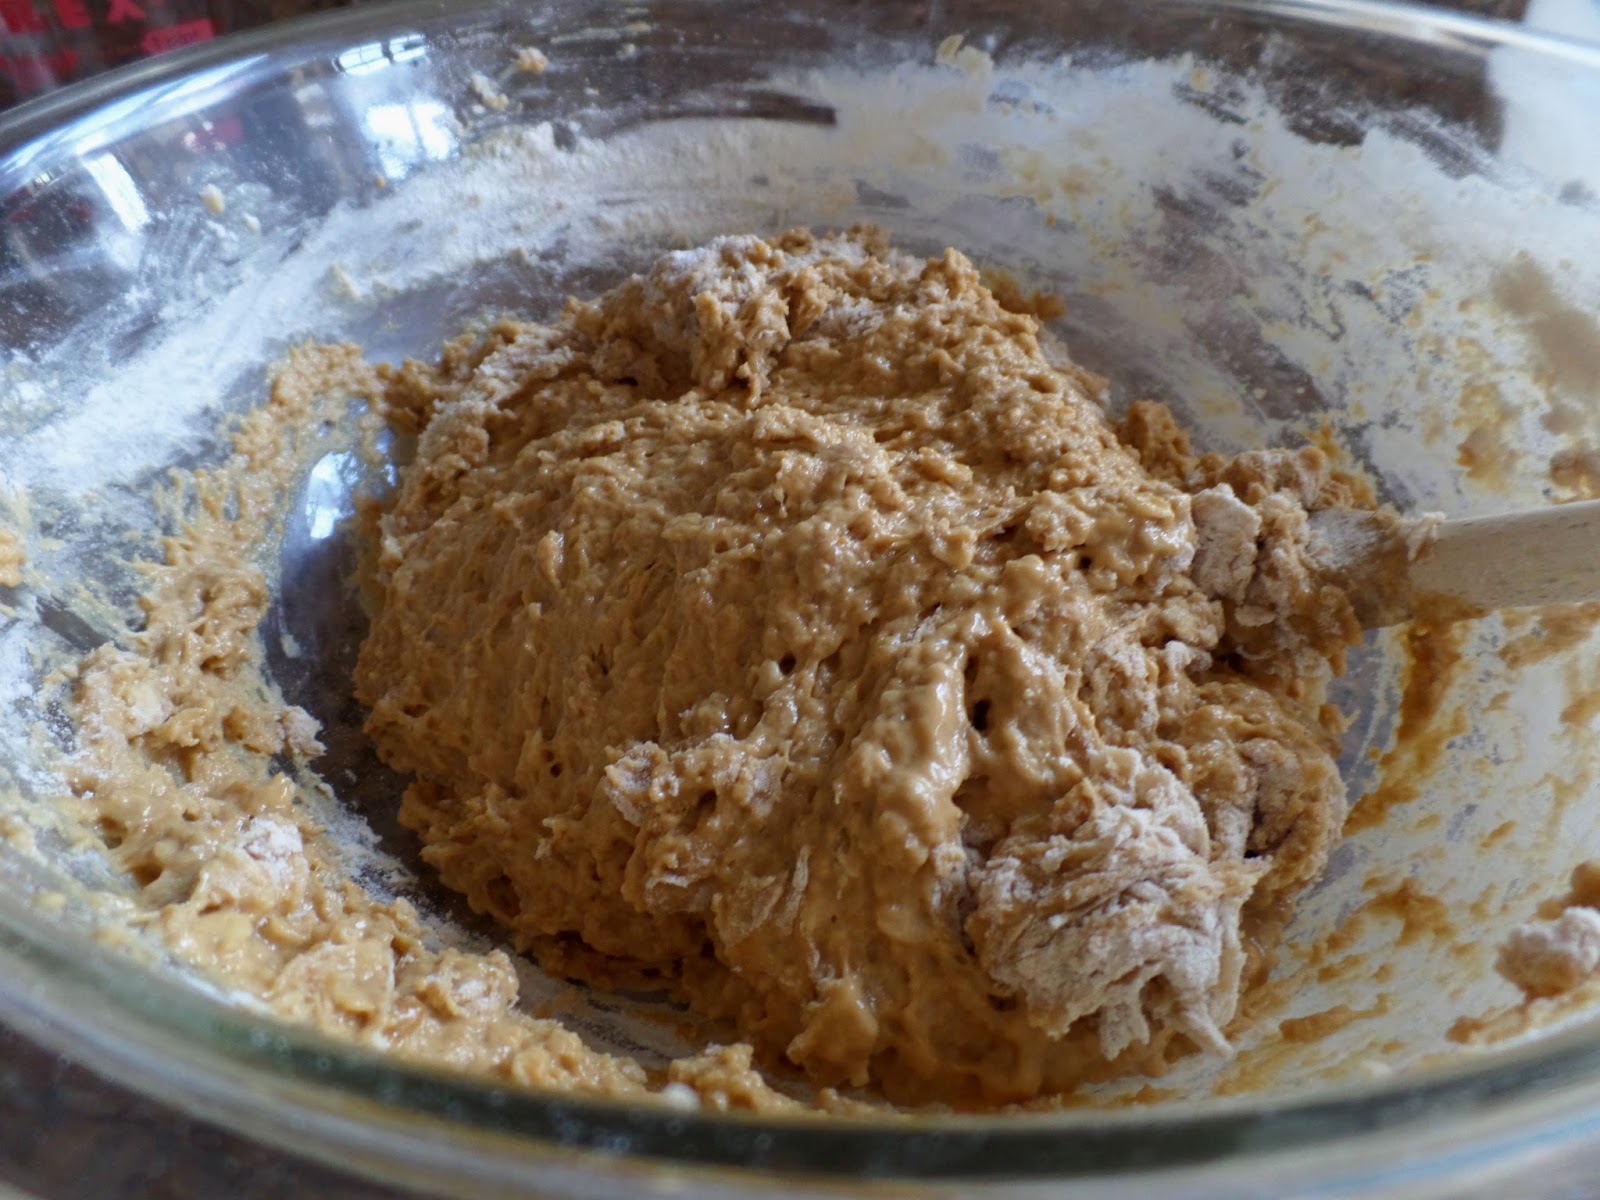
Place the yeast, cooled oatmeal mixture, molasses, oil, salt and three cups of the flour in a large bowl.  Beat until smooth.  Then add one cup of flour at a time until you have a soft dough.  I added 2 cups, making 5 cups of flour, and then added the 6th cup when kneading.


I hope you carefully washed and dried your counter before you started.  If not, do it now.  Sprinkle flour on the counter and scrape the dough out onto the counter.  Sprinkle some flour on top of the dough and knead for about 5 minutes, adding more flour when needed.  You are done when the bread is smooth and elastic and no longer sticky.


Scrape out the bowl you used to make the bread and place about 1 Tablespoon of canola oil in it.  Place the dough back in the bowl and turn to coat it.  Cover with a damp towel and place it in a warm spot to  double in size, about 1 1/2 hours. 


Our house was cold, so I preheated the oven to 200° and turned it off when it beeped. 


I placed the dough in the slightly warm oven. 


Punch the dough down and put it back on the cleaned and re-floured counter.  Knead a few times and then cut the dough in half.  I had one loaf slightly larger than the other and I didn't care.


Use a rolling pin to roll one ball into a rectangle to get out all the air bubbles. 


Use your fingers to roll it into a loaf shape.  Start from the smaller end and then pinch the seam to seal it.  Fold over the ends and pinch to seal along the previous seam. 


Place in a loaf pan that you sprayed with Pam.  Cover with some plastic wrap that you also sprayed with Pam and let rise until doubled, about one more hour.  If you let yours rise in the oven, carefully remove and preheat the oven to 350°.  Uncover the bread, return it to the oven and bake for 40 to 45 minutes, or until golden brown.  Mine took just under 40 minutes.


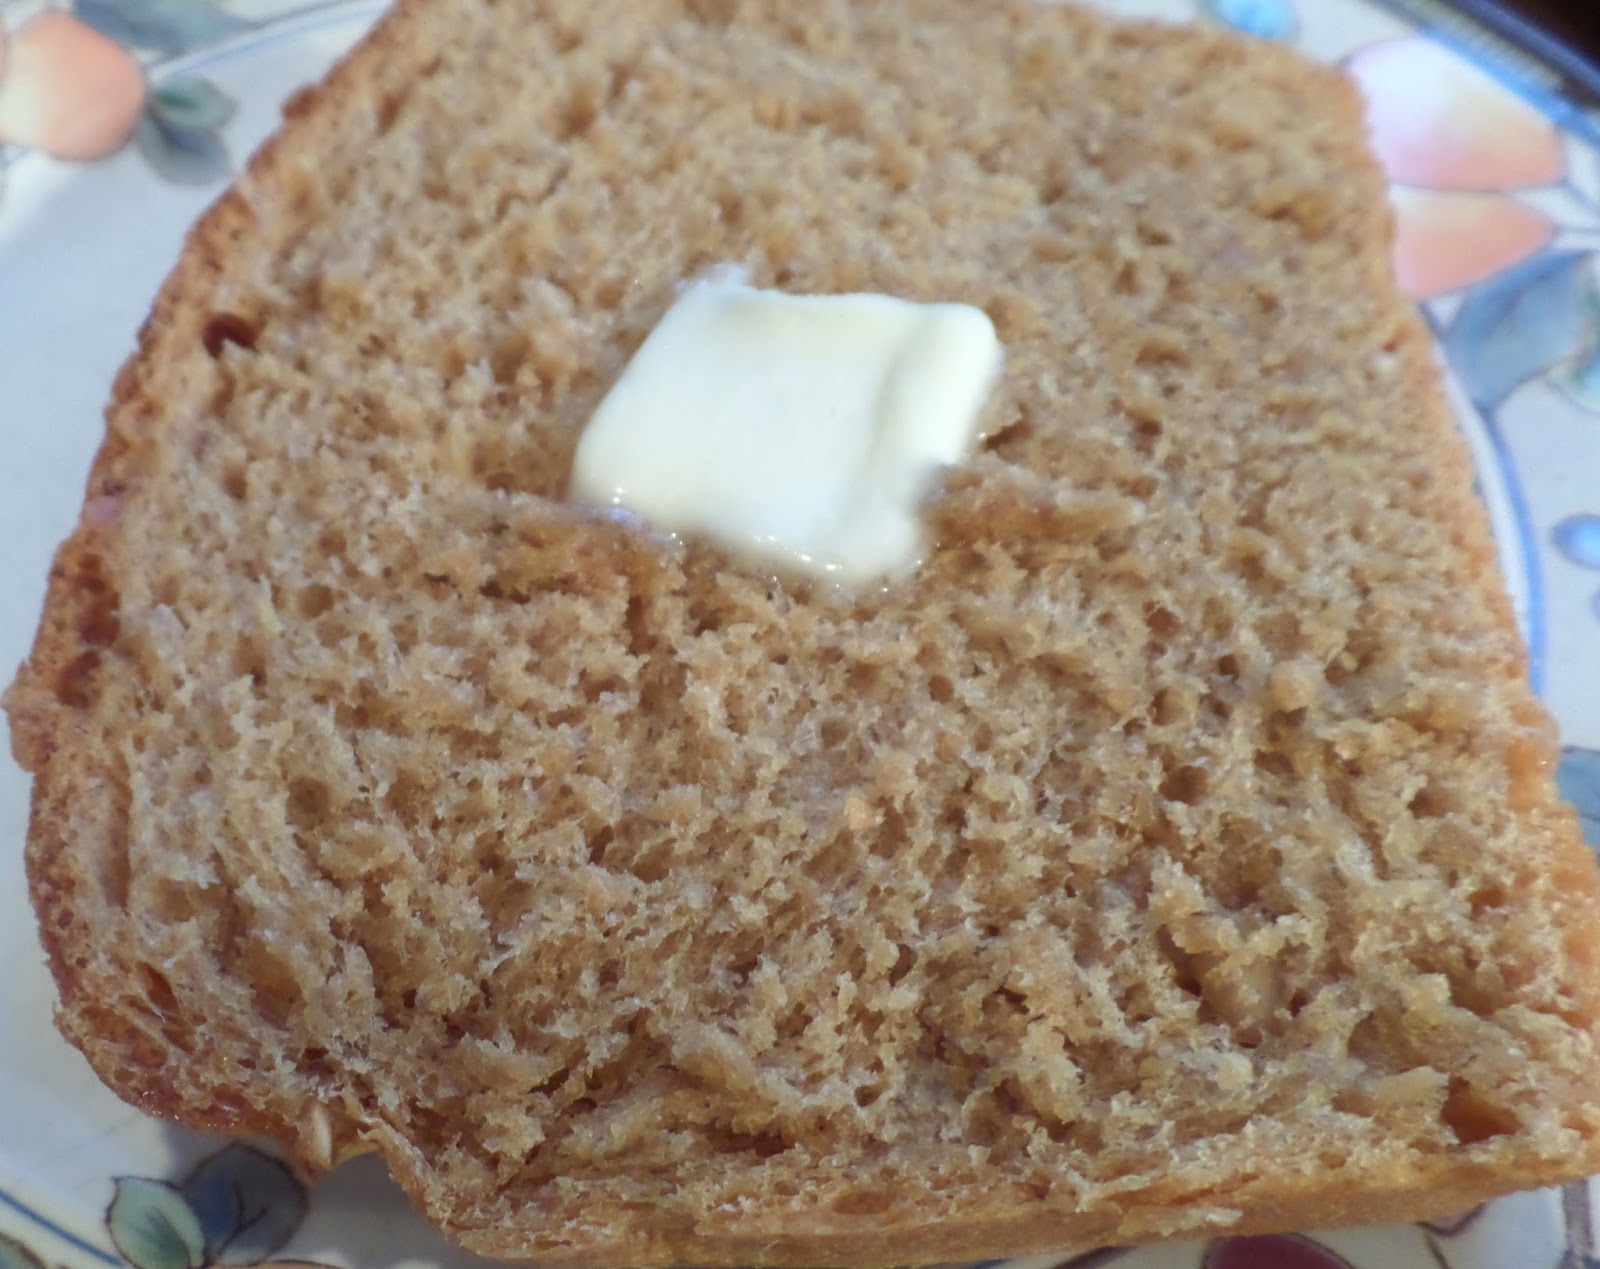
Remove the bread from the pans and let cool on a wire rack. Brush the tops with the melted butter.  Don't try to cut the bread when it is hot.  It will smoosh the insides together.   But it is nice to have the first slices when it is kinda warm and the softened butter melts into the bread.   I wondered it the molasses would make it sweet, but it wasn't.  Just delicious.


Lee heaped praise upon my head.  When I asked if he liked it he said it was good.  I think I heard an Mmmm.


The Taste Of Home site said it was good toasted.  So, in the interests of full disclosure I had some for breakfast.  It was good with melted butter.  And also with marmalade.