Friday, April 14, 2023

Wine Coasters

 I had a lot of fun giving the mug rug class at my local library, Purcellville Library in Loudoun County. We got some of the fabric we used for the class at Web Fabrics.  They sell quilting supplies, among other things sewing related.  A lot of their business is online, hence the "web" part of the name.

They also sell pre-cut kits to make wine coasters.  These are similar to the mug rugs I have been making, as they are made with fabric and batting.  They aren't quilted so they are very quick to make.

The library is planning on buying some kits to use for a future class. 

Web Fabrics has even made a YouTube video demonstrating how to make them.  The fabric is woven in such a way as to allow you to place the base of a wine glass inside.  This means it can serve as a coaster and as a wine glass identifier, like wine glass charms.

I decided to make a coaster using their instructions and my fabric so I would know if I could teach a wine coaster class at the library.


In short, this is how you do it.  Cut six 5 inch square pieces of fabric. One can be fabric you don't particularly like as it won't be seen. Try to make the others fun and interesting.

Cut one 4 1/2 inch square of batting.  Fold 4 of the squares in half and then press. 
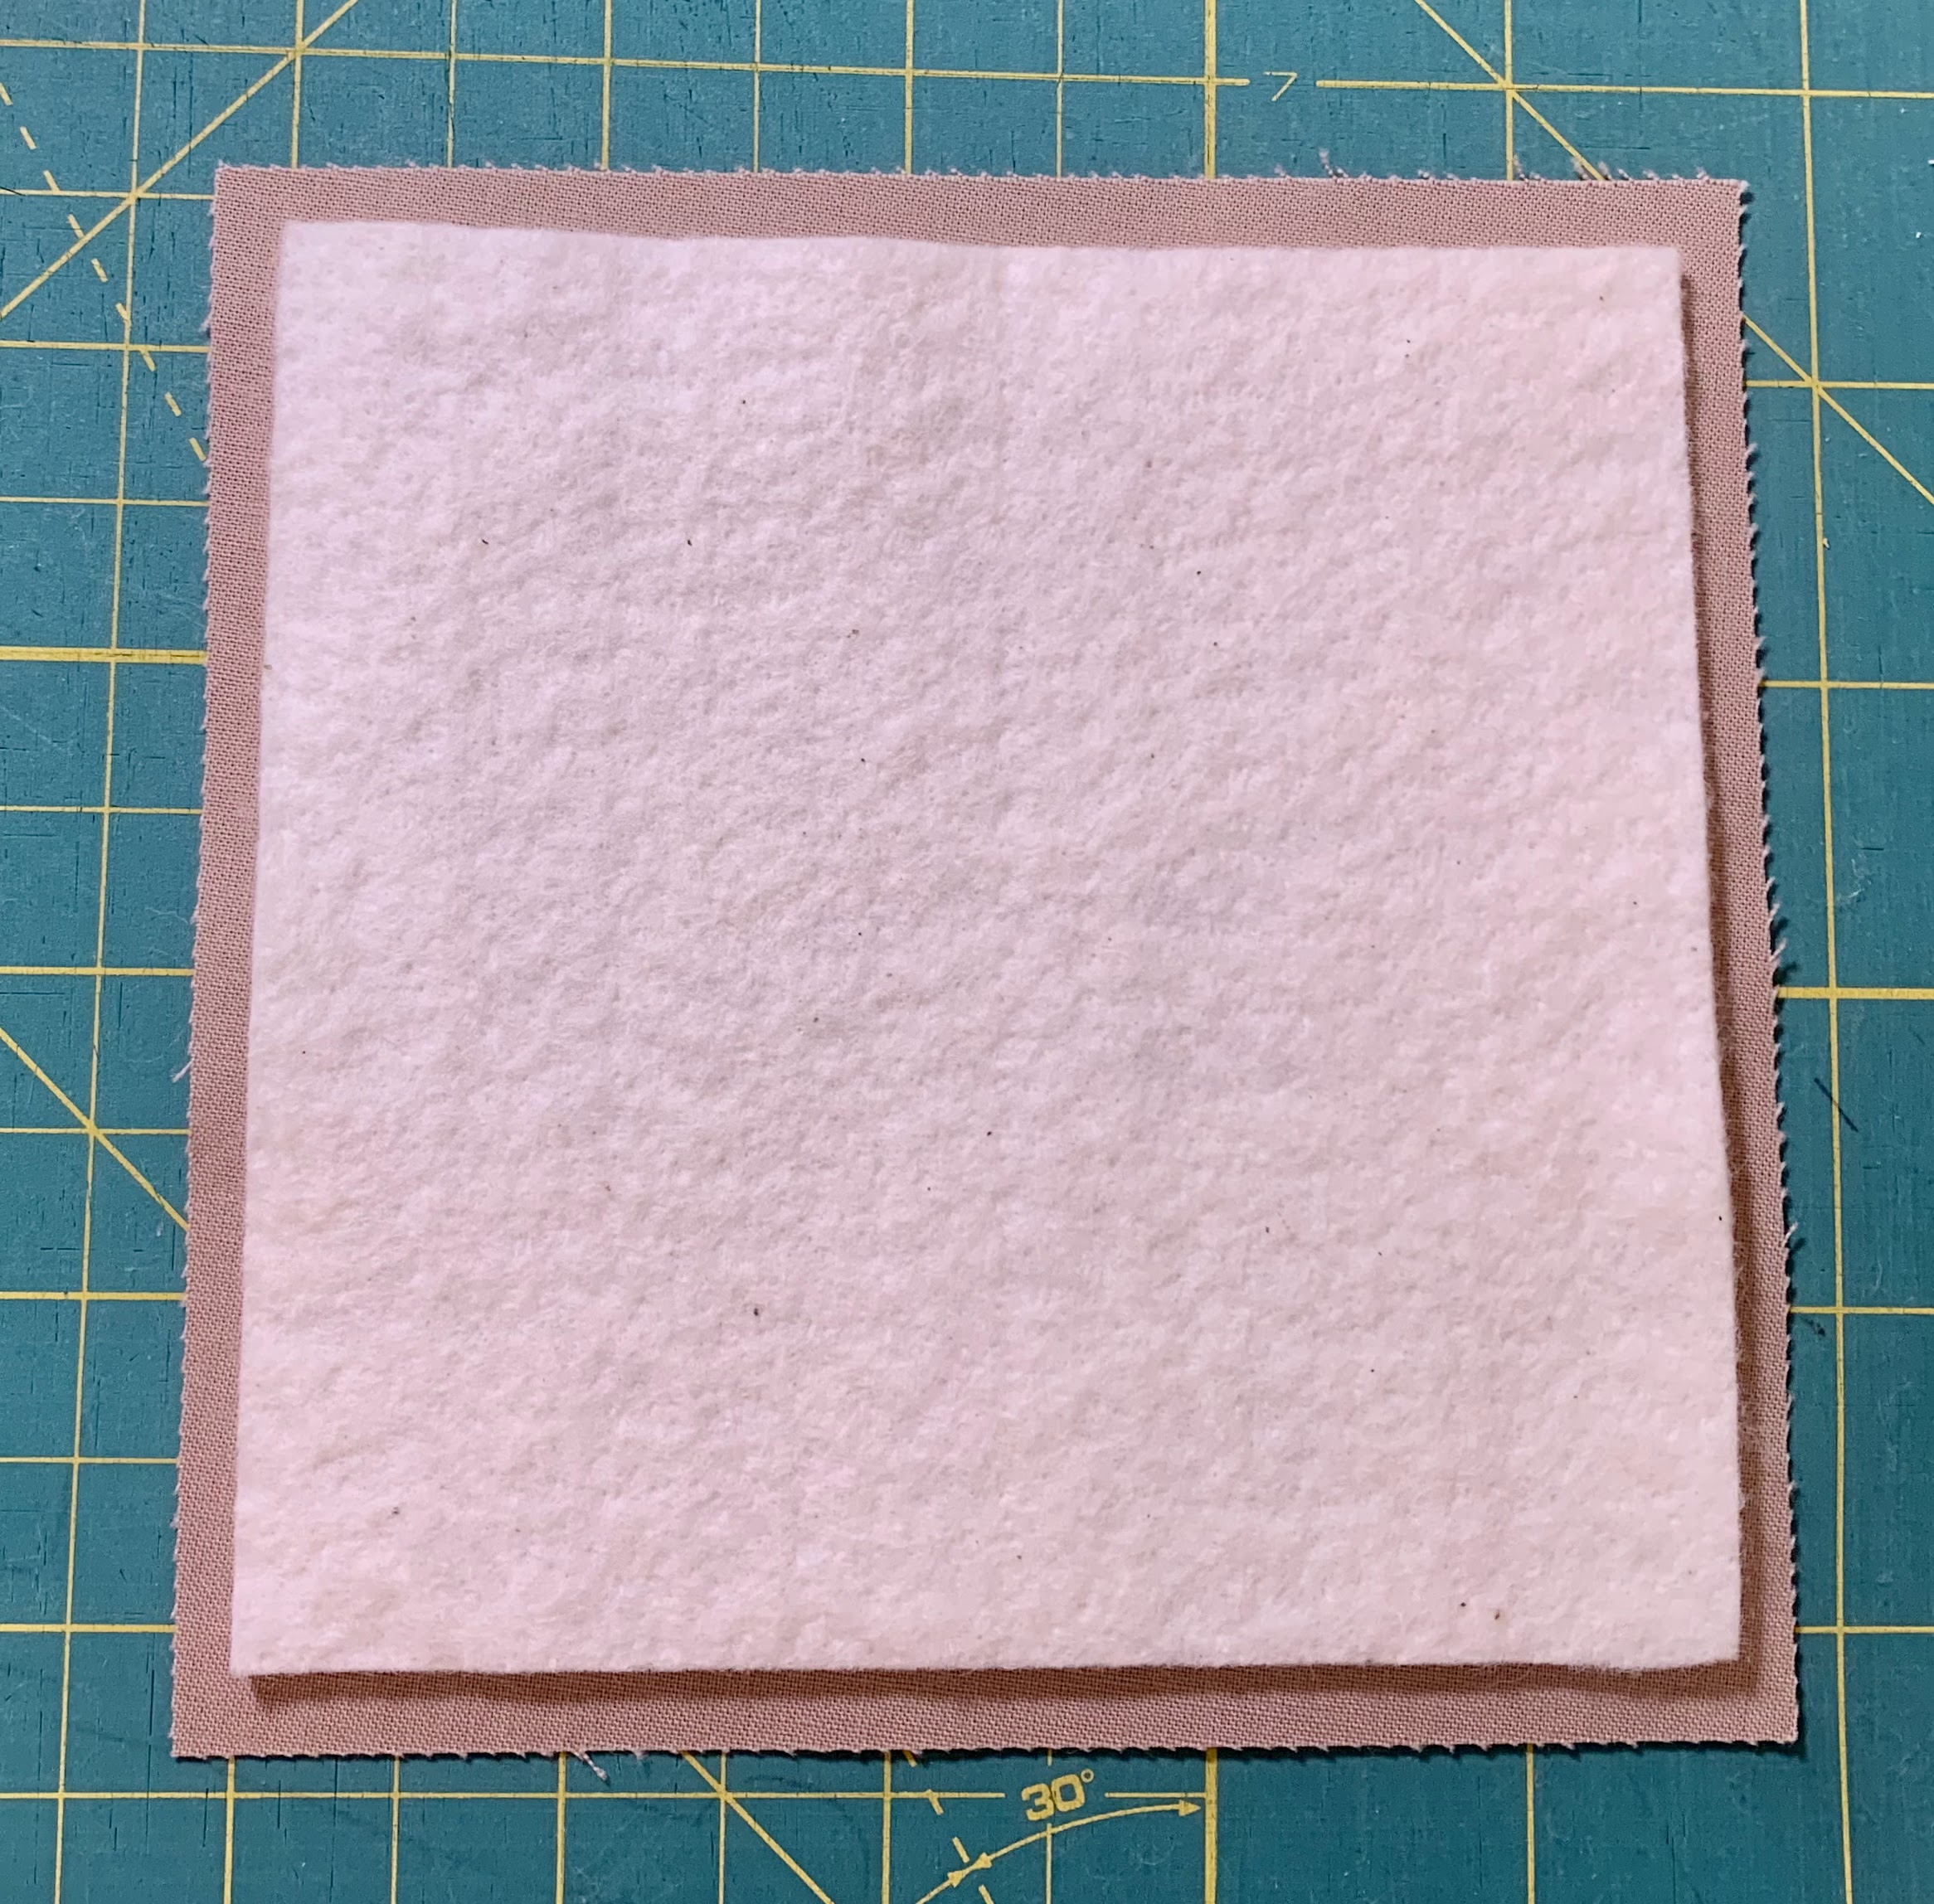
Place the boring fabric down first. The batting goes on top and the unfolded square on top of that, right side up. This will be the back of the coaster.

Put two of the folded squares on top with the raw edges facing out.  Weave the other two squares in, also with the raw edges out.

Sew around the coaster.  Clip the corners and turn the square inside out.

Use a chop stick or something similar to poke the corners out and press. 


Bring on the WINE!

Saturday, March 4, 2023

Mug Rug Class


 I love libraries.  After we moved to Purcellville, I made it a point to get a library card as soon as I could. The Purcellville Library is part of the Loudoun County Library system. Loudoun County has a lot of money available to put on some great programs.

I volunteer at the library one day a week. Mostly I shelve books or pull books to send out to other libraries. Sometimes I help set up or take down one of the meeting rooms for art classes.  I was asked if I had something I could teach.  The library owns 5 sewing machines and will be bringing in some from other libraries. (Yes!  You CAN check them out!)

Fabric baskets take too long to do in a two hour class. But over Covid I started to make mug rugs.  You can see many examples in other posts on this blog. They are small quilted squares to use as a coaster under a hot drink with room for a treat, like a biscotti or scone.

These are some of the ones I have made recently and I will be taking to the class to show as examples and demonstrate the steps used.

As you can see I like animals  especially horses.

I hope I get a good crowd. 

Wednesday, February 1, 2023

A Bookstore or a Library?


My son-in-law gave me a model kit called Eternal Bookstore.  It looks more like a really great two story library to me.   

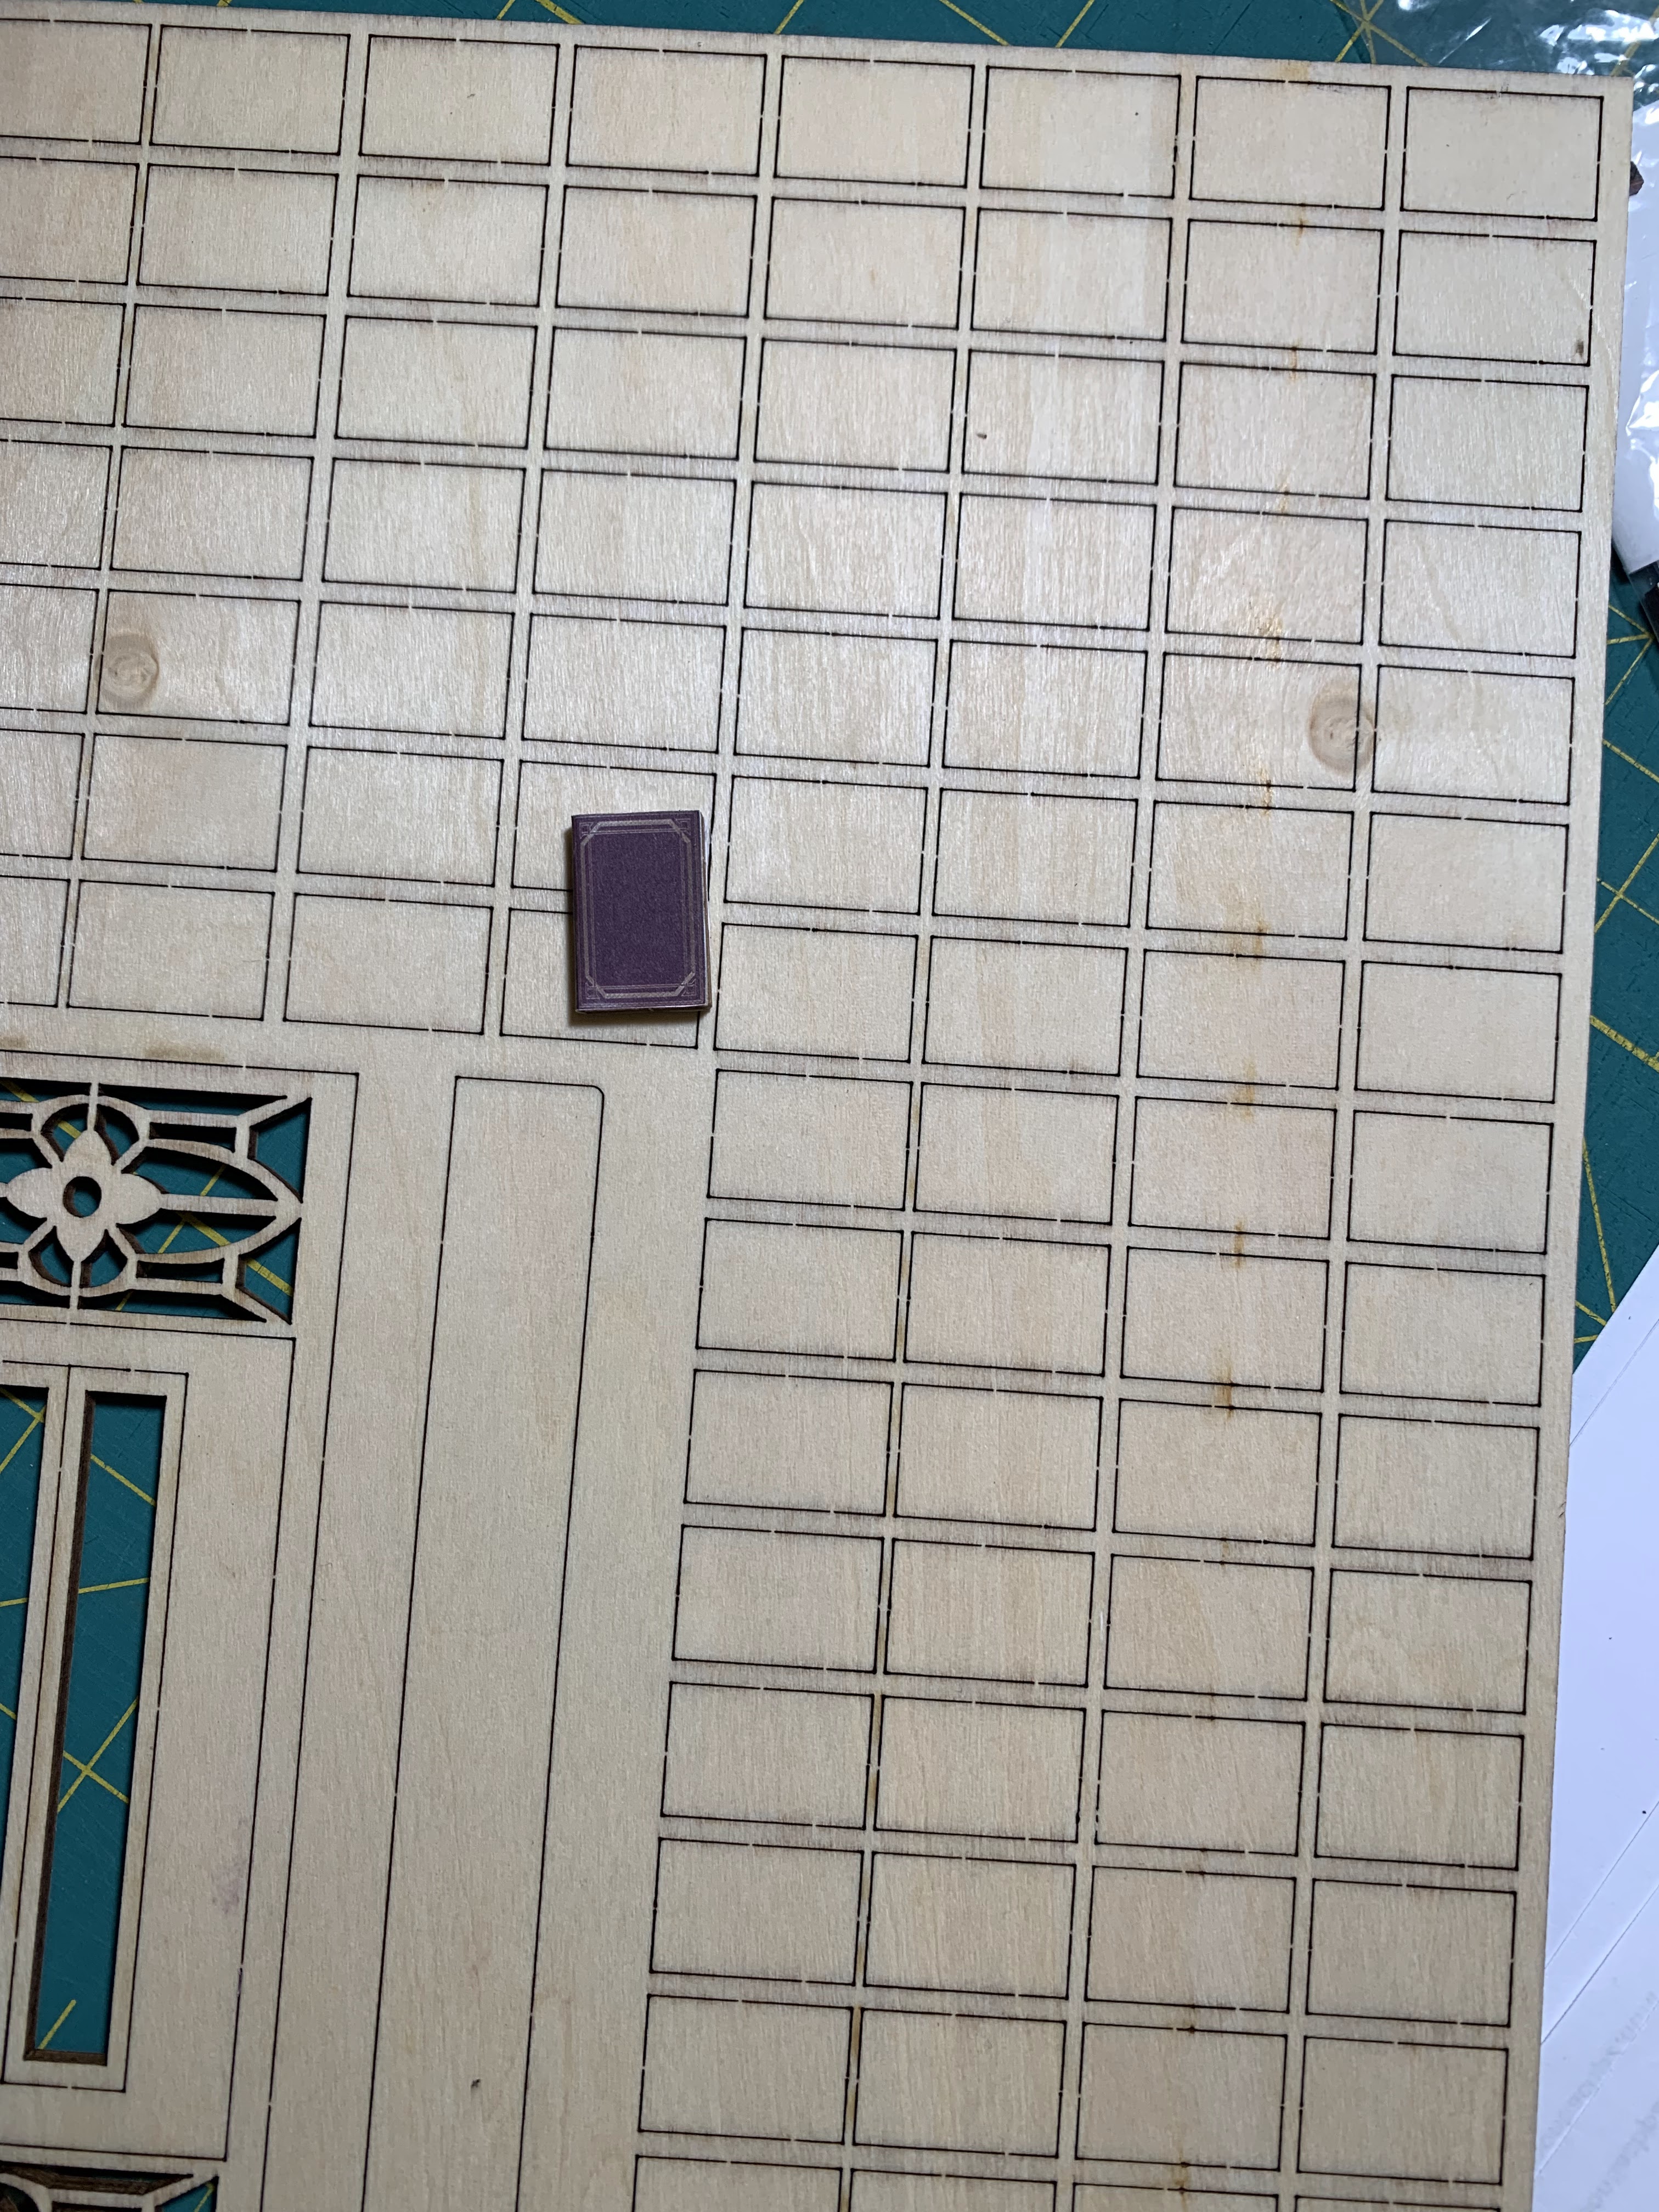
The kit has several sheets of balsa wood with the parts and sheets of paper to make the many little books that are placed around the library.


There were so many miniature book covers to cut out and glue.  


You have to wrap them around tiny wooden book forms.  Most of the ones with titles were fine but this one was interesting.


The model came with a tiny battery pack and several tiny lights. There is an access door at the back to turn them on and off.


As I assembled the pieces I had to tape the wires holding the lights along the walls in specific spots.


I liked this little bookcase and enjoyed filling it with a selection of books.


The instructions were limited and there was a video to watch.  Sadly the video also did not include all the details I needed to do this project.  So I'm glad you can't look too closely at this library.  


Taking the pieces apart sometimes left a little spot where the color was pulled away.  Each piece I removed had small places where the wood was still attached.  The kit included a small emery board to sand these off.  But this also took some of the color off.  

I had this small furniture stain pen that I used in restoring antiques. It came in handy to add a similar color to the pieces where they would be seen.

I like the final project. 

It is now on a bookcase, waiting for someone to notice it.

It was fun.  Thanks, Greg.

Friday, October 14, 2022

Finished Transportation Quilt

 I have been working on the transportation quilt I am making for our grandson for some time. He was turning two and I wanted to finish it in time for his birthday.  Not that he would know or care, but I wanted to get it done by then.


I found some absolutely adorable fabric online with cartoon workers and construction vehicles. What did we do before the internet???

As with all the appliqués I have done, I stitched around the designs as part of the quilting process.  I did most of the quilting in free motion.  Then I added a binding using the same fabric I used for the backing. 

I was unhappy with the bus and plane square.  I remade them and then saved the originals. This is explained in earlier posts.

I quilted each one with batting and scrap fabric for the backing. I sewed them together with right sides facing, leaving part of one side open. 

 I turned them right side out and then stuffed the pillow with poly fill stuffing and stitched it closed. I had a matching pillow!


I managed to finish before his birthday.  He is now using his new quilt.  I don't know if he appreciates it or not, but I guess time will tell.


Tuesday, October 11, 2022

Mug Rug Gifts

 I was planning a trip to Pasadena soon.  I grew up there and have friends and family that I haven't seen in quite some time.  When my mother was living in Southern California I went about 4 times a year to see her. Now that she's gone, my trips to the west coast are to visit our granddaughters in Northern California. 

I thought it would be fun to make a mug rug for some of the people I am visiting.

I already sent my former roommate and host for my visit a mug rug. But she has a beloved granddaughter, so I decided to make one for her to give as a gift.  What little girl doesn't like a unicorn?  I used a Cricut design for the template and cut it out using Steam-A-Seam to place it on a white square. Purple and pink are the usually good colors for little girls.  

The  super cute bug fabric on the back makes it reversible and it has a lot of purple to go with the binding.

I have a friend who is a writer.  She gets the book case. I didn't have a pattern for this so it took a few tries to get the dimensions right. The bird design is from another project.

My friend Mary grew up near me, four houses away. I have known her as far back as I have memories.  When we were kids we decided we should have a club.  A bunch of neighbor girls got together and had meetings and even put on a carnival to raise money we donated to a worthy cause.  We agonized over a name. The Beatles were popular then, so we tried out bug names and ended up with the Ladybug Club. I found a ladybug design on Cricut and used that.

There were many kids on our block and we played outside together after school and all summer.  We were in and out of each other's house all the time. Mary's mother was a big part of my childhood.  So I wanted to make her a rug, too.   She was a librarian, so she needed a book theme, too.  I still have some fabulous antique book fabric I used to make some masks at the beginning of the pandemic, so I chose some for her. Both sides have books, one with Shakespeare as I don't know what her reading tastes are.

And lastly I made a drone mug rug.  My daughter-in-law and son are engineers on drones being built for the Air Force. I pulled up a bunch of photos online and used one to make the template for a drone mug rug for my daughter-in-law. I hope she likes it. But if not, she has a whole office full of people to pass it off to!


I finished this post after I returned from my trip.  My daughter-in-law liked my drone mug rug and asked if I could make a similar one for a friend. I did so happily.  I really need to make one for myself!  I just keep giving them away!  Hmmmm.  I wonder what pattern I should use...

Sunday, October 2, 2022

Honey Pecan Cream Cheese

 I recently had bought some bagels. This is a moderately big event for me as there are no places in our town.  I love a Nutella bagel, Burt I also like them with a honey pecan cream cheese. Sadly, I haven't been able to find any.  I can find regular cream cheese and savory cream cheese flavors, but not the honey pecan ones.  

I don't know if it is COVID related, supply chain issues, or what the issue is, but I decided to make my own.  How hard could it be?

So I bought a tub of plain Philadelphia cream cheese and made some.


Honey Pecan Cream Cheese

1/2 cup cream cheese

1 Tablespoon honey

2 Tablespoons pecans

I toasted some pecans in the toaster oven. Keep an eye on them. They can go from not toasted enough to burnt pretty quickly.  I set the oven to 300° and only kept them in a few minutes.  After cooling, chop finely.

Mix the cream cheese, honey and chopped nuts.  That's it.

I made this after breakfast, so I wasn't hungry enough to toast a bagel to try it out. I placed a small amount on an animal cracker. It was delicious.  It was a bit sweeter than I was used to, so I may use a bit less honey next time I make it.  And I will make it again.

Place the flavored cream cheese in an air tight container and keep it in the refrigerator. 


Saturday, April 16, 2022

Maple Oat Nut Scones

I first had maple oat nut scones at Starbucks. I've been trying to recreate them ever since.  Maybe not exactly, but close enough.  In this blog I previously posted a similar recipe using an oatmeal scone mix from Victorian House Scones. This one is made from scratch and I liked it a lot.

A lot of scone recipes call for the oatmeal to be ground in a for processor but I like the rustic quality of the whole oats. Don't use the quick oats.

Maple Oat Nut Scones

1 1/2 cup flour, plus some for the counter

1 cup oatmeal 

1/2 cup brown sugar

1/2 teaspoon salt

2 teaspoons baking powder

1/2 teaspoon baking soda

6 Tablespoons butter

3/4 cup buttermilk

2 teaspoon maple flavoring or 1 of Mapleine

1/2 cup chopped walnuts

Preheat the oven to 425°.  Place a sheet of parchment on a baking pan. I use a Silpat.  

Place the stick of butter in the freezer for about 10 minutes while you get everything else set up.

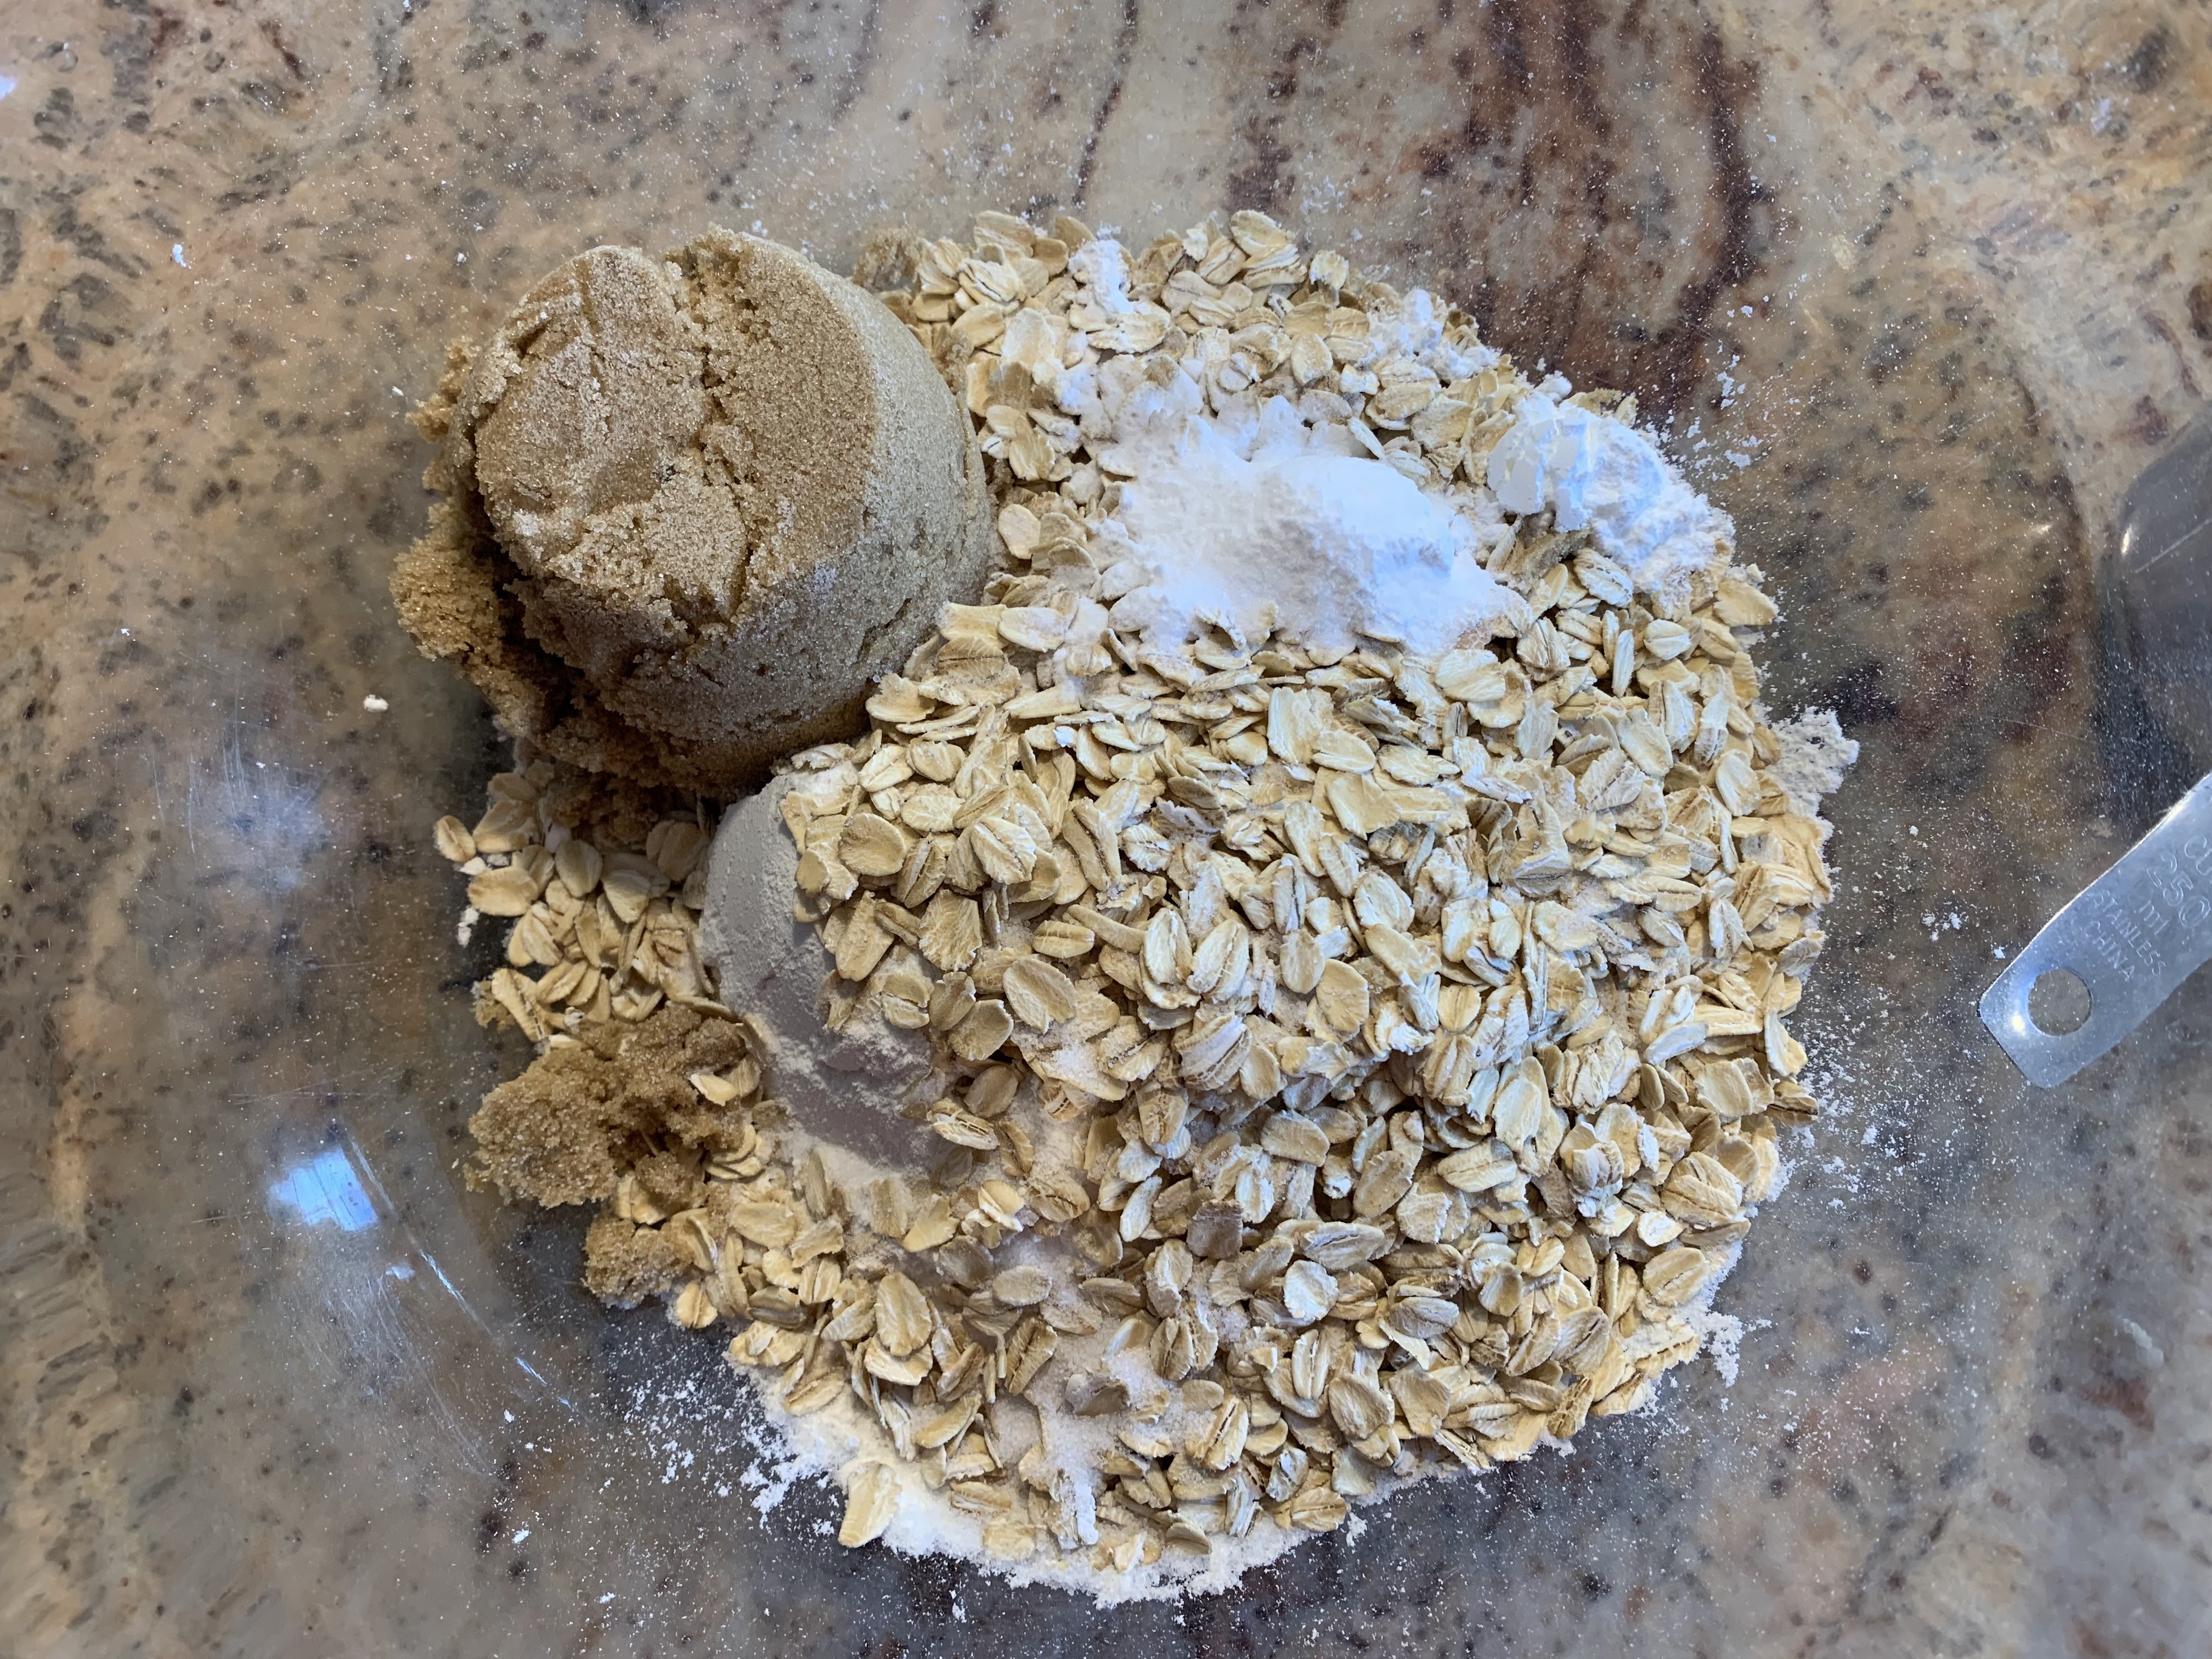
Put the flour, oatmeal, sugar, salt, baking powder, and baking soda in a large mixing bowl. Give it a stir.

Grate the partially frozen butter over a piece of waxed paper.  Add the curls of butter to the flour mixture. Use a pastry cutter to blend the butter into the flour.  Add the maple flavoring into the buttermilk and stir to combine. 

Don't over mix or the scones will get tough.  You may even think it isn't mixed enough. Add the nuts and give another quick mix.

Sprinkle some flour on the very clean counter and dump contents of the bowl onto it.  Knead the dough about three times and then shape it into a flattened circle. 

Cut the dough into eight pieces and place on the prepared baking sheet.   


Bake for 12-15 minutes or until the scones start to brown on the edges.  cool on the sheet for about 2 minutes and then transfer to a cooling rack. 

These scones need a maple flavored icing on it. The recipe is on my other scone recipe, so I will be brief. 

1 Tablespoon butter

2 Tablespoons milk or cream

1 1/2 cups powdered sugar

2 teaspoons maple flavoring, or 1 of Mapleine

Melt the butter in a medium saucepan over medium heat.  Add the milk.  Heat until little bubbles form.

Add the sugar and cook until it starts to thicken.  Remove from the heat and add the flavoring.  If you use Mapleine it will be a darker color.  I like using it, but the store doesn't carry it here.

Mix well and then drizzle over the cooled scones.  

These are best the day you make them.  But they are also good the next day if you pop them in a toaster oven for a quick minute, and before the icing melts off.