Growing up in California I had access to many different cuisines with just a short drive. I don't know that New York style bagels can be classified as a cuisine, but they are few and far between. in this area. Panera has delightful flavored bagels, but their plain bagels are not quite right.
This recipe is a second attempt. The first ones I made were over baked and too dark for me.

The crust was shiny but a bit too salty from the baking soda in the water for boiling. So this batch I switched out the baking soda for honey in the water. The crust was tastier but not as shiny as I had hoped for. I may try a SMALL amount of soda and a bit of honey in the next batch. And maybe try some with cinnamon sugar on top!
However, this batch is quite tasty and chewy and I can recommend it!

Chewy Bagels
2 packages yeast
1 Tablespoon sugar
1/2 cup warm water
6 cups bread flour
2 cups warm water
1/4 cup vegetable oil
2 Tablespoons sugar
1 Tablespoons salt
1 Tablespoon honey
Boil water with 1 Tablespoon honey.

When making bread with yeast, I like to preheat the metal mixing bowl. I heat it up by filling it about half way with hot tap water and letting it sit for a couple minutes.

Dump out the water and replace it with 1/2 cup warm water and 1 Tablespoon sugar. Give it a quick stir and then sprinkle in the two packages of yeast. Set it aside while you assemble the rest of the ingredients.
Place 2 cups bread flour in a medium bowl. Mix in 2 Tablespoons sugar and 1 Tablespoon salt.

After the yeast blooms to show it is still active, add the flour mix, honey and oil.

Use a dough hook on low to mix. Scrape the bowl down and add 2 more cups of flour and continue to mix. Scrape the bowl again and add 1 1/2 cups flour and mix for about 5 minutes when the dough will pull away from the bowl. It will still be a bit sticky.

Sprinkle about 1/4 cup of flour on the counter and scrape the dough out the dough.

If the dough is super sticky, sprinkle a bit of flour on top. Knead until the dough absorbs the rest of the flour and is smooth.

Put about 1 Tablespoon of oil in a large bowl. Spread the oil around and then put the dough ball in the bowl. Flip it over until it is covered in oil and then cover with plastic wrap and place the bowl in a warm spot for one hour or until the dough doubles in size.

Remove the plastic wrap and set aside. Punch the dough down and divide it in half.

Divide each half into 6 pieces.

Roll the pieces on the counter until you have a smooth ball.

Lightly oil a baking sheet or platter. Place the dough balls on it and cover with the reserved plastic wrap and set it in the refrigerator for at least one hour.

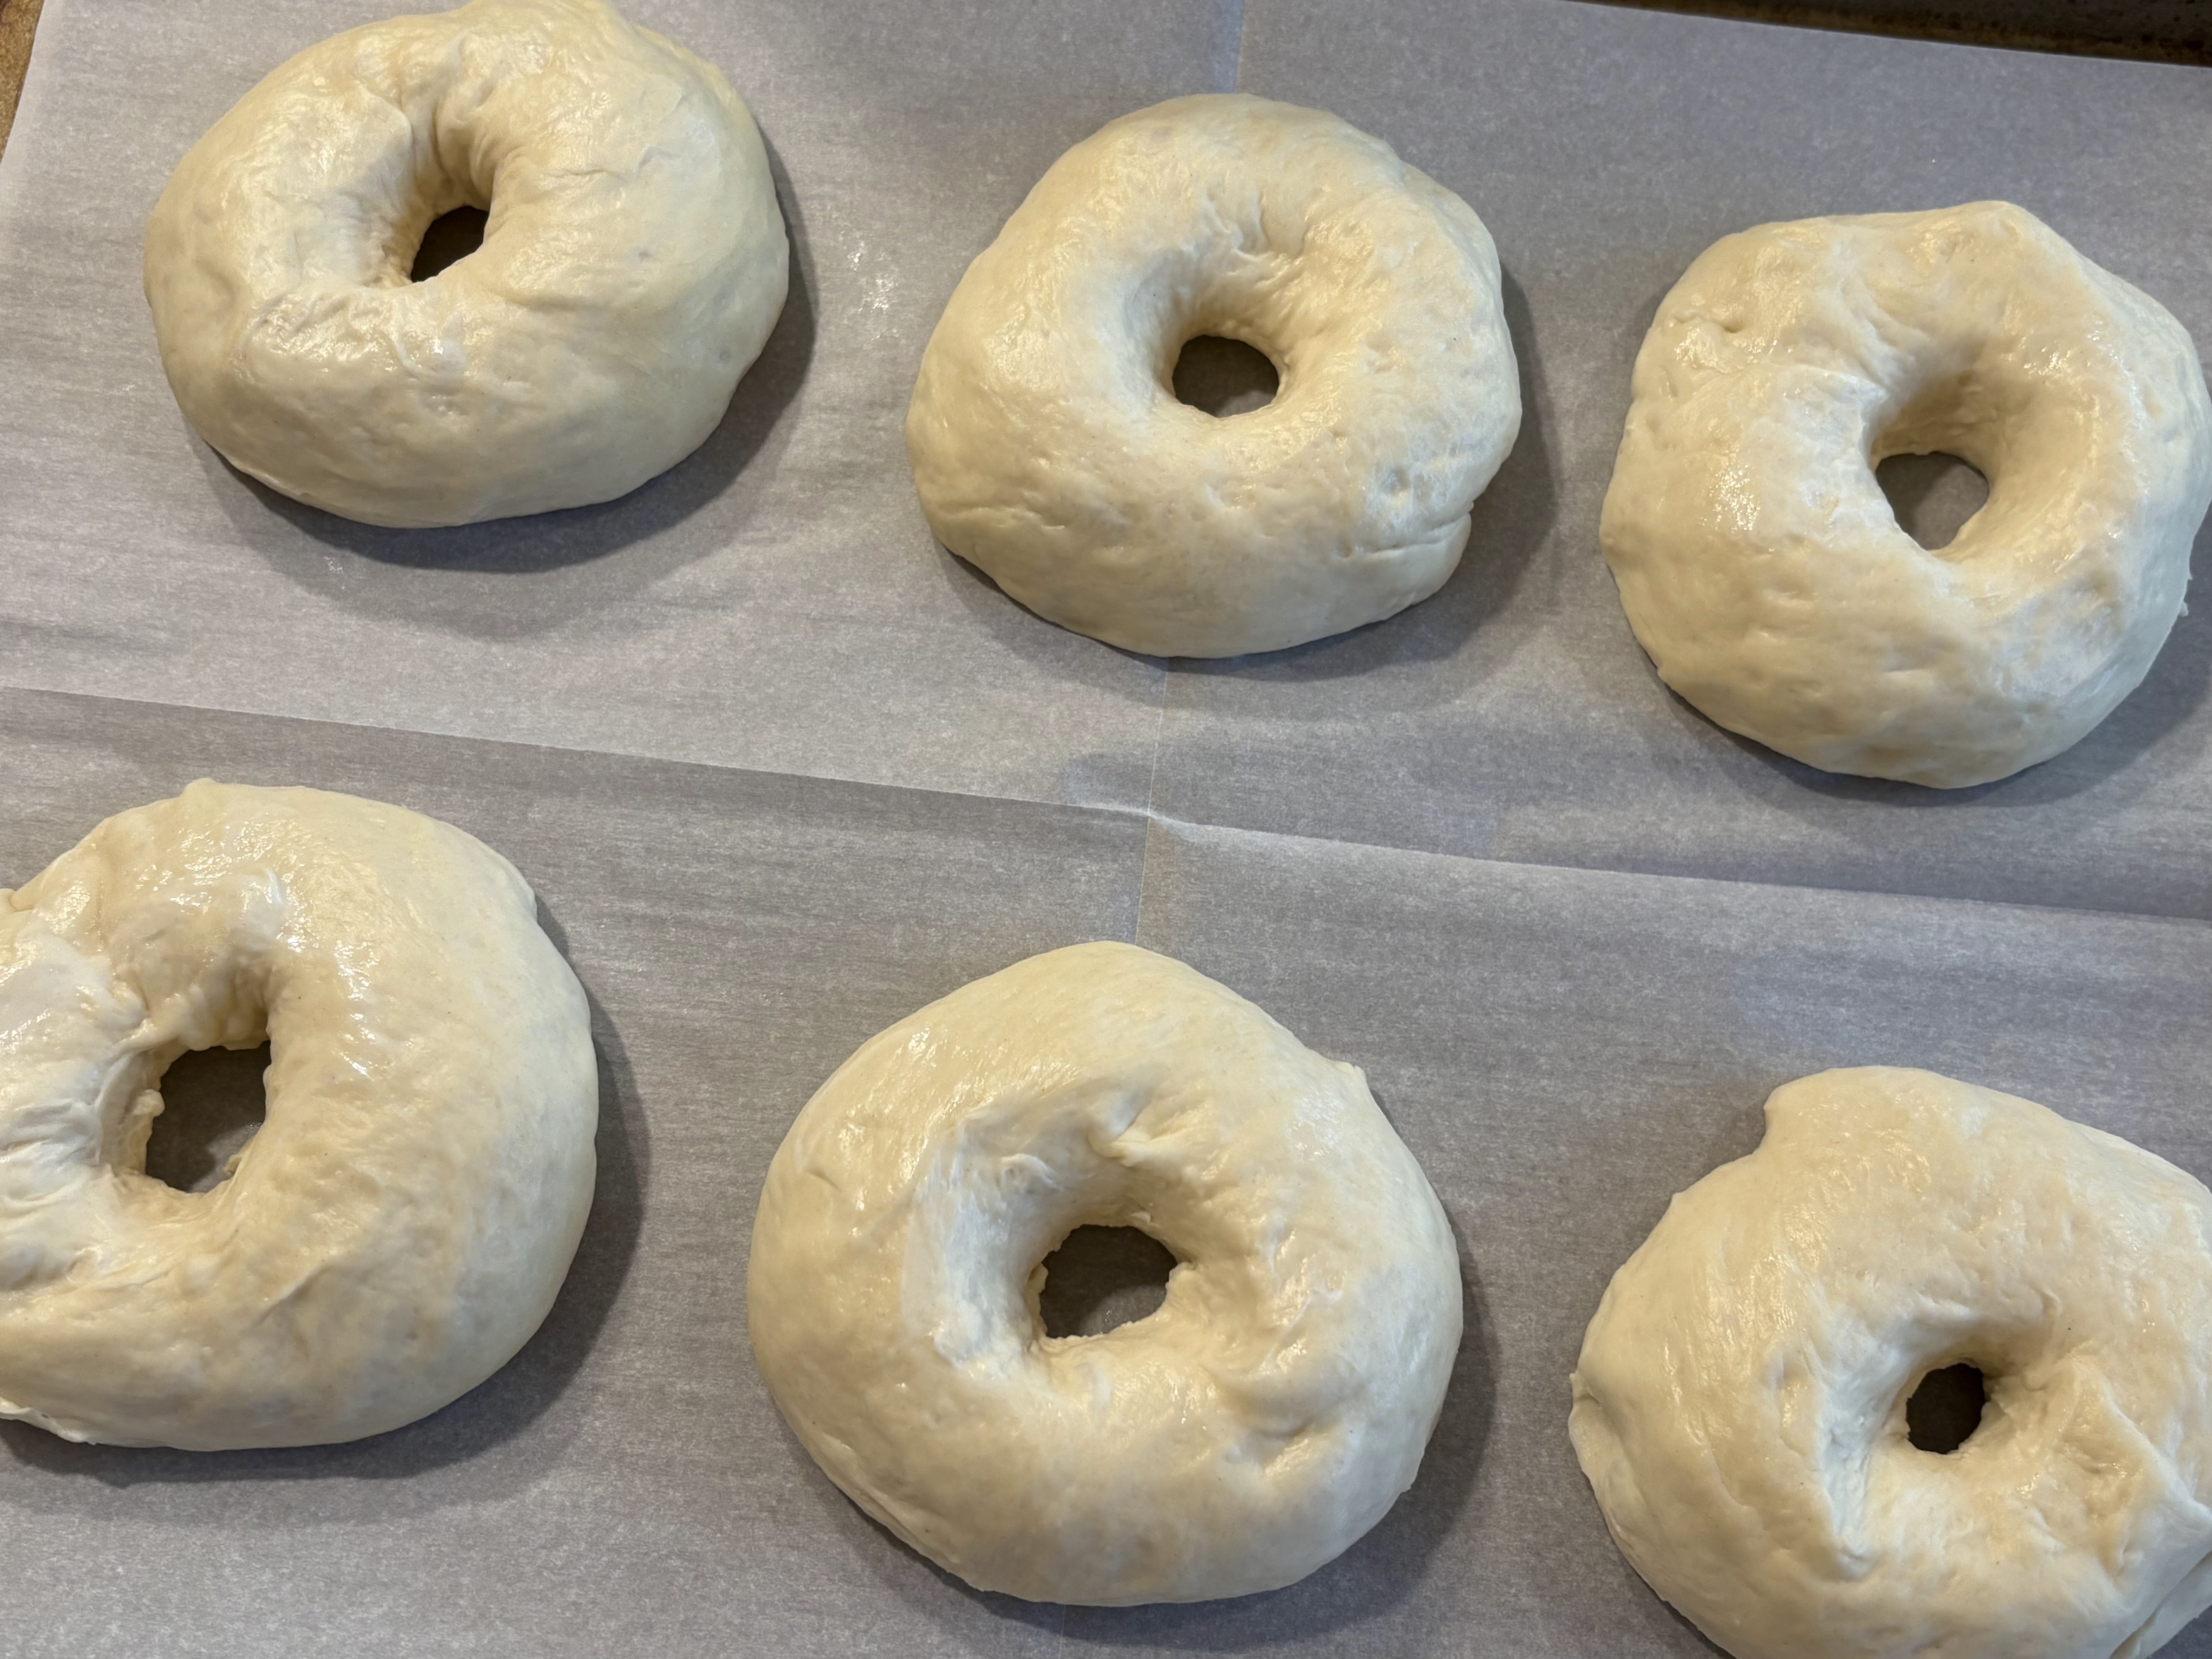
Set the dough balls out. Put parchment paper on two baking sheets. Use your very clean finger to make a hole in the center of each ball. Add another finger to stretch the hole. a bit wider. They will close a bit while baking. Set 6 bagels on each sheet.

Preheat the oven to 425°.

Boil water in a large pot. Add 1 Tablespoon of honey.

Place a folded dish towel between the boiling water and a prepared baking sheet, but not near the heat. No fires, please.

Gently place a bagel in the water. If you have room, add another one. I used my phone for a timer and told Siri to set a timer for one minute. Gently turn the bagels over with a slotted spoon or spatula and set the timer for another minute.
Use the slotted spoon to lift a bagel out and then set it on the towel to dry off some of the water before transferring it back to the baking sheet. Repeat until you have 6 boiled bagels.
Put the boiled bagels in the preheated oven for 12 to 15 minutes. Mine took 14 minutes. While the first batch bakes, finish boiling the rest of the bagels.

After cooling for a couple minutes, transfer the bagels to a cooling rack.

I couldn't wait for them to cool completely. I sliced open a bagel and lightly toasted it. I put Nutella on one side and strawberry cream cheese on the other. They both were so good, perfectly chewy and without the salty taste of the ones boiled with baking soda.

The two of us can't possibly eat up a dozen bagels while they are still fresh. When I buy bagels I slice them with a bagel guillotine. These bagels seemed a bit too soft so I used a serrated knife to slice them. Then I put most of them in freezer bags where I can vacuum out the air.
Now I have soft, chewy bagels for anytime I want one. Yay!